


16
6.6 MUTE Screen
The MUTE screen could be considered the most important screen of the LoopA. If clips in
the CLIP/NOTES/LIVEFX screens aren’t being modified (see below), the MUTE screen
provides a good overview of the sequences and allows clips to be quickly recorded, muted
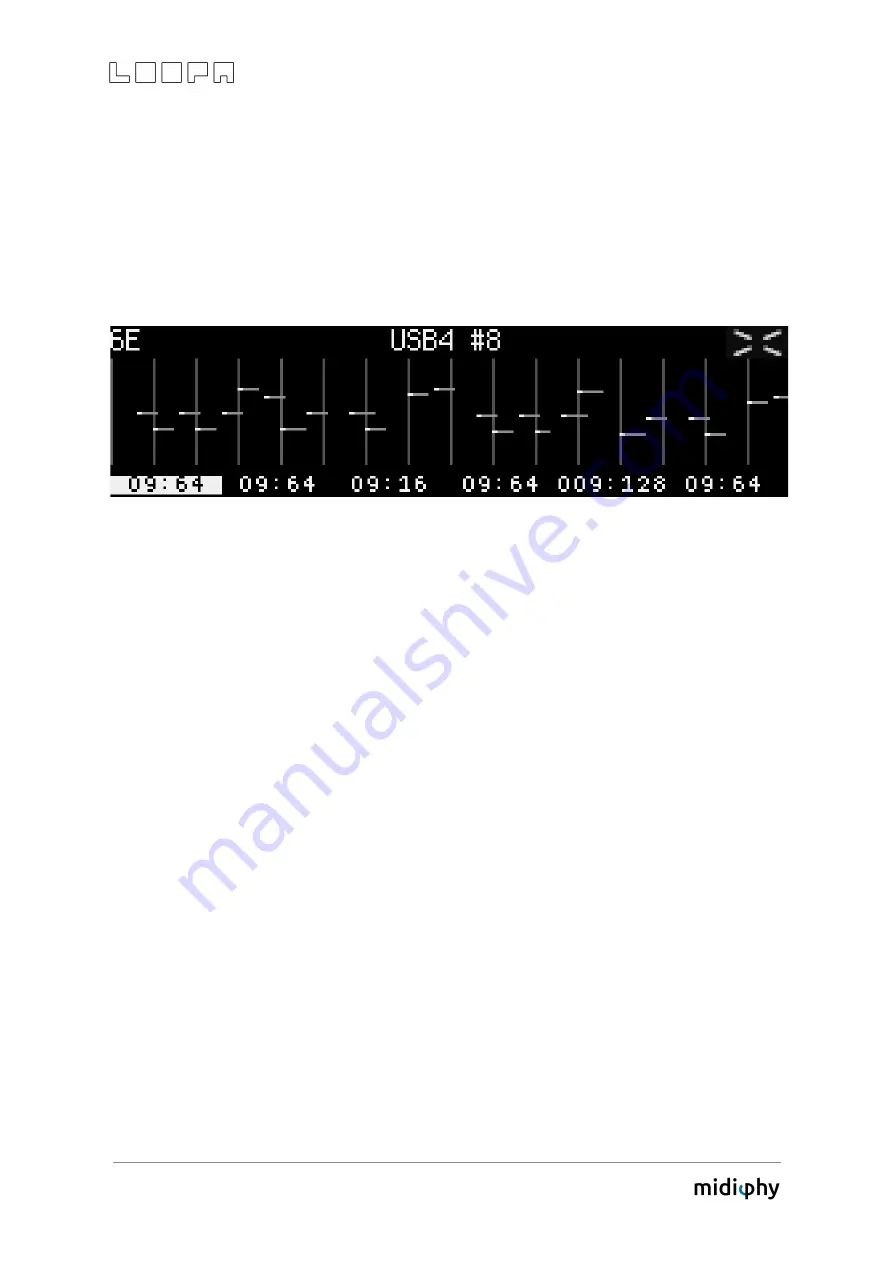
and unmuted:
The above screenshot displays a 64-step sequence with stored note data track 6, scene "E",
shortened to “6E”. The output port is USB4 MIDI port, channel 8.
The six upper-row keys launch/unmute clips of the currently active scene or stop/mute
them again. Muting and unmuting is always synchronized to a measure, so can be
"pre-unmuted" in advance and the clip will be launched with perfect timing.
Recording a sequence is most comfortable from the MUTE screen, as the active track is
easily chosen and (also visualized by the blue upper-row key and also the inverted
sequence position display; see the screenshot above). Press ARM and record any set of
notes with a MIDI keyboard, MIDI drumpad or another instrument.
The lower six number slots show the current sixteenth-note-equivalent playback positions
and clip lengths for all six LoopA tracks. A display of 09:64 would mean that playback is at
step (or sixteenth note) 9 of a total clip length of 64 steps (or sixteenth notes).
The top-left of the mute screen displays the currently active track and scene. If the LoopA
is armed, notes will be recorded to this track within the shown scene.
In the center top line, the output instrument of the currently active track is displayed. If
the track was set up to use a user instrument (see chapter: SETUP Screen), a custom
instrument may be displayed (e.g. "ANDROMED"). If not, the MIDI output port and MIDI
channel are displayed instead (e.g. USB4 #8).


