background image

 8

Problems?

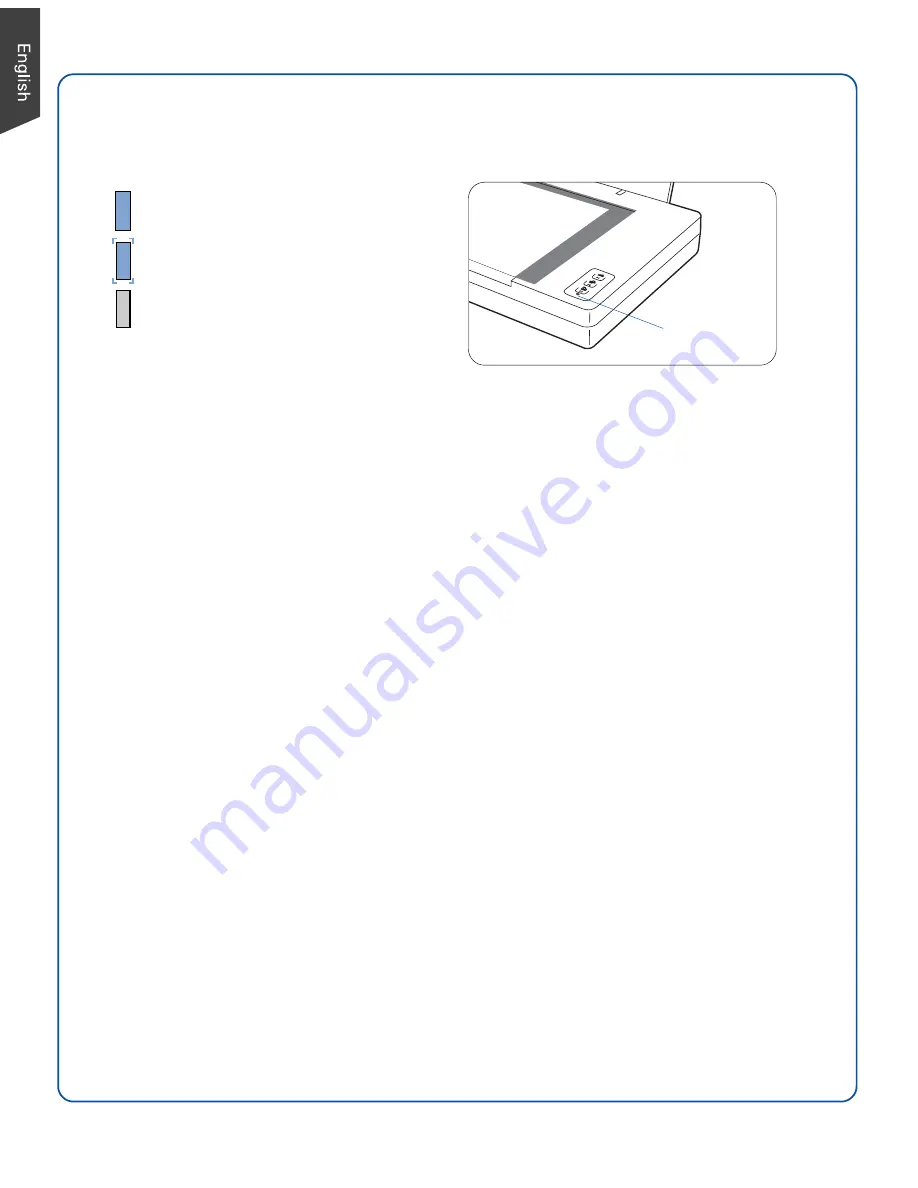
The LED on the front panel indicates the status of the scanne

r.

First, make sure that you have followed Steps 1 to 4 as described in this guide (unpack,

install, unlock, connect). Then if your problem is listed here, try the suggested solution.

1. No light comes on when the scanner is turned on.

Make sure your scanner is connected to your computer and plugged into a power

source.

Make sure your scanner is detected by your computer.

2. The Add/Remove Hardware Wizard appears on your screen.

Click the “Cancel” button and close the ScanWizard DI or ScanPotter Control Panel.

Disconnect the Hi-Speed USB cable from the back of your computer, and refer to the

installation instructions in this guide.

3. When trying to scan, an error message appears on your screen that reads, “Can’t Find

Scanners”.

Make sure your scanner is unlocked (see Step 3).

Make sure your scanner is connected to your computer and plugged in to a power

source (see Step 4).

Uninstall and reinstall the ScanWizard DI or ScanPotter software.

4. After clicking scan, a blank screen appears.

Make sure your scanner is unlocked (see Step 3).

Uninstall and reinstall the ScanWizard DI or ScanPotter software.

5. Having trouble scanning the documents.

Make sure you place the document to be scanned properly on the scanner glass

surface.

Uninstall and reinstall the ScanWizard DI or ScanPotter software.

On - 

Ready to scan

Off

 - Scanner is off

Green Flashing - 

Scanning

LED indicator

Содержание XT3300

Страница 1: ...instructions to install the scanner driver and software B Restart your computer at the end of all software installation NOTE If the Microtek Software Installer screen does not come up automatically do...

Страница 2: ...scanner power off tilt the front right corner of the scanner to see the locking switch at the bottom C Push the locking switch to the position as indicated in the graphic with the icon on the lock sho...

Страница 3: ...on buttons F1 F2 and F3 that can be customized to automate a number of predefined operations such as scanning to a file sending an image to your printer scanning for OCR etc Customizing is done throug...

Страница 4: ...to scan the image in black and white c Select a dimension in the Paper Size drop down menu as your preview image size d If the Auto crop Auto deskew option is selected the scanner automatically detect...

Страница 5: ...image correction tools 8 Click the Scan or Scan To button to start scanning If ScanWizard DI is launched as a Plug In from an image editing program the scanned image is delivered after the scan to you...

Страница 6: ...ge output resolution c Select Automatic Detection or a desired dimension in the Scan Frame as your preview image size 5 Click the Preview button to perform a preliminary scan of the image in the Previ...

Страница 7: ...y of nine image effects Filter column and additional image correction tools Additional Adjustment column for your scanned image Click the Scan Settings button to switch back to the default control pan...

Страница 8: ...m the back of your computer and refer to the installation instructions in this guide 3 When trying to scan an error message appears on your screen that reads Can t Find Scanners Make sure your scanner...

Страница 9: ...annot run your product or your computer system properly later please go to the Microtek Download Service site at ww7 microtek com tw service php to download and install any updates you may require For...

Страница 10: ...10...

Отзывы: