background image

ScanMaker i2400 Supplement     9

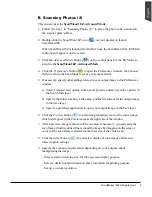
C. Scanning Photos (3)

This scenario uses the ScanWizard EZ - Professional Mode.

1. Follow the step 1 in “Scanning Photos (1)” to place the photo to be scanned on

the scanner glass surface.

2. Double-click the ScanWizard EZ icon  ( 

 ) on your desktop to launch

ScanWizard EZ.

When ScanWizard EZ is launched for the first time, the ScanWizard EZ - EZ Mode
control panel appears on the screen.

3. Click the Professional Mode button (

) on the control panel of  the EZ Mode to

switch to the ScanWizard EZ - Professional Mode.

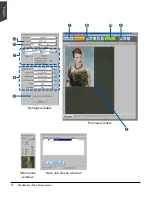
All three windows (Preview, Settings, and Scan Job Queue) appear automatically
after the Professional Mode is started up for the first time.

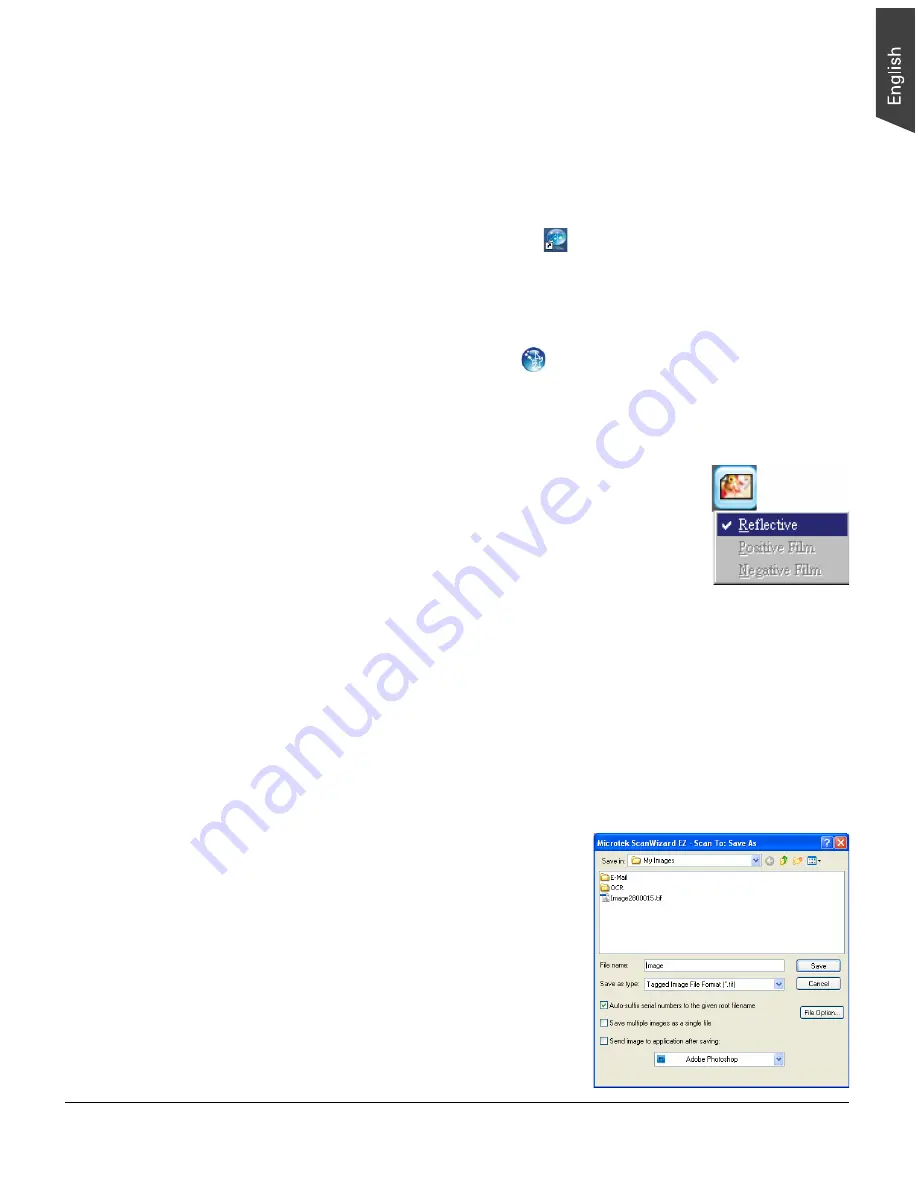
4. In the Preview window of the Professional Mode, click the

Scan Material button to choose Reflective for photos.

5. Click the Overview button to perform a preliminary scan of

the image, which will appear in the Preview window.

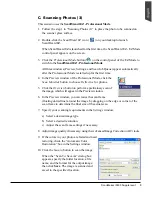
6. In the Preview window, you can resize the scan frame

(floating dotted line) around the image by dragging on the edge or corner of the
scan frame to determine the final size of the actual scan.

7. Specify your scanning requirements in the Settings window.

a) Select a desired image type.

b) Select a desired resolution.

c) Adjust the scan frame settings if necessary.

8. Adjust image quality if necessary, using the Advanced Image Correction (AIC) tools.

9. If the colors in your photo are faded and need

restoring, check the “Automatic Color
Restoration” box in the Settings window.

10. Click the Scan to button to scan the image.

When the “Scan To: Save As” dialog box
appears, specify the folder location, a file
name, and the format for the output image;
then click Save. The image is scanned and
saved to the specified location.

Содержание ScanMaker i2400

Страница 1: ...and 8 seconds of scanning speed at 300 dpi Also it is equipped with six Smart Touch buttons plus a convenient Power button on the button panel for one touch automation and easy access to scanner func...

Страница 2: ...em there are no requirements for any warm up time before carrying out the scan which boots your productivity and reduces energy costs amazingly With its stable performance the image quality will remai...

Страница 3: ...ment 3 Taking a Closer Look Hi Speed USB port Power connector B5 A4 LTR A4 LTR B 5 Scanner lid Ruler Glass surface Scan bed Ruler Web Button Panel PDF OCR E Mail Copy Scan Power POWER indicator orange...

Страница 4: ...t a specific task simply press the corresponding button on the scanner The Smart Touch buttons are 1 Scan This button captures images that can be automatically saved as files or sent to another applic...

Страница 5: ...irst scan in order to familiarize yourself with scanning basics It makes use of the EZ Mode in ScanWizard EZ Scanning photos 2 This scenario is similar to that described above but uses the AdvancedMod...

Страница 6: ...t of the scanner and then lower the scanner lid on the scanner glass surface Note For the automatic cropping feature to work correctly during the preview scan of your photo make sure the scanner lid i...

Страница 7: ...peed Quality and Best Quality options in the Scan Mode layer b Specify the folder location a file name and the file format for the output image in the Save layer c Specify a preferred application to o...

Страница 8: ...with your preferred settings When the scan is done the output image can be saved in a file and delivered to the specified location or opened in your chosen application Returns to the previous page Al...

Страница 9: ...hoose Reflective for photos 5 Click the Overview button to perform a preliminary scan of the image which will appear in the Preview window 6 In the Preview window you can resize the scan frame floatin...

Страница 10: ...10 ScanMaker i2400 Supplement Preview window Settings window Scan Job Queue window Information window...

Страница 11: ...olor Type as your image output type Select Color to scan the image in color Select Grayscale to scan the image in grayscale Select Black White to scan the image in black and white b Select a desired r...

Страница 12: ...ntains a composite display of nine image effects Filter column and additional image correction tools Additional Adjustment column for your scanned image Click the Scan Settings button to switch back t...

Страница 13: ...to 104 F 10 C to 40 C Relative Humidity 20 to 80 Voltage Scanner without power adapter 5V 630mA Scanner with power adapter AC100 240V 50 60Hz 5V 1A Power Consumption 5W max Power Supply Voltage Manufa...

Страница 14: ...and on the user is encouraged to try to correct the interference by one or more of the following measures Reorient or relocate the receiving antenna Increase the separation between the equipment and...

Отзывы: