8
For ‘ImageAligner 2’ Only:
You are almost there…
Once all hardware set-up is complete, proceed to the Xpress Hardware Manual for calibration and testing.
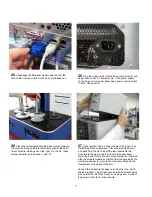
ii
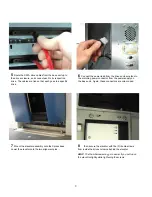
Attach the camera mount plate/ light shield assembly to
the arm by lining up the (2) pins and (1) mounting screw
with the holes on the boom arm. Secure with the (1) wing-
nut on top of the arm.
NOTE:
The thumbscrew on the plate should face the back.
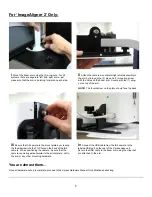
iii
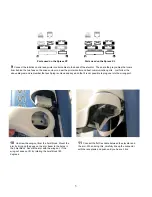
Secure the IA2 camera to the mount plate by screwing
the thumbscrew into the TOP hole on the back of the IA2
camera. When positioning the camera, be sure that the
camera is pointing perpendicular to the printer plate- not to
the arm or any other mounting hardware.
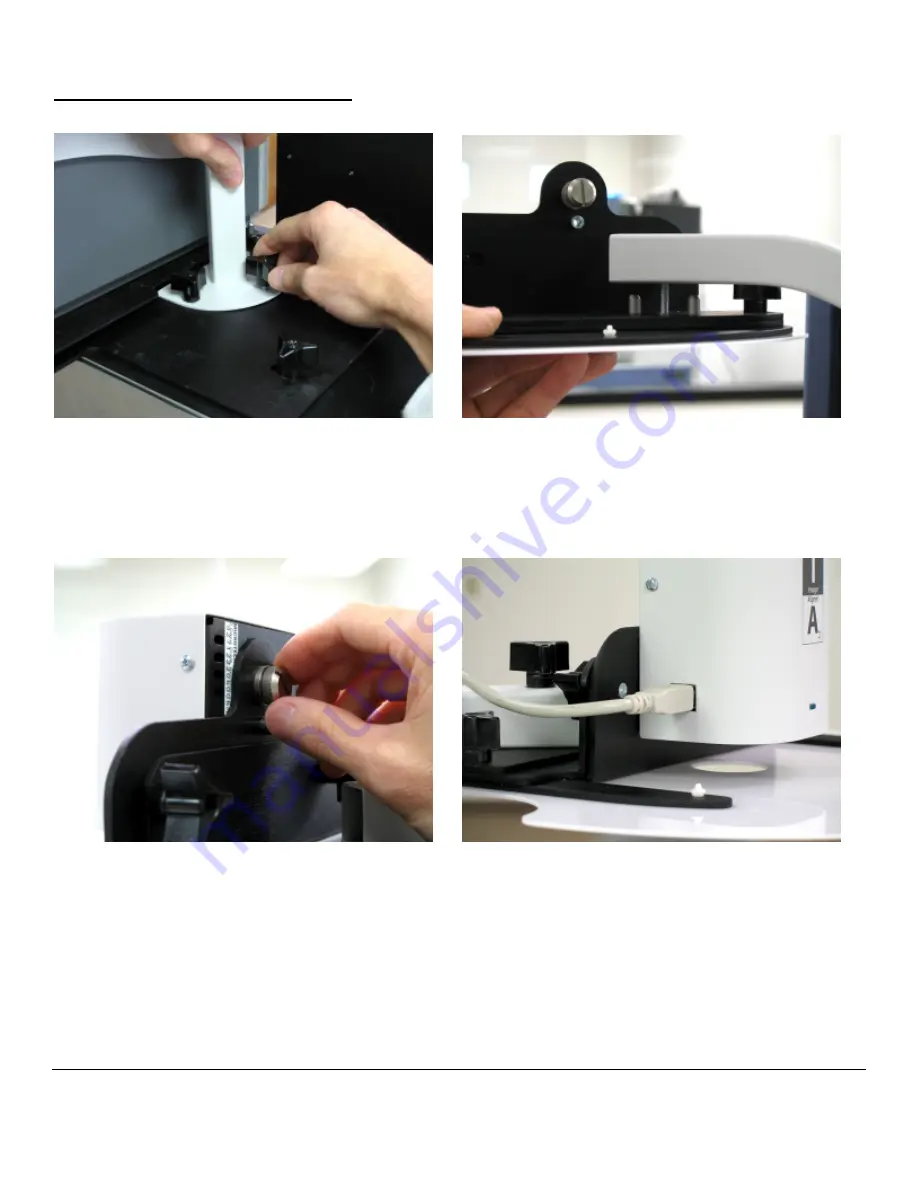
iv
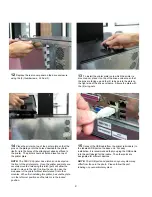
Connect the USB cable from the IA2 camera to the
labeled USB port on the rear of the Xpress base unit.
Secure the USB cable to the boom arm using the clips that
are attached to the arm.
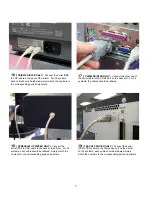
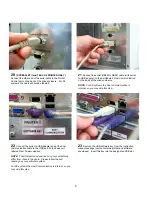
i
Mount the boom arm using the (3) wing-nuts. For XL
systems, there are separate ‘left’ and ‘right’ arms- just
make sure that the arm is ‘pointing’ forward on each side.


