manualshive.com logo in svg
background image

3

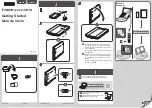
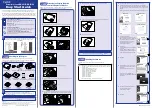
Positioning Documents

1.  Raise the scanner lid.

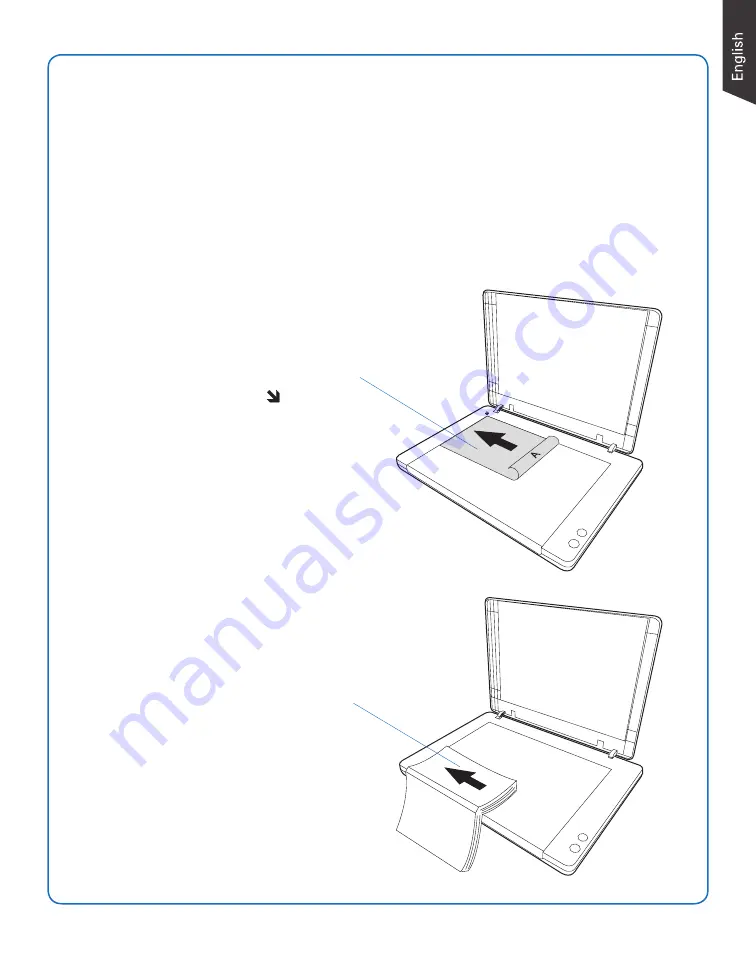
2.  Place the document to be scanned facing down on the glass surface of the scanner. 

Position the top end of the document toward the left side of the scanner, with its edge 

firmly aligned against the vertical ruler of the scanner (shown in the graphic below).

3.  Lower the scanner lid.

To scan a single-sheet of document:

With the document facing down on the 

glass surface of the scanner, align the 

document along the vertical ruler and 

set it to the Arrow mark (  )on the 

upper left corner of the scanner’s glass 

surface.

To scan a book or thick documents:

You may lift up the scanner lid out 

from its hinge sockets.  Then, align the 

inner margin of a book along the side 

of the glass surface of the scanner as 

indicated in the graphic.

Содержание XT5830 HS

Страница 1: ...oftware Unpack your scanner package and check for major components 1 Scanner 2 Hi Speed USB cable 3 Software CDs DVDs 4 Power cord 5 Power adapter A Turn on your computer B Place the Microtek Software CD DVD into a drive and follow the on screen instructions to install the scanner driver and software C Restart your computer at the end of all software installation NOTE If the Microtek Software Inst...

Страница 2: ... interface in the ScanWizard DI refer to the scanner s User s Manual for more details To the power adapter A Connect the power adapter to the back of the scanner B Plug one end of the power cord into the power adapter and plug the other end of the power cord into a wall outlet or other power source To the Hi Speed USB cable C Connect one end of the cable to your computer D Connect the other end of...

Страница 3: ...n the graphic below 3 Lower the scanner lid To scan a single sheet of document With the document facing down on the glass surface of the scanner align the document along the vertical ruler and set it to the Arrow mark on the upper left corner of the scanner s glass surface To scan a book or thick documents You may lift up the scanner lid out from its hinge sockets Then align the inner margin of a ...

Страница 4: ...ion to scan the image in color or non color based on the automatic judgement and detection of the system Select Complex to scan the image in color grayscale or non color based on the customization c Select a dimension in the Paper Size as your preview image size d Select a desired resolution in the Resolution for your image output resolution e If Auto crop Auto deskew is selected the scanner autom...

Страница 5: ...rn to the Main interface of ScanWizard DI 10 In the Main interface click the File Format menu button to select a file format for the scanned images 11 In the Main interface click the File Name menu button to specify a file naming method for the scanned images 12 In the Main interface select and click the Normal Scan button to start scanning When done the scanned images will be automatically saved ...

Страница 6: ...AP control panel Main interface TWAIN driver control panel Scan Setup interface File Location menu box Click on a thumbnail image to enlarge it in the Image View Window at the right side of the interface ...

Страница 7: ... on your screen Click the Cancel button and close the ScanWizard DI Control Panel Disconnect the Hi Speed USB cable from the back of your computer and refer to the installation instructions in this document 3 When trying to scan an error message appears on your screen that reads Can t Find Scanners Make sure your scanner is connected to your computer and plugged in to a power source see Step 3 Uni...

Страница 8: ...r computer system properly later please go to the Microtek Download Service site at ww7 microtek com tw service php to download and install any updates you may require For additional information about Microtek products please visit our website at www microtek com Copyright 2015 Microtek Microtek ScanMaker ArtixScan ScanWizard and ColoRescue are trademarks or registered trademarks of Microtek Inter...

Отзывы: