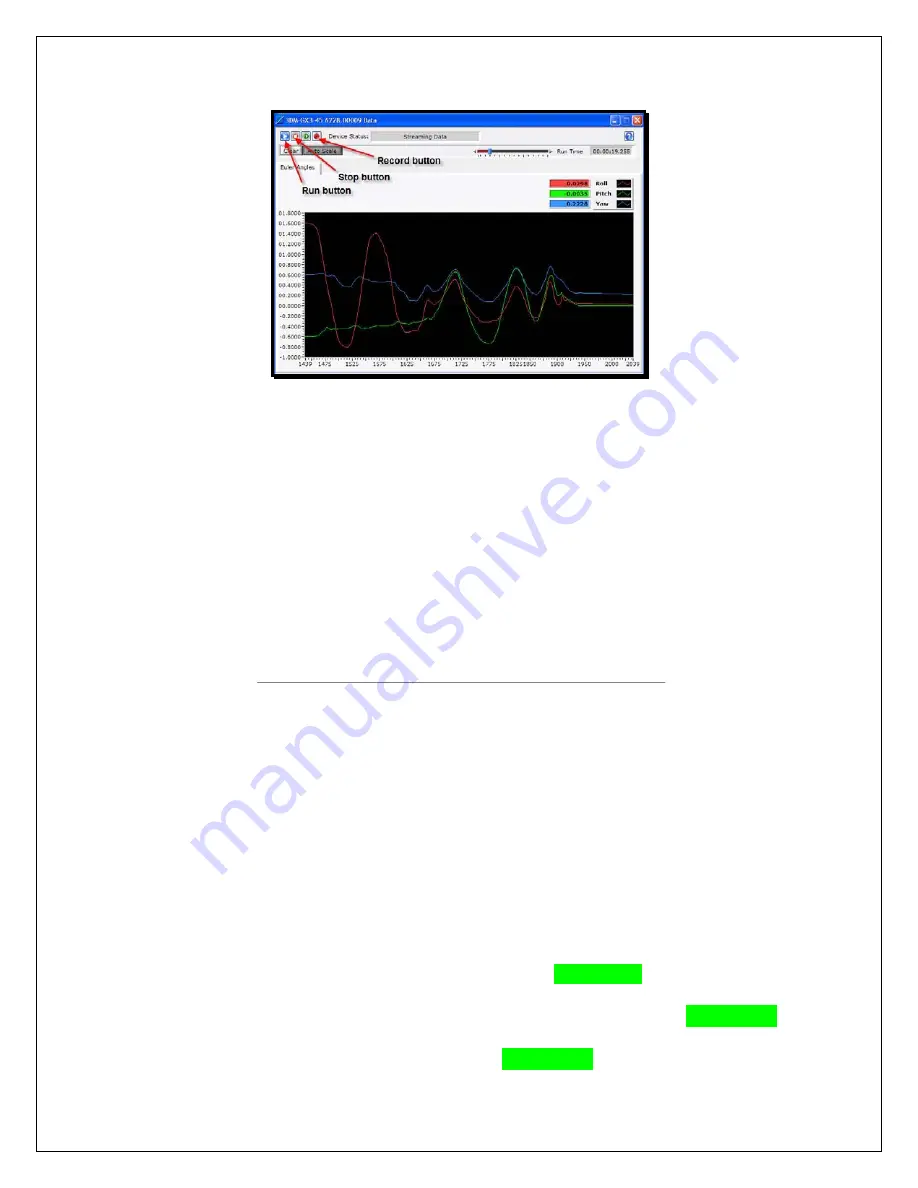
Figure 4. Data Monitor window
•
Click the Record button and the Log File Format window will appear.
•
Select Spreadsheet File in the drop-down.
•
Click OK and the Choose or Enter Path of File window will appear.
•
You may choose to navigate to a folder to save your data file and/or create a new file
name.
•
Click OK and the Choose window will disappear.
•
The Euler Angle data will now be written to the data file as it is displayed on the graph.
•
Click the Stop button and the 3DM-GX3
®
-45 will stop sampling.
•
Click the red
X
in the upper right hand corner of the Data Monitor window and it will
disappear.
•
The AHRS is operational!
Let’s move to the GPS.
•
Click Settings.
•
Click GPS and the GPS Settings window will appear.
•
Select Hardware Status in the GPS Message Format pane by clicking the drop-down
arrow as shown in Figure 5. Leave the default sampling rate of 1Hz as-is.
•
Continue by selecting LLH Position, GPS Time and UTC Time as shown in Figure 6.
•
Click OK and the GPS Settings window will disappear.
•
Click View and a drop-down menu will appear.
•
Click Data Monitor and the Data Monitor window will appear.
•
Click the Run button in the tool bar.
•
The 3DM-GX3
®
-45 will begin sampling.
•
Click the GPS tab and the GPS view will appear as shown in Figure 7.
•
Observe the colored indicators to the left of the 3 parameters in the Hardware Status
pane. To lock-on to GPS, these indicators must all be bright green.
Note:
GPS does not
work indoors. Move your antenna to a window sill or outside so that it ‘sees’ the sky.
•
Observe your Latitude, Longitude and Height in the LLH Position pane. Bright green
indicates a lock-on to the GPS satellites.
•
Observe the time in the GPS, UTC Time pane. Bright green indicates a lock-on to the
GPS satellites.
4
•
The GPS is operational!


