microHAM © 2010 All rights reserved
Options | USB:
Noise immunity: selects how many times an undelivered USB packet will be repeated before the USB
device is disconnected from the operating system.
Response time: selects how long the USB interface will wait for additional data before sending data to
the operating system.
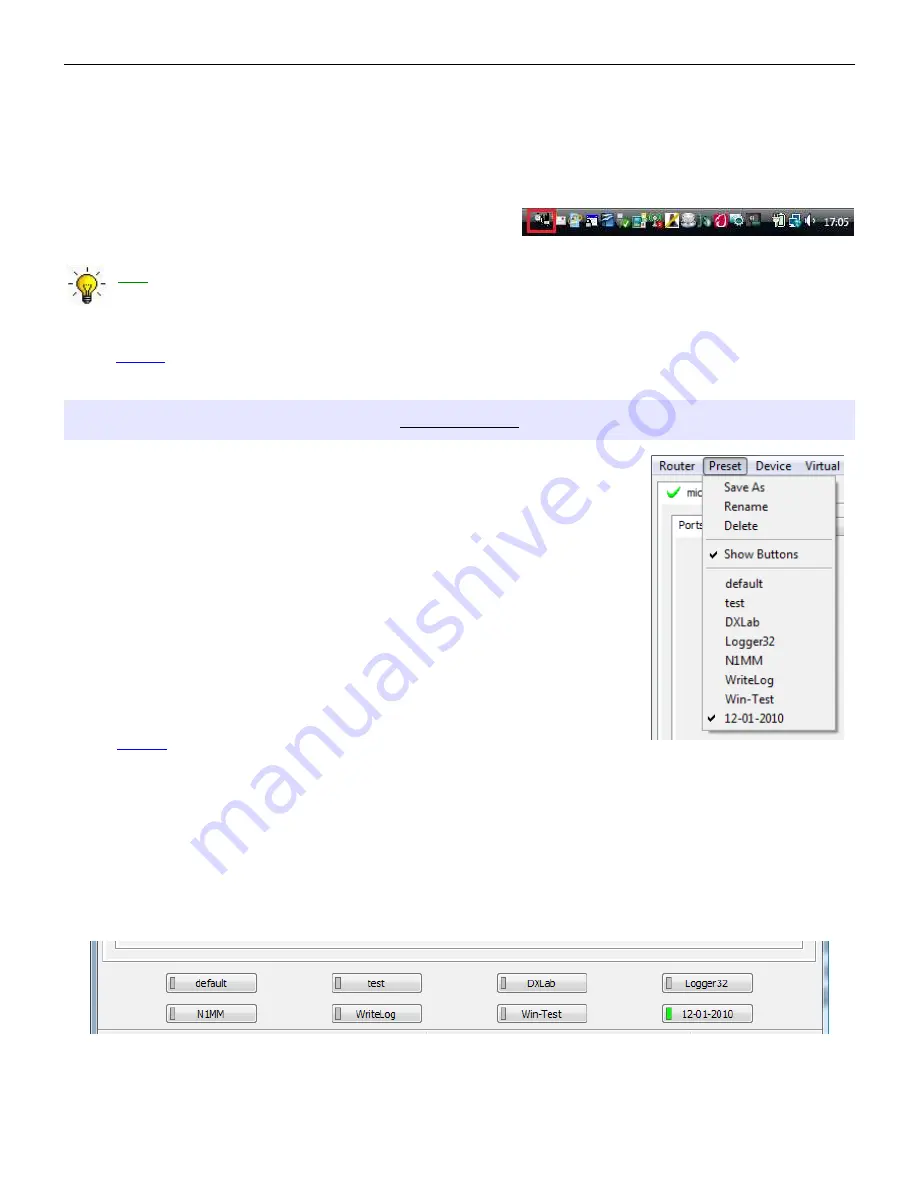
Minimize: Clicking this will minimize Router to the system tray
at the bottom right corner of the Windows Task Bar (the
"System Notification Area").
TIP: When Router is minimized you can restore it by double-clicking on the Router tray icon. You can
also restore Router by double-clicking on the Router icon on the desktop or in the Programs menu.
Exit: Clicking on this item will terminate Router.
NOTE: when Router is terminated the virtual ports will be closed and application software will be unable
to communicate with microKEYER II and the radio.
PRESET MENU
The requirements of each application (logging, control and digital mode programs)
are different. Each program handles radio control, CW, FSK, PTT, and the sound
card its own way. In some cases, what works for one application may not work
properly with another. To get maximum performance from microKEYER II, the
user should create customized settings for each application used.
For easy switching among applications, Router supports up to 12 user definable
Presets. Different configurations can be stored in these presets and recalled
almost instantly simply by clicking on the preset button.
Each preset contains the settings for all devices connected to, and controlled by,
Router. For example, if Router controls a microKEYER II, a USB Interface II and
Station Master, each preset remembers the settings for all devices including the
assignment of COM ports and the contents of all sub-tabs except the FSK/CW
Messages and DVK tabs.
NOTE: Presets are not available until they have been created and saved
by the user using Preset | Save as. For sample configurations for popular software, refer to the Setup
Guide documents available in Router Help menu. Use Help | Download Documents if the Setup
Guides are not available or incomplete.
There are three ways to apply a preset once it is created:
1. Click on Preset and select from the pull-down menu.
2. Click on a preset button. For the buttons to be visible in Router, Preset | Show Buttons must be
checked. When the settings from a preset are applied, a green light located in the preset button is lit.
This green light is on ONLY when all settings in Router are same as those stored in the preset.
15


