35
34
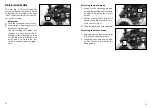
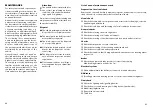
Adjusting the selection lever
After adjustment to a greater seat
width a correction of the selection le-
ver (fig. 43.1/
➀
) might be necessary.
Tools:
1 x hexagonal stud wrench WW* 3
– Loosen the clamping screw (fig.
43.1/
➁
) and swivel the selection
lever outward or inward as need-
ed.
– To fix the selection lever retighten
the clamping screw (fig. 43.1/
➁
).
!
Attention:
The distance between the clothes
guard and the ball of the selection
lever should be about 3 cm.
– Danger of crushing!
Adjustment is done in connection
with a change of the seat width and
is to be done by an authorised spe-
cialist workshop!
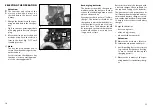
Repositioning the armrest
cushion
Tools:
1 x screw driver
By displacing the armrests the resting
position can be adapted for example
to a changed seat depth.
43.1
44
42
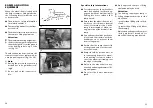
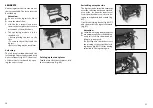
Remove the armrest
(Fig. 40)
Slacken the clamping screw (fig. 41/
➀
) and pull off the armrest upwards.
☞
Note:
The operating module must be re-
moved first if the armrest on the
control side is to be detached.
To remove the control unit, slacken the
clamping screw (fig. 42/
➁
).
☞
Note:
Carefully route the cable when
doing this.
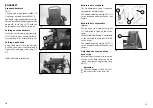
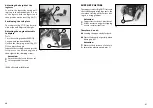
Adjustment of seat width
The seat width can be adjusted by a
lateral displacement of the armrests.
Displace both armrests by an equal
distance after slackening the clamping
screw (fig. 43/
➂
) on both sides.
!
Attention:
The maximum seat width has been
reached when a marking is visible
on the square tube.
A reduction of the seat width to
less than 43 cm is possible by
switching the two armrests.
The retrofit may only be carried out
by an authorised dealer!
41
40
1
3
2
43
3
1
2
!
Attention:
The retrofit may only be carried out
by an authorised dealer!
– After removing the countersunk
screws (fig. 44/
➂
) the armrest can
be displaced.
*WW = Wrench width (mm)


