3-8
Operation
Section 3
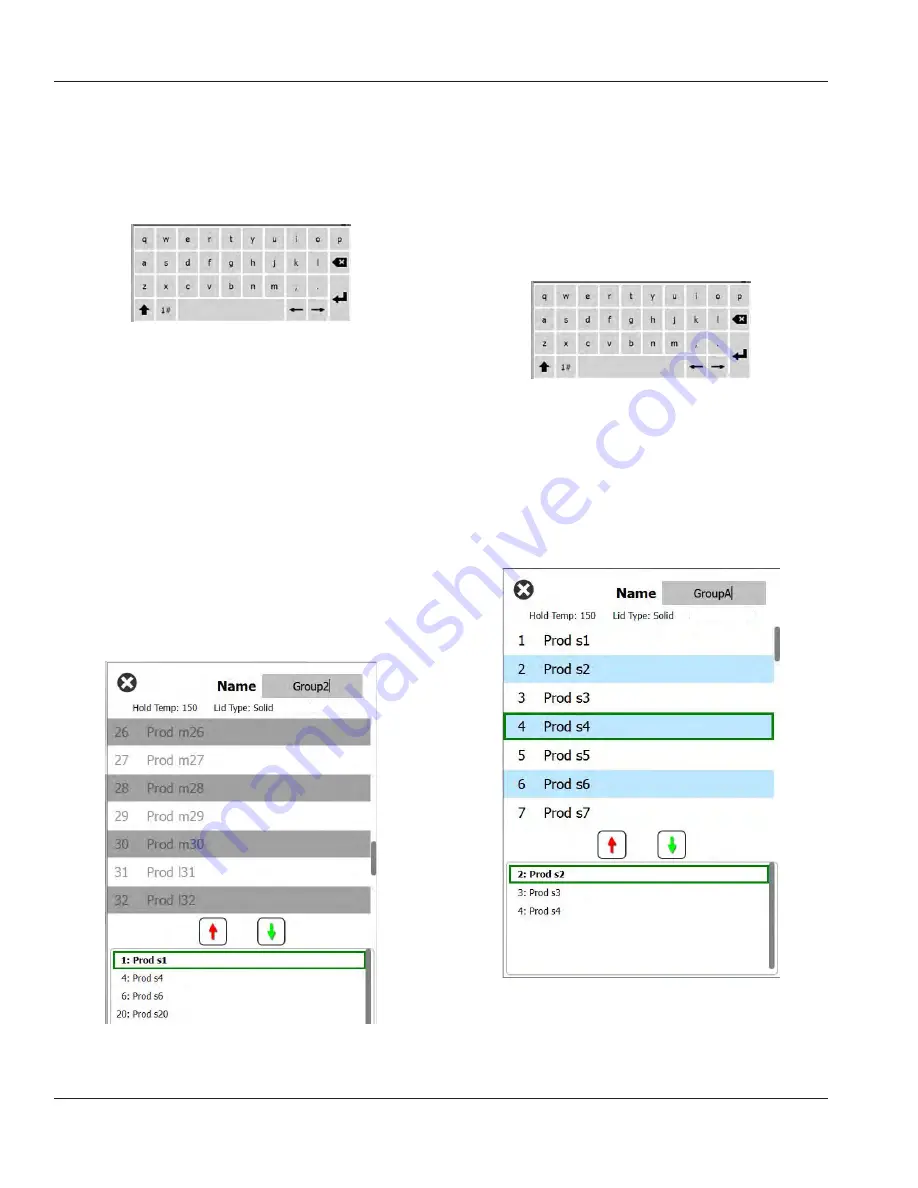
Select the group to be edited and the edit icon, a pencil. In
the pop up window the group will appear. You can edit the
group name and add or remove products.
Click inside the name box and a keyboard will appear. When
the group name is edited select the return key (bottom
right).
Pop Up Keyboard
Under the name are the group specifications. Only products
that match will be highlighted and available for adding.
• Select a new product for the group and the green arrow
to add it.
• Select an existing product in the group and the red
arrow to remove it.
• To select the default product for the group (product to
be displayed when the daypart is selected), hold your
finger on that product for three seconds.
• While the unit is in the Press & Go mode the names can
be scrolled from left to right in the same order as they
are listed in the group top to bottom. Delete products
and add them back in to create the desired order.
When the edits are compete return to the group screen by
selecting the X in the top left corner.
Zone Splits: 1
To add a group, select the group page add icon, +. A pop up
window will appear. Click inside the name box and use the
keyboard to enter the group name. Select the return key
(bottom right) and the keyboard will close.
NOTE: Name groups so they are recognizable as groups,
perhaps starting with G or Group. When editing the day
parts to add the group, the name is all that is displayed in
the scrolling list. If it does not stand out as a group it will
appear as just another product.
Pop Up Keyboard
Select a product for the group and the green arrow to add
it. That first product will determine the group specifications,
listed under the group name. Going forward product with
the wrong specifications, not available to be added to the
group, will be grayed out. Continue to add products to the
group. To remove a product, select it and the red arrow.
When the group is complete save it and return to the group
screen by selecting the X in the top left corner.
Zone Splits: 1
Содержание MHU63SST2N
Страница 38: ...6 1 Section 6 Wiring Diagrams MHU63 6x3 Wiring ...
Страница 39: ...THIS PAGE INTENTIONALLY LEFT BLANK ...


