Memorex MyVideo MCC225 Скачать руководство пользователя страница 12

22

EN

Section 8 

 Specifications and System Requirements

Specification

Image sensor

5 Mega pixel CMOS sensor

Operation modes

Video record, Photo record

Lens

2 Step Fix Lens (f=7.27mm; F3.25 )

Focus range

Macro: 20cm 
Normal: 200cm ~ 

infinite

Zoom

1X~3X (3X Digital)

Shutter

Electronic

LCD monitor

2.0”LCD (Measured diagonally) 

Storage media

Built-in 4GB memory (200MB of memory is used for system software) 
Record up to 1 hr of HD video, 2 hrs of VGA video or 2,000 photos

Image resolution

2592x1944 (5M Pixels) 

Video resolution

HD 1280X720(30fps) 
VGA 640X480(30fps)

Exposure

+1EV~ -1EV

Power Source

USB Power

Battery Recording Time

2 hours 30 minutes

File format

Photo: JPG (Baseline) 
Video: MOV

Image play

Single Image

Speaker

1 x 8 ohm

PC interface

USB 2.0 Port

HDMI

HDMI 1.2

TV out

NTSC/PAL Selectable, HDMI

Battery

Lithium-ion Rechargeable Battery (NP-60, 3.7V 1050mAhr)

Dimension

4.19(H) x 2.36(W) x 0.71(D) inches

Weight

0.16 lb (without battery)

Minimum System Requirement

Windows: 

Microsoft Windows XP/Vista 


Pentium IV 3.0 GHz or equivalent AMD Athlon 


Intel


®

 Core™ 2 Duo CPU E6300 processor (or higher 

recommended), AMD Athlon 64 X2 3800+ or higher for 

HD Video 

512 MB RAM (1GB recommended) 


(2GB Ram For HD) 

300 MB available hard disk space 


NVIDIA FX5200 or ATI 9200 (or higher) 


1024 x 768 pixels, 32-bit color monitor 


  Note

The  LCD  screen  is  manufactured  using  extremely  high-precision  technology  so  over  99.99% 

of  the  pixels  are  operational  for  effective  use.  However,  some  tiny  black  and/or  bright  dots 

(white, red, blue or green) may appear on the LCD screen. These dots are a normal result of the 

manufacturing process, and do not affect the recording quality.

Macintosh: 

Mac OS 10.3, 10.4, 10.5 


PowerPC G4 800 MHz processor  


or Intel processor 

512 MB RAM 


150 MB available hard disk space


800 × 600 pixels, 16-bit color monitor 


23

EN

Reset the Camcorder

If the camcorder acts erratically, reset it by removing the battery. Then reload the battery and turn on 
the camcorder again.

Formatting the Camcorder

  WARNING!

The contained video/photo editing software may lost by formatting the camcorder. 
Do not format this camcorder unless it stops working and you are instructed to do so by
technical support personnel. 

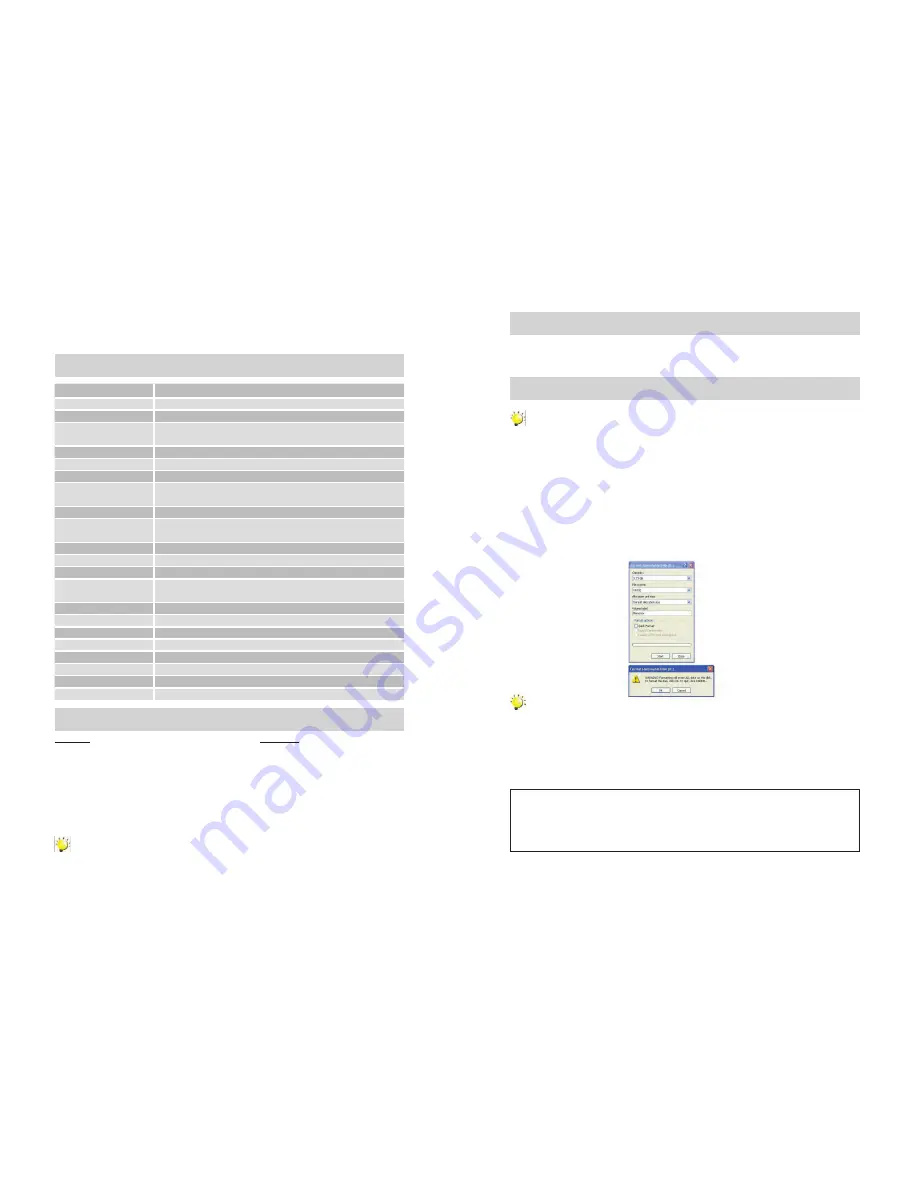
To format the camcorder:

Press the USB latch down and the USB arm pops out automatically.

1. 

Connect the camcorder to the computer.

2. 

Double click on [My Computer], then right click [Memorex] and left click on [Format].

3. 

At the “Format” window, click [OK] to 

confirm

 and the camcorder will start to format (see 

figure


4. 

below). When 

finished,

 click [OK] to close the Format window.

  Note

Make sure you have selected "FAT 32" at the 

file

 system pull-down menu; otherwise, after 

formatting, the camera will not work properly. Then, click [OK] to 

confirm

 and the camcorder  

will start to format. When 

finished,

 click [Close] to close the Format window.

For Firmware Upgrade


Please visit our Web site at www.memorex.com to check if there is new 

firmware

 available.

IMPORTANT NOTE:

 Before upgrading the 

firmware,

 please back-up all of your media 

files

 on your 

computer. After upgrading, format the unit to complete the upgrade procedure.

FOR ADDITIONAL SET-UP OR OPERATING ASSISTANCE, PLEASE VISIT OUR WEBSITE AT:

WWW.MEMOREX.COM

FOR CONSUMER REPLACEABLE PART(S), SEE PART NUMBER(S) ON PAGE 4, AND THEN 

CONTACT OUR PARTS FULFILMENT CENTER, FOX INTERNATIONAL AT: 1-800-321-6993.

Содержание MyVideo MCC225

Страница 1: ......

Страница 2: ...ding interference that may cause undesired operation Modifications not authorized by the m anufacturer may void user s authority to operate this device SAFETY PRECAUTIONS Be sure to observe the follow...

Страница 3: ...A7355L A02 Front Rear View Mirror Frame your reflection to photograph or record yourself Left Button Playback Play Pause Button Right Button Screen Delete Button Up Button Zoom In Speaker Down Button...

Страница 4: ...njury 3 2 1 2 Express charging Mode In normal charging mode press Record Enter Button to switch to express charging mode Press again to return to Normal Charging Mode Express charging time is approxim...

Страница 5: ...evious next video photo Press Playback Button to play pause recorded video Press Record Enter Button to return to Preview Mode Note To conserve battery power the camcorder will turn itself off automat...

Страница 6: ...Button to switch to Playback Mode Press Left Right Buttons to view the previous next video photo Press Playback Button to play pause recorded video Photo Recording Press Left Right Buttons repeatedly...

Страница 7: ...to enter the delete screen Move between Yes No and All by using Right 2 Left Buttons Press Record Enter Button 3 to con rm Yes No or All Or Press Delete Button to cancel the operation Section 4 Playb...

Страница 8: ...tton to switch to Playback Mode Press Left Right Buttons to view the previous next video photo Press Record Enter Button to return to Preview Mode Press Delete Button to delete the current video or ph...

Страница 9: ...ubmenu Settings Time Date Operation Display Screen In 1 Menu Mode main screen use Direction Button to select TIME DATE Press Record Enter Button 2 to enter the submenu Move between date or time items...

Страница 10: ...ter Button 4 to validate and return to Menu Mode main screen Sound Effects Enable or disable operation sound Operation Display Screen In 1 Menu Mode main screen use Direction Button to select SOUND EF...

Страница 11: ...shown on page 18 Section 7 Viewing Videos and Photo on PC or Mac Installing Bundled Software ArcSoftTM MediaImpression2 editing software is embedded in the internal memory of MyVideoTM To transfer im...

Страница 12: ...normal result of the manufacturing process and do not affect the recording quality Macintosh Mac OS 10 3 10 4 10 5 PowerPC G4 800 MHz processor or Intel processor 512 MB RAM 150 MB available hard dis...

Страница 13: ...ke video photo Memory is full Delete some photos videos see page 12 Power is off Press the Power button to turn on see page 8 Why do some of my indoor pictures look blurry and dark Camcorder extends p...

Страница 14: ...ueva o nieve Si le entra agua o cualquier material extra o a la c mara comcorder ap guela inmediatamente y contacte al centro de servicio autorizado local Da o f sico o mal funcionamiento de la c mara...

Страница 15: ...sione y libere el pestillo USB y empuje el brazo USB hacia atr s hasta que se cierre Press Dos modos de recargar est n disponibles 1 Modo Normal de Carga Cuando MyVideoTM est enchufada a la computador...

Страница 16: ...Entonces ahora es seguro remover la unidad de la computadora Para retraer el USB Presione y libere el pestillo USB y empuje el brazo USB hacia atr s Correa de mano y Uso del Tr pode Para usar la corre...

Страница 17: ...de Reproducci n presione disminuir el volumen Bot n de Reproducci n 1 En el modo de Vista Previa presione para cambiar al modo de Reproducci n 2 Presione para grabar pausar video grabado Bot n para B...

Страница 18: ...a objetos ubicados a 20 cm Presione el Bot n Grabar Inicio 2 para tomar videos fotos En el modo Macro el icono macro aparecer en el centro del monitor LCD alrededor de 2 segundos Nota Recordar de devo...

Страница 19: ...nicio Presione para regresar al modo de Vista Previa Bot n de Aumento Presione para aumentar volumen Bot n de Disminuci n Presione para disminuir el volumen Bot n de Reproducci n Presione para reprodu...

Страница 20: ...oducci n presione los Botones de Izquierda Derecha para ver la foto deseada Secci n 5 Configurando su Videoc mara Operaciones para el Modo Men Operaci n Pantalla 1 Presione los Botones de Izquierda De...

Страница 21: ...n para seleccionar las opciones de Idioma 4 Presione el Bot n de Grabar Inicio para confirmar y regrese al Modo de pantalla de Men principal Idiomas disponibles Ingl s Descarte Franc s Espa ol Sistema...

Страница 22: ...ideos almacenados por TV son exactamente los mismos pasos que 4 para verlos en un monitor LCD 16 9 Nota El Panel LCD en la C mara no aparece cuando est conectado a un televisor de alta de nici n HDTV...

Страница 23: ...LCD 2 0 LCD Medido diagonalmente Medios de Almacenamiento Record up to 1 hrs of HD video 2 hrs of VGA video or 2 000 photos Graba hasta 1 hora de video en Alta De nici n 2 horas de video VGA o 2 000 f...

Страница 24: ...la removiendo la bater a Luego recargue la bater a y vuelva a prender su Videoc mara Formateo de su Videoc mara ADVERTENCIA El software de edici n de video foto puede perderse al formatear su Videoc m...

Страница 25: ...re ue y compris interf rence qui puisse provoquer une utilisation ind sirable Des modifications non autoris es par le fabricant peuvent annuler le pouvoir du consommateur utiliser cet appareil CONSIG...

Страница 26: ...ermettre de filmer ou de prendre une photo de vous m me Bouton Gauche Bouton Retour en Arri re Marche Pause Bouton Droit Ecran Bouton Effacer Bouton Vers le Haut faire un zoom Haut parleur Bouton Vers...

Страница 27: ...le bouton Enregistrer Accepter pour passer au mode de chargement Express Appuyer une fois de plus pour repasser au Mode de Chargement Normal le temps de chargement en mode Express est d environ 4 5 h...

Страница 28: ...ri re pour avancer pauser la vid o enregistr e Appuyer sur le bouton Enregistrement Accepter pour retourner au Mode Aper u Remarque Dans le but de conserver l nergie de la pile le cam scope s teindra...

Страница 29: ...le temps appara tra sur l cran LCD Appuyer sur le bouton Enregistrement Accepter une fois de plus pour arr ter Appuyer sur le bouton Retour en Arri re pour passer au mode Retour en Arri re Appuyer su...

Страница 30: ...Effacer pour effacer la vid o photo en cours pr c dente En Mode Retour enArri re appuyer sur les Boutons Gauche Droite pour passer la vid o photo pr c dente suivante Puis appuyer sur le Bouton Effacer...

Страница 31: ...he Droite pour voir la vid o photo pr c dente suivante Appuyer sur le Bouton Enregistrer Accepter pour retourner au Mode Aper u Appuyer sur le Bouton Effacer pour effacer la vid o ou la photo en cours...

Страница 32: ...du Mode Menu Heure Date Op ration Affichage sur Ecran En Mode Menu utiliser le Bouton de Direction 1 pour choisir HEURE DATE Appuyer sur le bouton Enregistrer Accepter 2 pour acc der au menu secondair...

Страница 33: ...page principale du mode Menu Effets Sonores Activer ou d sactiver le son Op ration Affichage sur cran Sur la page principale du Mode Menu utiliser 1 le Bouton de Direction pour choisir EFFETS SONORES...

Страница 34: ...ien r gl sur le standard vid o correct comme il est indiqu page 64 7 me Partie Voir Vid os et Photos sur Ordinateur PC ou Mac Installation du Logiciel Inclus ArcSoft MediaImpression2 est un logiciel d...

Страница 35: ...5 Processeur PowerPC G4 800 MHz ou Processeur Intel 512 MB de m moire RAM 150 MB de m moire disponible en disque dur 800 600 pixels Ecran couleur 16 bit 69 FR Remise Jour du Cam scoper Si le cam scope...

Страница 36: ...pteur de Macro sur le Mode Normal Mode Normal pour des objets a une distance minimum de 200cm voir page 57 La r solution est trop basse R gler la r solution sur Haute voir page 57 Ne peut pas lmer de...

Отзывы: