Copyright © 2015, Melnor, Inc.
15043_INS_E_00
TM
8
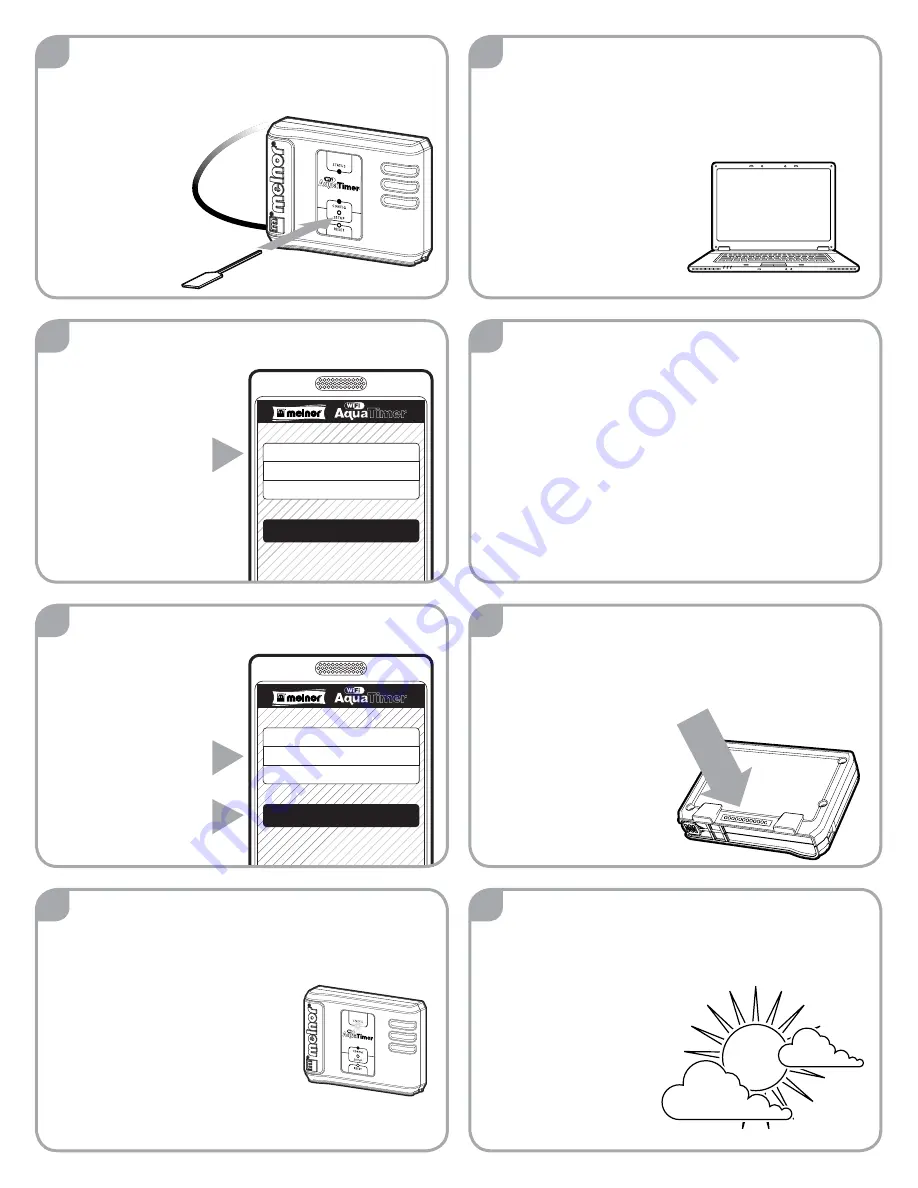
Remove the Yellow Setup Tool from the bottom
of the Control Unit and gently push it into the
“Setup” button until the
“CONFIG” light is lit solid
and the “STATUS”
light goes out.
13
Go to:
www.wifiaquatimer.com
Click on “Register” on the top menu bar.
Follow the prompts to setup your account.
Once registered, you will need to log in using the
password you just created.
Note:
It is important for you to remember your login
information. You will need to access this website to
program and review your WiFi AquaTimer.
12
You no longer need the Melnor AquaTimer
Configuration app. You can turn it off and uninstall it
at anytime. If you ever need to setup your timer on
another WiFi network, you can easily reinstall the app.
Moving forward, everything
can be completed using
any web browser on a smart
phone, tablet or computer.
14
The website will then prompt you to enter the serial
number of your Control Unit.
You can find the 12-character serial number on the
back of the Control Unit.
TM
SSID
Network Name
Password
xxxxxx
Gateway IP Address 192.168.000.000
Start
10
Enter the network
password for your WiFi
home network.
The app will use this
information to add your
WiFi AquaTimer to
your WiFi home
network.
Press “Start”.
TM
SSID
Network Name
Password
xxxxxx
Gateway IP Address 192.168.000.000
Start
9
Launch the app.
Beside “SSID” you should
see the name of your WiFi
home network.
If you don’t see the
correct network name,
your smart device is not
connected to the WiFi
network.
15
Next, you enter your postal code.
This information is used to provide
local weather information.
11
On the Control Unit, watch for the Config light to
go out and the Status light to begin flashing.
This process may take several minutes. Please be
patient.
Congratulations, the Control Unit
is now connected to your
home WiFi network.
Note:
Depending on your network,
the app may or may not confirm the
connection. If the Status light has started blinking,
the unit is connected.
TM


