42
Service
•
Have your appliance repaired only
by qualified specialists and only with
original spare parts.
This way it is
ensured that the appliance remains
safe to use.
6 – Safety instructions
relating specifically to
the equipment
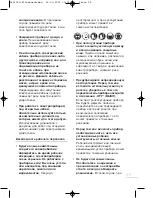
• Wear protective goggles and gloves
and, if necessary, ear protectors and
breathing mask.
• Always fix the tool down securely on
an even surface, if necessary, using
clamping fixtures.
• Never feed the work-piece to be
machined to the tool by hand! Use for
this either a small piece of wood or
the plastic guide block supplied with
the tool.
• Never use cracked or segmented saw
blades.
• Before starting work always check the
water level in the cooling water reservoir
and, if necessary, fill or top it up with
water. If cutting for longer periods,
check the water level from time to time.
• Before starting work allow the cutting
wheel to reach the required speed.
• After switching off wait for the cutting
wheel to stop rotating. NEVER TRY
TO BRAKE IT!
• Always ensure that the protective
hood (3) is fitted and can move freely.
• Replace faulty protective hoods
immediately.
• To avoid hazards, damaged power
leads must be replaced by the
manufacturer or his customer service
representative.
7 – Installation and setting
Selecting and replacing the diamond
cutting wheel
WARNING! Pull out power plug.
Remove the water reservoir and the plastic
hood and insulating plate underneath the
work plate (Fig. 2). Undo the outer
hexagonal screw. Remove the flange and
replace the diamond cutting wheel (Fig. 3).
Reassemble in the reverse order.
WARNING! Make sure that the
arrow showing the direction of
rotation on the new cutting wheel
points in the same direction as the
arrow on the protective hood on the
work plate.
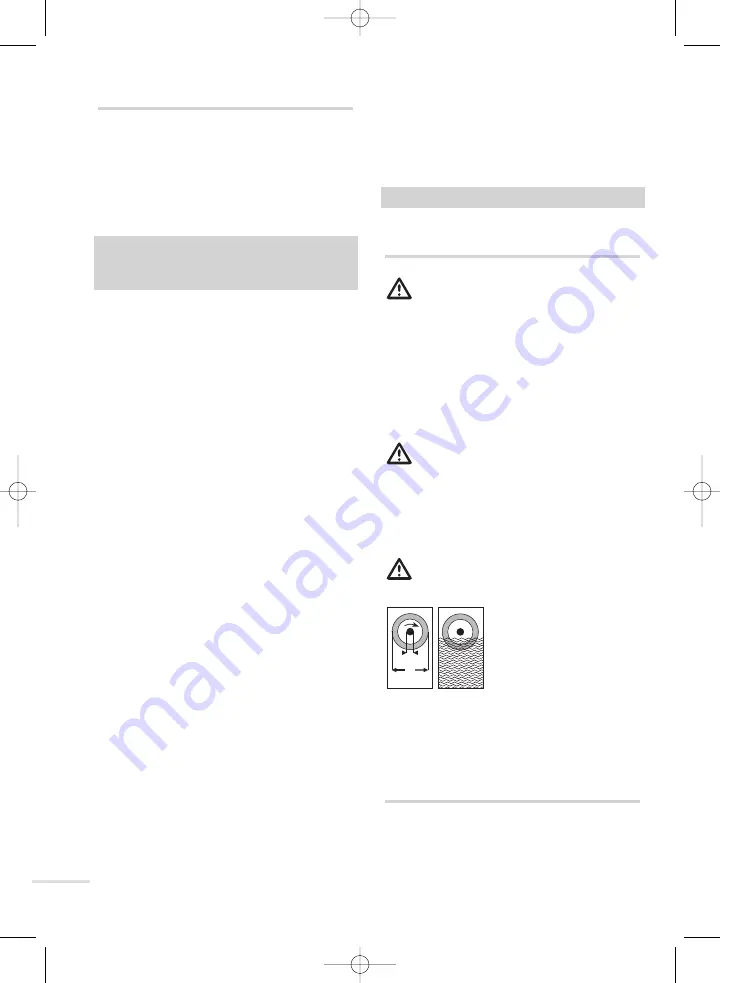
IMPORTANT! Use only MPA-
tested diamond cutting wheels.
Check the ring cutter
for hairline cracks
and deformation
before using, and, if
necessary, replace
the disc. Always use
suitable diamond discs for wet
cutting. The choice of disc depends
on the material to be cut, so always
follow the maker’s instructions.
Parallel stop
The parallel stop enables cuts to be
made lengthways along the work-piece.
For this simply set at the desired
DIAMANT
180
mm
25,4
mm
5461050-Fliesensch-man 12.03.2007 13:34 Uhr Seite 42
Содержание 5461050
Страница 3: ...3 1 4 8 3 6 8 13 Abb 1 12 9 7 11 10 0 45 5461050 Fliesensch man 12 03 2007 13 34 Uhr Seite 3...
Страница 4: ...4 MONTAGE 4 11 6 4 11 6 3 4 11 1a 1b 1c 5461050 Fliesensch man 12 03 2007 13 34 Uhr Seite 4...
Страница 46: ...46 4 35 7 5 10 11 12 13 5461050 Fliesensch man 12 03 2007 13 35 Uhr Seite 46...
Страница 47: ...47 D 7 OFF 7 D 5461050 Fliesensch man 12 03 2007 13 35 Uhr Seite 47...
Страница 48: ...48 6 5461050 Fliesensch man 12 03 2007 13 35 Uhr Seite 48...
Страница 49: ...49 3 7 7 2 3 MPA DIAMANT 180 mm 25 4 mm 5461050 Fliesensch man 12 03 2007 13 35 Uhr Seite 49...
Страница 51: ...51 5 10 10 11 MeisterCRAFT MeisterCRAFT S 7 5461050 Fliesensch man 12 03 2007 13 35 Uhr Seite 51...
Страница 52: ...52 MEISTER WERKZEUGE MeisterCRAFT 5461050 Fliesensch man 12 03 2007 13 35 Uhr Seite 52...
Страница 54: ...54 4 35 5 10 11 12 13 5461050 Fliesensch man 12 03 2007 13 35 Uhr Seite 54...
Страница 55: ...55 OFF 5461050 Fliesensch man 12 03 2007 13 35 Uhr Seite 55...
Страница 56: ...56 5461050 Fliesensch man 12 03 2007 13 35 Uhr Seite 56...
Страница 57: ...57 6 7 2 3 A HO MPA DIAMANT 180 mm 25 4 mm 5461050 Fliesensch man 12 03 2007 13 35 Uhr Seite 57...
Страница 58: ...58 13 45 9 8 FI 5 TEST FI RESET FI FI L I 0 45 5461050 Fliesensch man 12 03 2007 13 35 Uhr Seite 58...
Страница 59: ...59 1 0 9 5 10 10 11 MeisterCRAFT MeisterCRAFT 5461050 Fliesensch man 12 03 2007 13 35 Uhr Seite 59...
Страница 60: ...60 MEISTER WERKZEUGE MeisterCRAFT 5461050 Fliesensch man 12 03 2007 13 35 Uhr Seite 60...
Страница 89: ...89 5461050 Fliesensch man 12 03 2007 13 35 Uhr Seite 89...
Страница 91: ...91 5461050 Fliesensch man 12 03 2007 13 35 Uhr Seite 91...

