Page 16
Expand the ‘Ports section in Device Manager. One serial port should
be allocated to ‘Megger Device (COMxx)’ where xx is the port
number.
If the Bluetooth interface is to be used, expand the ports in Device
Manager and ensure that a Standard Serial over Bluetooth link
(COMxx) has been allocated. There will be two ports which look
similar, for example one may be COM6 and the other COM7. The
lower number is to be used for PowerDB Lite.
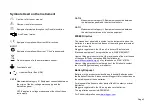
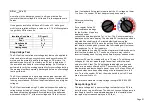
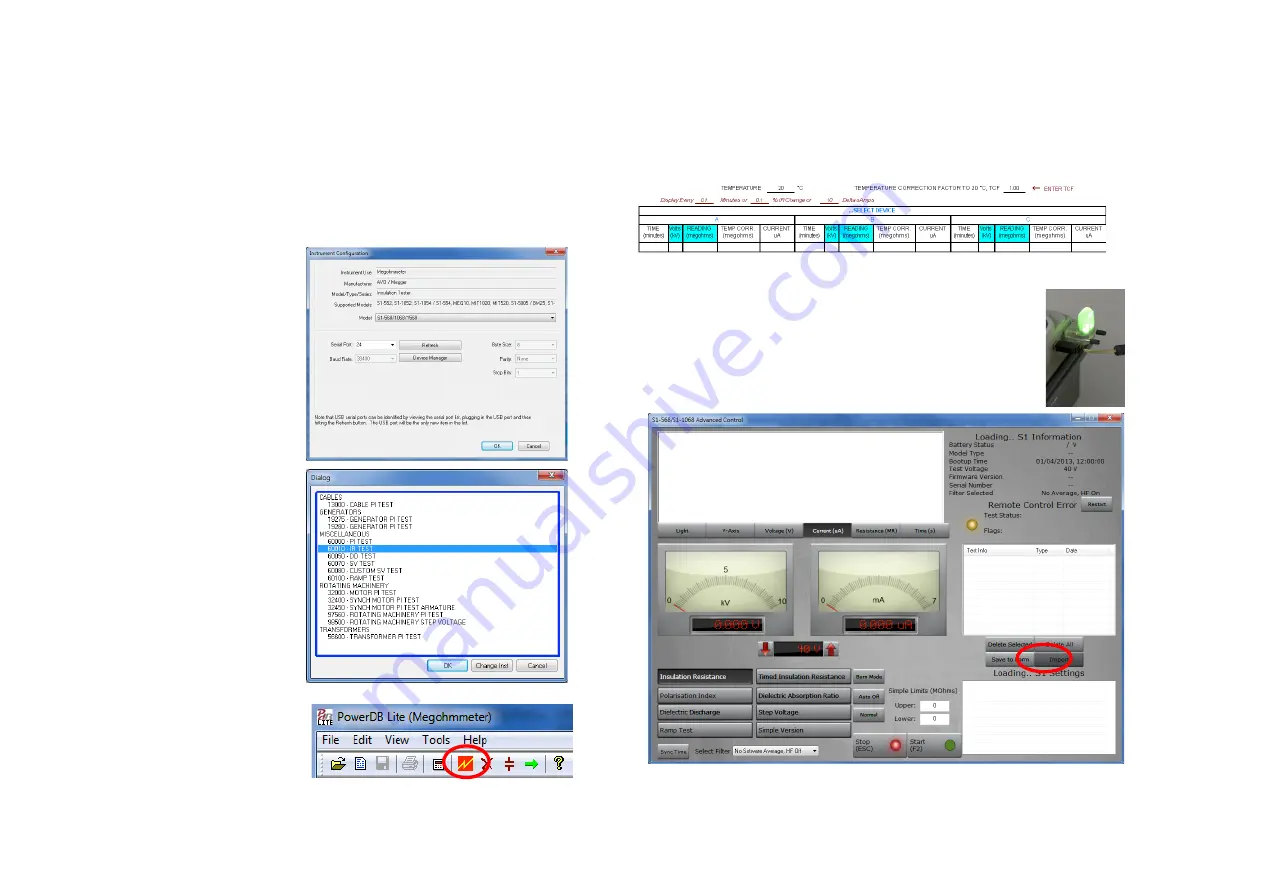
Ensure that port number xx is
allocated correctly in the
Instrument Configuration
window, then click the OK to
complete configuration after
ensuring that the correct model
is selected.
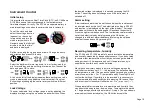
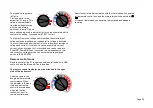
Select the required test mode
from the
Select a Form
window and click OK to
continue.
After the form loads, click the
‘zap’ icon on the toolbar to
initialise the instrument. An ‘OK’
confirmation appears at the top
of the form if communications
have been successful.
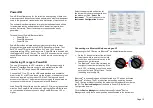
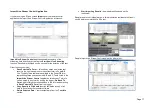
Scroll down the PowerDB form until you see a table with cyan filled
headers. RIGHT CLICK once on one of the cyan coloured areas to activate
the S1-Series remote control
application. The cyan filled cells represent
three phases A, B and C. Right clicking on a phase will open up the
appropriate application.
S1 and Remote Control Application
To use the remote control application the remote control
safety beacon must be inserted into the 9-pin socket found
adjacent to the USB port on the right side of the instrument as
you look at it. All manual test functions are available in
remote control as well as real-time streaming of test data and
a graphical representation of resistance, voltage or current in
the top left window.
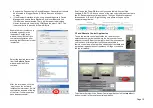
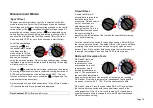
To activate the Import/Live Stream Control application click the
Import
soft
button (circled) in the remote control application.


