14
PowerDB
PowerDB is software used for the collection and reporting of
data from maintenance and inspection activities performed on
electrical equipment used in the generation, transmission, and
distribution of electric power.
The software includes interfaces for many test instruments and
allows for automated testing and data acquisition, as well as
imports from various file formats. Result and summary reports
can be easily generated.
Three editions of PowerDB are available:
•
PowerDB Pro
•
PowerDB Advanced
•
PowerDB Lite
PowerDB provides a simple and consistent user interface to
many Megger instruments including the DELTA Series Power
Factor Test Sets, 3-Phase TTR units, earth testers, 5 kV, 10
kV and 15 kV insulation resistance testers (IRTs), and many
more. PowerDB Lite is bundled with the Megger’s MIT and S1-
Series. The new S1-Series has remote control capability and a
specific application to enable remote control testing of assets.
Interfacing MIT range to PowerDB
The MIT range has a USB cable connection.
Connect the MIT to a PC via the USB cable provided and
enable the driver for the S1 / MIT to be found via the internet,
or alternatively, load the version supplied on the product CD if
the PC being used has no access to the internet. The
instrument does not need to be powered up to respond to the
driver as it is powered via the USB cable.
Load PowerDB Lite software from the product CD, this may
take several minutes. Run PowerDB Lite software by clicking
the PowerDB Lite icon on your desktop. Make sure you are
using PowerDB version 10.5 or higher.
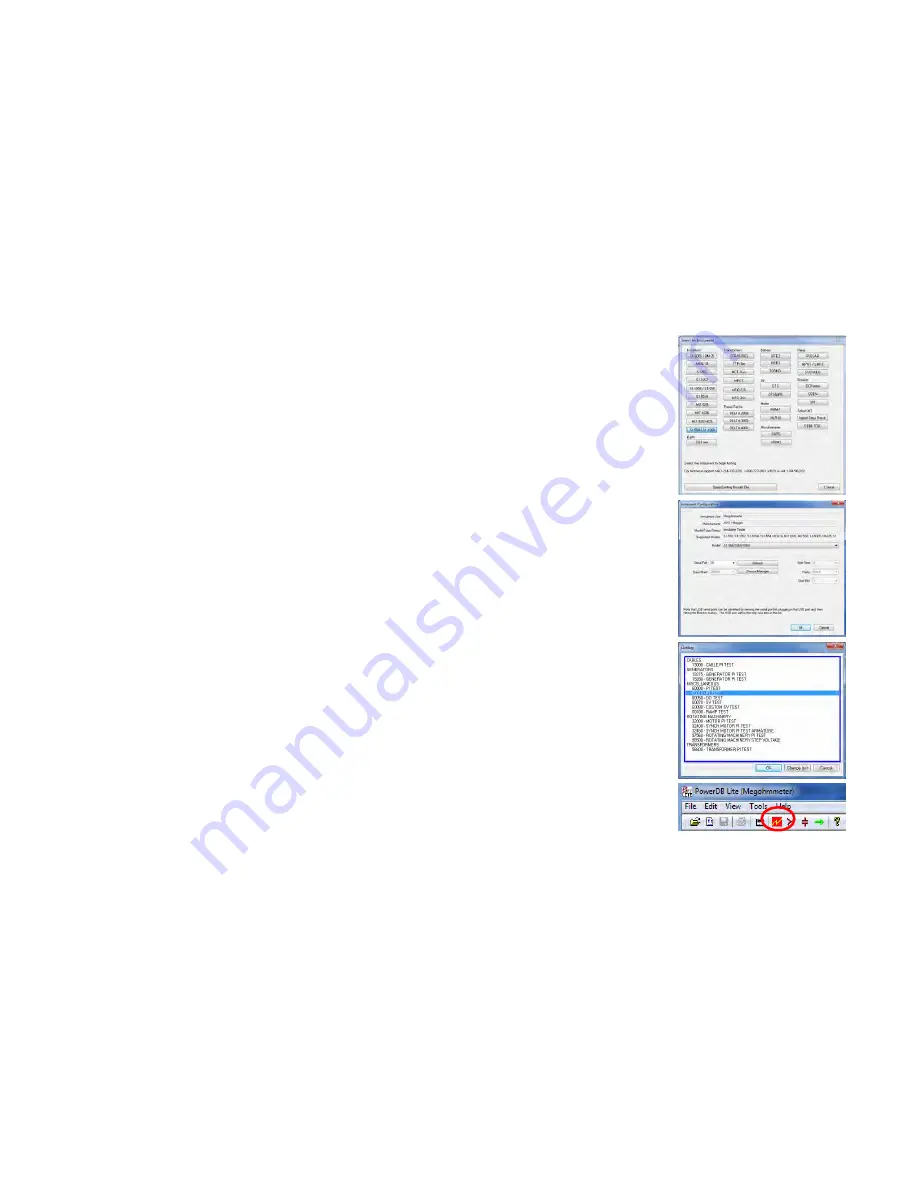
Select the appropriate soft button for the
instrument you are testing with from the
window entitled, “
Select An
Instrument
”. This will take you to the
Instrument Configuration
window.
Expand the ‘Ports’ section in Device
Manager. One serial port should be
allocated to ‘Megger Device (COMxx)’
where xx is the port number.
Ensure that port number xx is allocated
correctly in the Instrument Configuration
window, then click the OK to complete
configuration after ensuring that the
correct model is selected.
Select the required test mode from the
Select a Form
window and click OK to
continue.
After the form loads, click the ‘zap’ icon
on the toolbar to initialise the instrument.
An ‘OK’ confirmation appears at the top
of the form if communications have been
successful.


