MEDIZS Smart LC-13 Скачать руководство пользователя страница 18


18 

5.


Operating Instructions 

5-1.


Basic Operation   


Turn on the power switch of LC-13 


White light will be shown on the IR receiver window 


After loading, VA 0.05 Chart will be displayed. 

5-2.


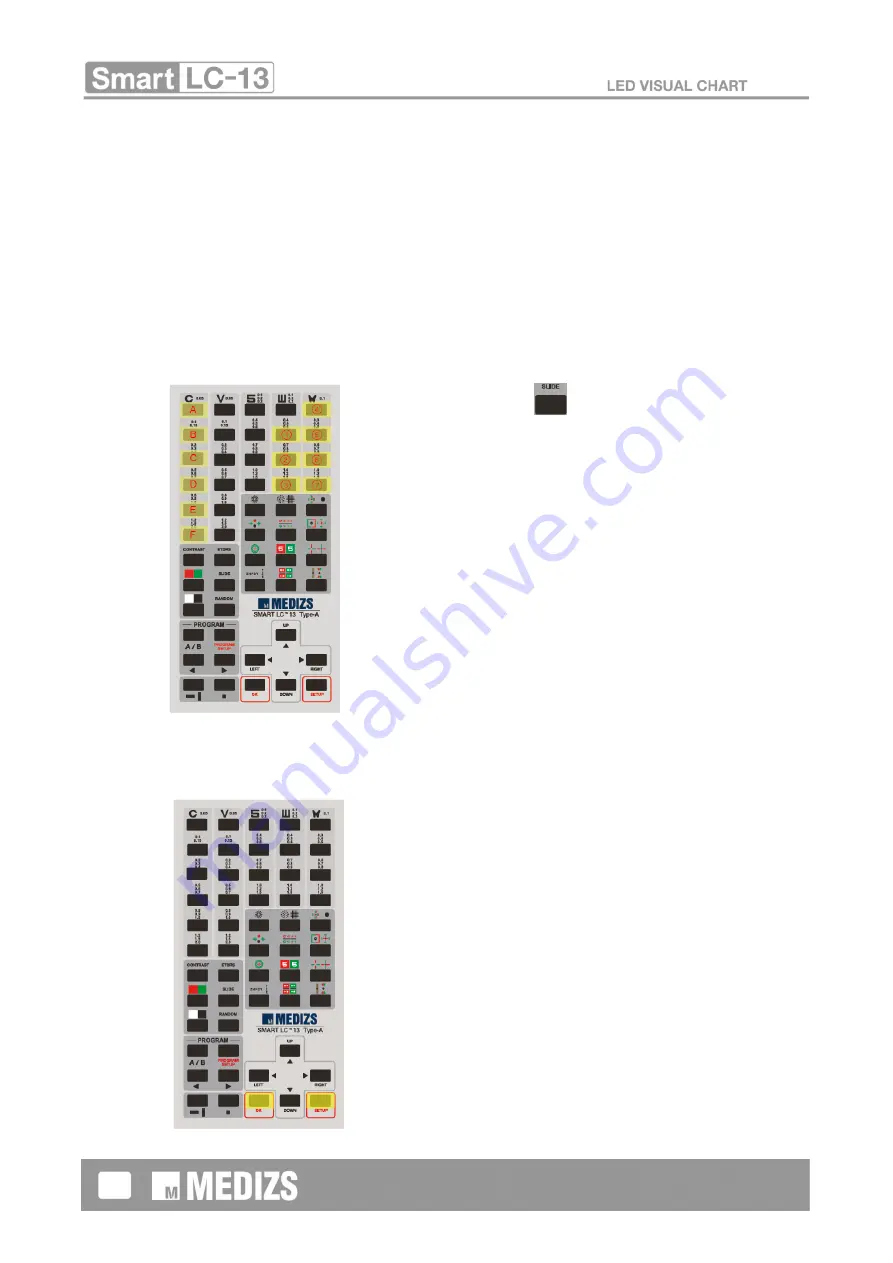
Usage of Remote control   

5-2-1.


Slide Mode 

A.


Press SLIDE button. (

B.


Select the followings   

① Page for Eye care information 
② Color Blindness   
③ Amsler grid 
④ Red / Green Images 
⑤ Eyeball exercise Type A – 3 types 
⑥ Eyeball exercise Type B – 3 types 


A. Horizontal   


B. Vertical   


C. Left-diagonal   


D. Right-diagonal 


E. Center   


F. Random


⑦ Animation 

5-2-2.


SETUP 

A.


Press SETUP button 

B.


Move the Manu using direction buttons 

C.


Please OK button to apply setting option. 

D.


To return the chart screen, press SETUP button. 


Содержание Smart LC-13

Страница 1: ...ZS Inc takes no responsibilities of the results caused by default omission or misuse of it MEDIZS Inc reserves the right to modify the product itself or specifications of the product without any prior...

Страница 2: ...figurations 9 3 1 Main Body Front view 9 3 2 Main Body Side and Rear view 9 3 3 Remote Controller 11 3 4 Wireless control by iOS Application 13 4 Installation 15 4 1 Securing Main body with Wall mount...

Страница 3: ...3 6 Chart type 31 7 Maintenance and repair 35 8 Service Information 35 8 1 Information 35 8 2 Supply of spare parts 35 9 Specification 36 10 Components list 37...

Страница 4: ...istance can be set in the range of 1 5 to 8 m in increments of 0 25 m Even in less than 1 5 m refraction is available with Mirror function The chart size is reduced and enlarged as per the set refract...

Страница 5: ...l Description Protective earth Alternating Current Power Caution Power Off separated with power source Power On separated with power source Do not throw away the waste to inappropriate place Manufactu...

Страница 6: ...e value of the socket used for the product is less than 100 VA is not allowed CAUTION Such products and connections that are non medical devices video monitors IT equipment etc is connected directly t...

Страница 7: ...rns WARNING Do not Keep way the place where the temperatures very much 2 4 General Safety Information 1 This instrument is used with accessories from MEDIZS Inc If consumer would like to use the acces...

Страница 8: ...outside of the instrument Handle with care Be careful not to enter any dust or metal material into interior of the device Do not try to connect power cord in disconnection of spare parts It can bring...

Страница 9: ...9 3 Configurations 3 1 Main Body Front view 3 2 Main Body Side and Rear view Power inlet FUSE Power switch USB A USB B SD Card Slot LCD Screen IR Receiver window...

Страница 10: ...his LCD IR Receiver window Receives signals from the remote control Power Inlet Connector for power supply FUSE Power Switch Power ON OFF USB A Connector with external equipment USB B For Upgrade SD C...

Страница 11: ...Transmitter Buttons for Optotype Buttons for Other Tests Direction Buttons SETUP button OK button CONTRAST button Red Green Filter button Inversion button Program buttons Screen Mask ETDRS button SLI...

Страница 12: ...S charts SLIDE button Display the slide show such as eye care information color blindness eyeball exercise animation etc RANDOM button Randomly rearranges letter order at the same VA CONTRAST button S...

Страница 13: ...13 3 4 Wireless control by iOS Application Chart panel Chart Window PROGRAM screen Inverse button Screen mask CONTRAST Dial for the mask...

Страница 14: ...ays the presented chart Program screen Displays the next chart on programmed test Inverse button Chart the chart between normal and inversed black and white displays Screen mask Selects the make Contr...

Страница 15: ...upport the weight about 5kg when using the wall mounting bracket Reinforce the wall as needed Before installation check that the following items are one set of wall mounting bracket Wall adhesion pane...

Страница 16: ...fix the wall adhesion panel in wall by inputting A screw Step 3 Select the washer one of C D E and screw one of F G H I J K which fits in back holder size of LCD And then fix the monitor adhesion pane...

Страница 17: ...nstalled on a firm wall that can withstand the weight of the device Do not install the device on a plaster wall The device might fall off and cause damage or injury When moving the device on the floor...

Страница 18: ...ess SLIDE button B Select the followings Page for Eye care information Color Blindness Amsler grid Red Green Images Eyeball exercise Type A 3 types Eyeball exercise Type B 3 types A Horizontal B Verti...

Страница 19: ...order CH3 Ch4 Ch1 CH2 5 2 4 5 3 Setting Screen On setting screen there are 6 taps You can control Chart type Chart program Vision Test Display and setting option and also check information for the dev...

Страница 20: ...20 5 3 2 Chart Program Customized program can be revised and deleted 5 3 3 Vision Test Select Clock Dial types Phoria and ETDRS...

Страница 21: ...Display Red Green Color density of Red and Green filter can be adjusted Distance In accordance with refraction circumstance the testing distance can be set in the range of 1 5 to 8 m in increments of...

Страница 22: ...22 5 3 5 Setup Set Screen saving time Beep sound and Screen brightness 5 3 6 Information You can check software version and manufacturer s information...

Страница 23: ...s the button 5 4 2 Show the program mode chart 5 4 2 1 Press the button and select mode A E 5 4 2 2 Press the it is show in regular sequence 5 4 2 3 If press the button this mode is end 5 4 3 Preview...

Страница 24: ...and special chart If you swipe chart panel to left you can choose special chart 5 5 2 CONTRAST adjustment After click the button you can adjust contrast by moving scroll bar 5 5 3 Amsler Grid chart Af...

Страница 25: ...Balance After the button you can choose Binocular Balance chart 5 5 5 Clock Dial After the button you can choose Clock dial chart 5 5 6 Color blindness test After click the button you can choose colo...

Страница 26: ...Dot chart After click button you can select dot chart 5 5 8 ETDRS chart After click button you can select ETDRS 5 5 9 Phoria Phoria Fixation After click button you can choose Phoria and Phoria with f...

Страница 27: ...27 5 5 10 Red Green Image If you click the button you can choose red green picture...

Страница 28: ...28 5 6 Setting on Application A Click on the button B Touch on setting menu C LCD screen during entering to setting page 5 6 1 Chart Type You can select chart Type distance marker mirror mode...

Страница 29: ...vise the set program by user 5 6 3 Display Red Green Color density of Red and Green filter can be adjusted Distance In accordance with refraction circumstance the testing distance can be set in the ra...

Страница 30: ...30 5 6 4 Setup Set Screen saving time Beep sound and Screen brightness...

Страница 31: ...31 6 Chart type Charts applied into LC 13 are as below...

Страница 32: ...32...

Страница 33: ...33...

Страница 34: ...34...

Страница 35: ...ument turns on but does not function Check the battery in the remote controller 8 Service Information If the problem of device persists after the following instruction in 7 Maintenance and Repair plea...

Страница 36: ...GA LED TFT LCD LCD resolution 1280 H x 1024 V Output area 376 32 H x 301 06 V mm Brightness 250 cd Basic accessories Remote controller Wall mount Optional accessories Red Green glasses External ports...

Страница 37: ...37 10 Components list Description Quantity 1 Power cable 1 2 Operation manual 1 3 Remote control 1 4 Batteries AA 2 5 Wall Mounting Bracket 1 6 Fuse 1 2 1 3 5 4 5...

Отзывы: