


Changing the Input mode
This explains how to change and watch other Input Sources by pushing AV.SEL buttons
1. Press [
AV.SEL
] button on the Remote control.
2. You can change Input Source to be displayed every time you press
the button.
* You can select
TV, PC/HDMI Mode
directly by pressing
[
TV/DTV
] /
[PC/HDMI
] button on the remote control accordingly.
Tip
Concerning how to connect external devices, you can consult “Installation” section.
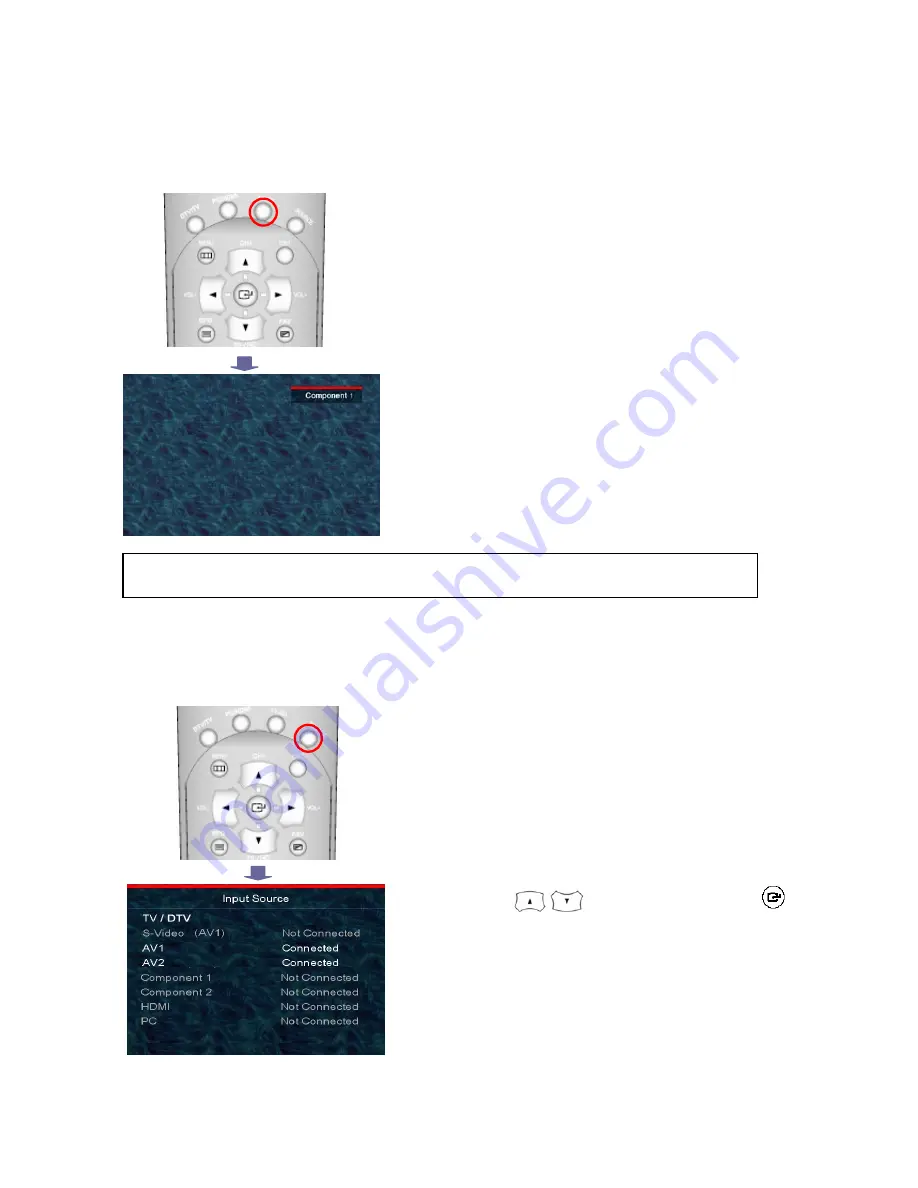
Viewing the Current Connected External Devices
This explains how to change and watch other Input Sources by pushing ‘Source’ button
.
1. Press
[Source]
button on the remote control. The status of input
source will appear.
2. Press
Channel [
/
]
button and then push
Info
[
]
button to change the input source.
*The Connected (Available) external devices or port is brightened
with “Connected” message while deactivated ones are in gray and
with “Not Connected” message.
Содержание M32LD
Страница 1: ...USER S Manual Ver 1 0 Model Medialine L42LD L32LD...
Страница 10: ...The Name of Each Button 20 19 17 18 7 6 4 5 3 25 16 15 14 13 12 1 8 9 2 10 11 21 22 23 24 26...
Страница 16: ...Connecting DVD Player Video Game Machine Component Connection HDMI Connection DVI to HDMI Connection...
Страница 41: ......


