4
3
On the underside of the fl y, opposite each of the points where the
poles overlap, is a Velcro® wrap-tie.
Lift up each corner of the fl y, and
attach the wrap-ties over the appropriate pole intersection. To do this:
wrap the longer Velcro tab horizontally twice around both poles, pull on
the tab end to cinch it tight, then secure it by folding the shorter Velcro
tab over it.
Attaching these wrap-ties is very important for strengthening the tent.
The wrap-ties allow the poles to reinforce one another in a series of
trusses; they also connect the corner guyline attachment points directly
to the poles for maximum stiffness when these guylines are rigged.
4
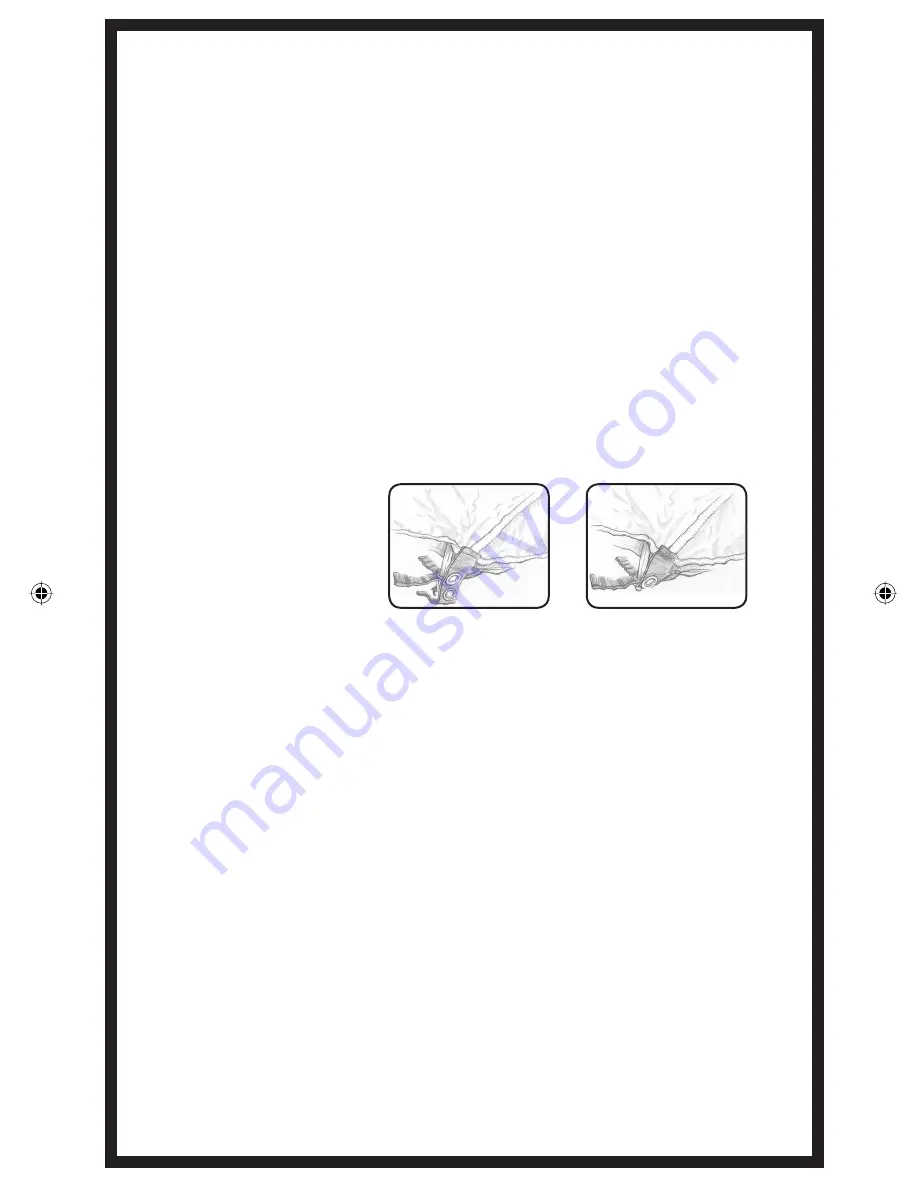
Fit all of the grommetted webbing tabs on the fl y over the appropriate
pole ends as shown in fi gures A and B.
Fold the grommet tabs under
the body of the tent. This puts the pull loops facing away from the tent
and allows for easy removal of the fl y by simply pulling down on the
pull loops.
5
Insert the vestibule pole ends into whichever grommets are unused on
the loops at the door corners.
6
At a minimum, peg out the two back corners of the tent and the two
front corners of the vestibule.
Rigging for Severe Weather
The Nunatak has numerous anchor loops and external and internal guy
points so that you can rig the tent according to anticipated conditions. If
in doubt, it’s usually best to err on the side of “over-securing.”
•
If winds are anticipated, guy out the two triangular side wall patches to
add stability and reduce fl y movement.
•
For strong winds, stake out the four external guy points (the triangular
fl y extensions with inset grommets). Set these guy lines as near as
possible to a 45° angle from the door axis of the tent.
•
In extreme conditions, anchor the two triangles above the vestibule pole
sleeve and use the internal guy points to provide additional stability.
There are four internal guy line loops on the top of the inside of the tent
and six on the fl oor (be careful not to mistake the smaller clothesline/
lantern loops for the guy loops). Run guylines from the top of one side
fi gure A
fi gure B
Nunatak eng.indd 4
Nunatak eng.indd 4
3/1/05 2:28:54 PM
3/1/05 2:28:54 PM


