


Last Updated: 8 November 2016
Page 3 of 4
Section 4
Unpack the Monitor (Box 4)
a)
Connect the monitor arm to the stand.
b)
Connect the montior to the arm and press until a ‘click’ is heard.
c)
Slide the cover in place on the back of the monitor.
d)
Connect one end of the VGA cable to the monitor.
e)
Plug in the power cable to the monitor. Leave the other end
unplugged for now.
f)
Move the monitor into its location.
g)
Connect the VGA cable to the back of the Till computer.
Section 5
Unpack the Barcode Scanner (Box 5)
a)
Remove the wing nut from the bottom of the scanner stand arm.
b)
Holding the base, insert the scanner stand arm into the base and turn
until it click into place.
c)
Continue to hold while screwing in the wing nut to the bottom of the
stand.
d)
Place the stand in the proper location.
e)
Place the scanner into the stand (take care not to drop it).
f)
Connect the barcode scanner to the computer using the USB scanner
cable.
Section 6
OPTIONAL: Install Debit/Credit machine
a)
Plug the unit into an available USB port on the Till computer.
b)
If your device came with a security stand, install it following the stand
instructions and secure the Credit/Debit device to the stand.
Section 7
OPTIONAL: Install the Laser Report Printer
a)
Unpack the box.
b)
Connect the printer to the Till computer using the Cat 5 cable.
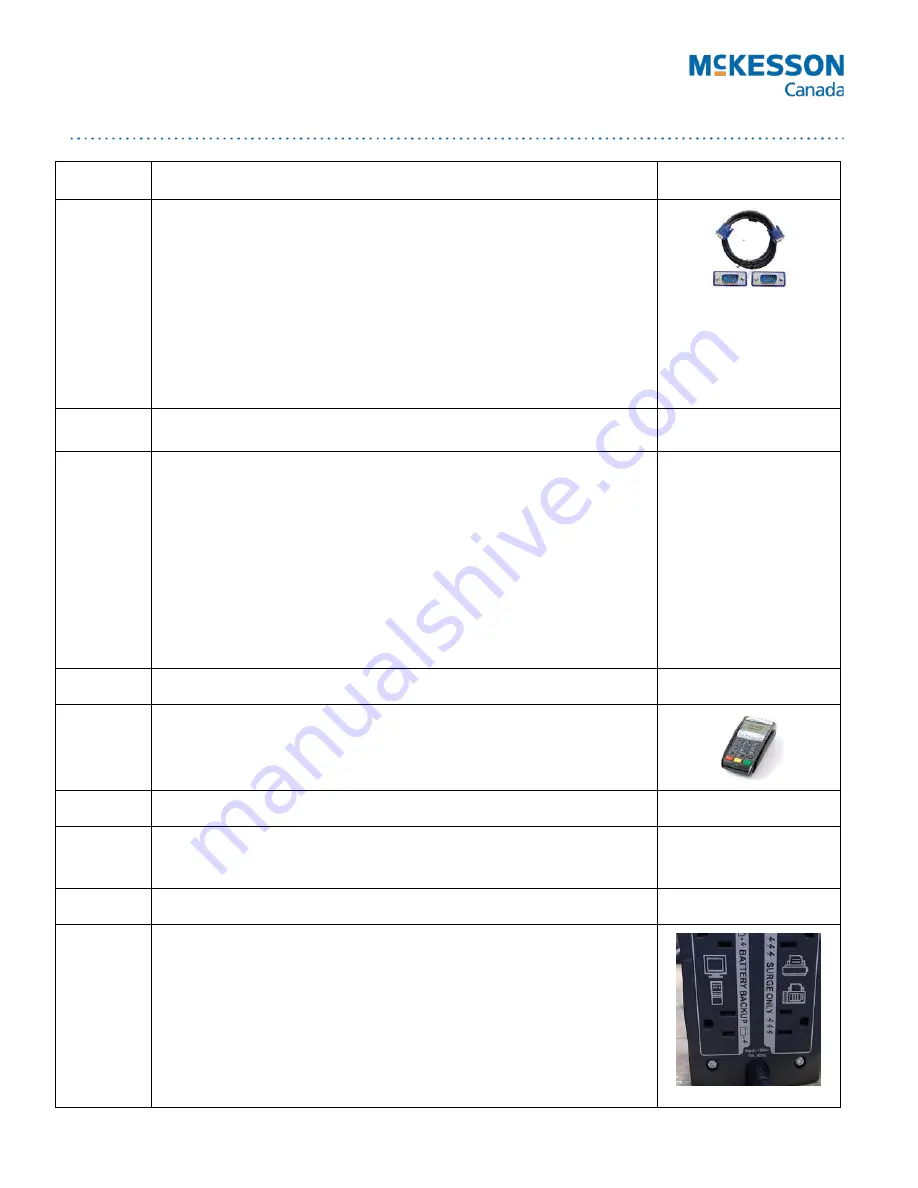
Section 7
Unpack the UPS Battery Backup (Box 6)
NOTE: Ensure this unit IS NOT PLUGGED into a power source
until the end of the entire setup.
a)
Remove the battery cover on the bottom of the unit.
b)
Remove the STOP yellow sticker from the unit.
c)
Partially expose the battery, but don’t remove completely.
d)
Connect the red cable inside the box to the battery.
e)
Slide the battery back into the UPS and replace the battery cover.


