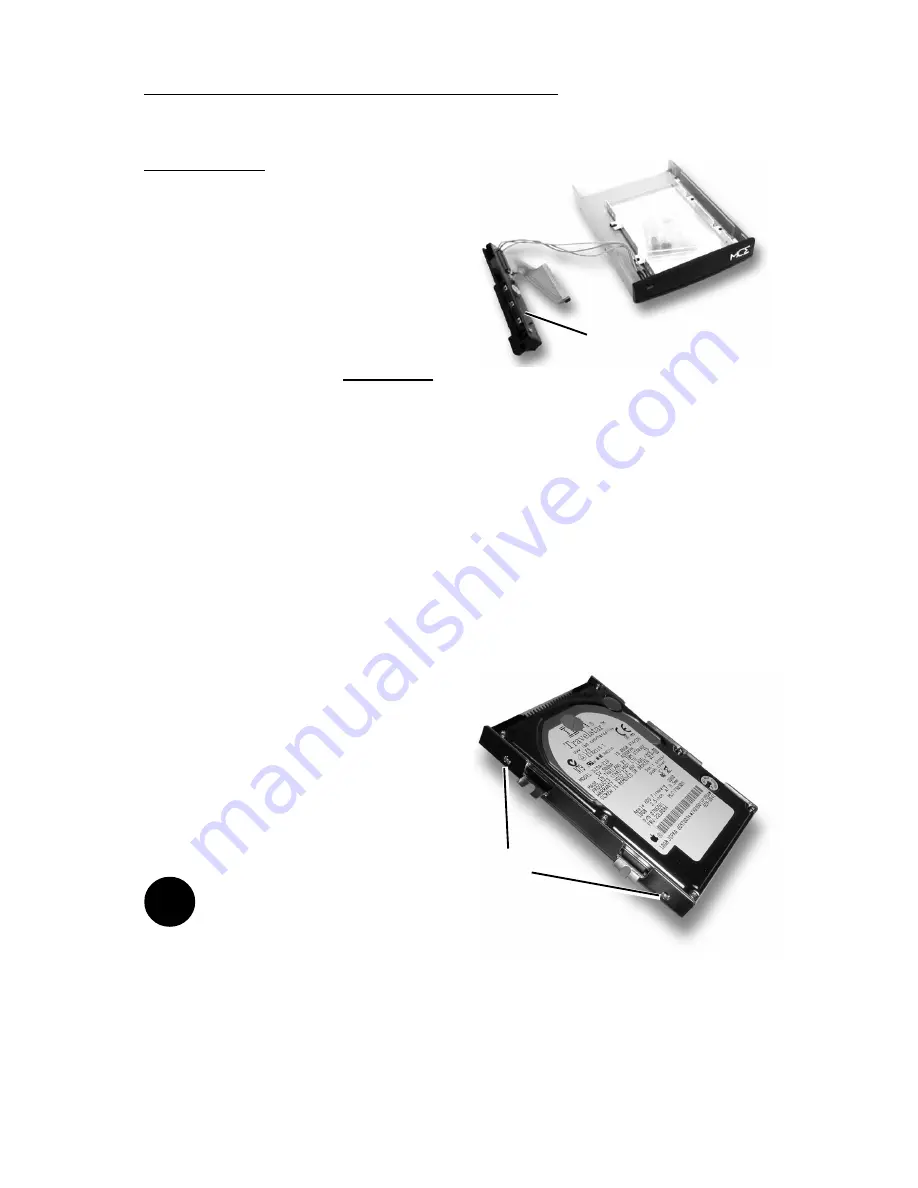
screw holes
MCE Xcarét Pro Expansion Bay Hard Drive Kit
3
Installation
Step 1: Place the Xcarét Pro Kit
and hard drive on a dry, flat
surface.
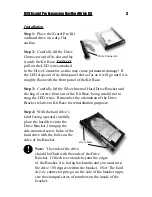
Step 2: Carefully lift the Drive
Connector out of its slot and lay
it aside the Kit Base. DO NOT
pull on the LED wires attached
to the Drive Connector, as this may cause permanent damage! If
the LED slips out of its front-panel slot as far as it will go until it is
roughly flush with the front panel of the Kit Base.
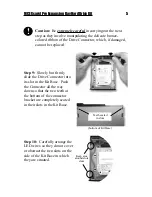
Step 3: Carefully lift the Silver Internal Hard Drive Bracket and
the bag of screws from out of the Kit Base, being careful not to
snag the LED wires. Remember the orientation of the Drive
Bracket relative to Kit Base for reinstallation purposes.
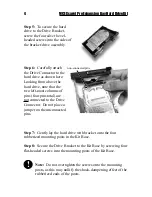
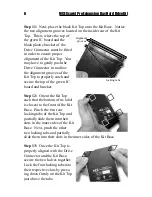
Step 4: With the hard drive’s
label facing upward, carefully
place the hard drive into the
Drive Bracket, lining up the
side-mounted screw holes of the
hard drive with the holes on the
sides of the Bracket.
Note: The ends of the drive
should be flush with the ends of the Drive
Bracket. If the drive extends beyond the edges
of the Bracket, it is facing backwards and you must turn
the drive 180 degrees within the bracket. Hint: The hard
drive’s connector pins go on the side of the bracket oppo-
site the stamped series of numbers on the inside of the
bracket.
!
Drive Connector


