background image

2

TABLE OF CONTENTS

DRYER SAFETY.......................................................................................................................... 2
INSTALLATION INSTRUCTIONS ............................................................................................. 4

Tools and Parts....................................................................................................................... 4
Location Requirements .......................................................................................................... 4
Electrical Requirements.......................................................................................................... 5
Electrical Connection ............................................................................................................. 7
Venting Requirements .......................................................................................................... 13
Plan Vent System.................................................................................................................. 14
Install Vent System ............................................................................................................... 15
Install Leveling Legs ............................................................................................................. 16
Connect Vent ....................................................................................................................... 16
Level Dryer .......................................................................................................................... 16
Reverse Door Swing (Optional)............................................................................................ 16
Complete Installation ........................................................................................................... 17

DRYER USE.............................................................................................................................. 18

Starting Your Dryer...............................................................................................................18
Drying Rack Option .............................................................................................................19

 DRYER CARE ..........................................................................................................................19

Cleaning the Dryer Location ................................................................................................19
Cleaning the Lint Screen ......................................................................................................19
Cleaning the Dryer Interior...................................................................................................20
Removing Accumulated Lint ................................................................................................20
Vacation and Moving Care...................................................................................................20

TROUBLESHOOTING.............................................................................................................21

Dryer Operation...................................................................................................................21
Dryer Results........................................................................................................................21

ASSISTANCE OR SERVICE.......................................................................................................23
ACCESSORIES..........................................................................................................................23

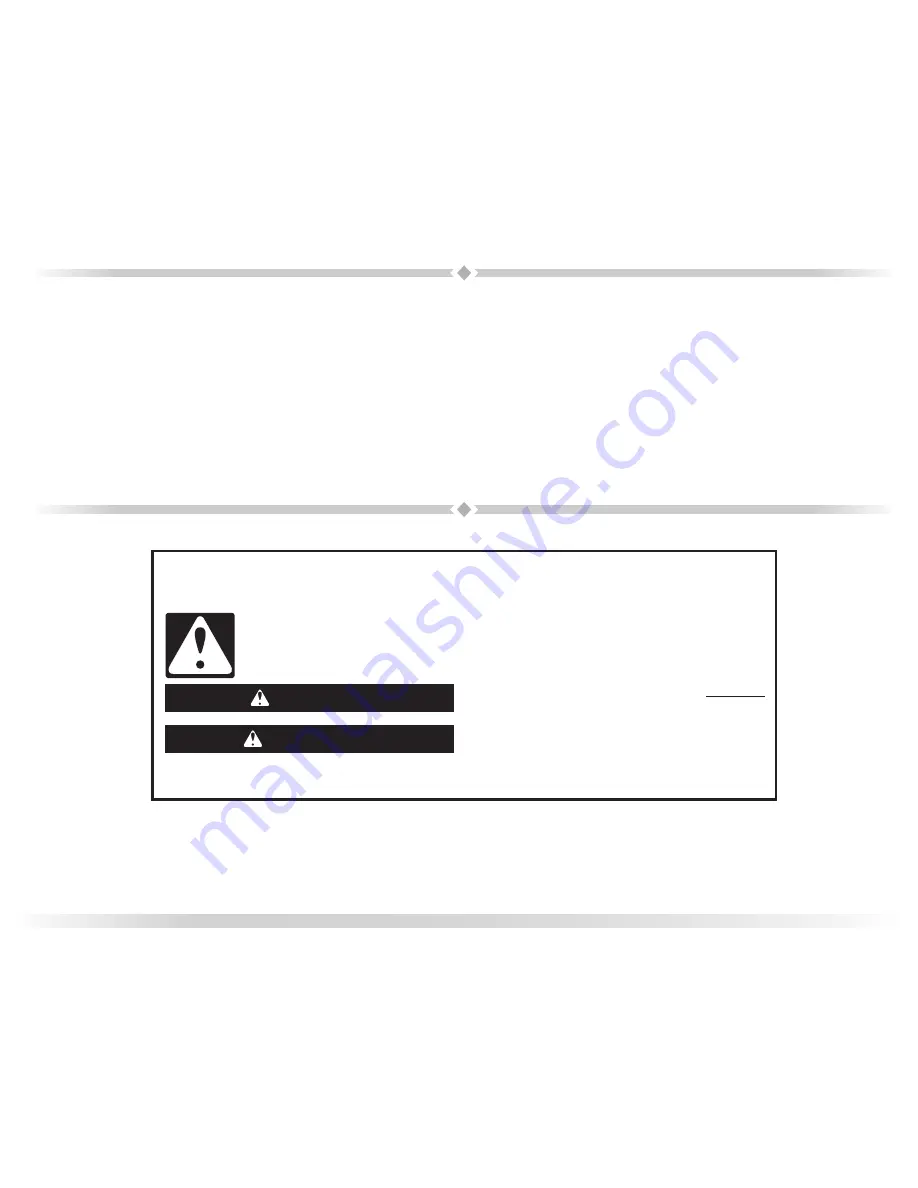
You can be killed or seriously injured if you don't immediately 
 

You


can be killed or seriously injured if you don't follow 

All safety messages will tell you what the potential hazard is, tell you how to reduce the chance of injury, and tell you what can
happen if the instructions are not followed.

Your safety and the safety of others are very important.

We have provided many important safety messages in this manual and on your appliance. Always read and obey all safety 
messages.

This is the safety alert symbol.

This symbol alerts you to potential hazards that can kill or hurt you and others.

All safety messages will follow the safety alert symbol and either the word “DANGER” or “WARNING.”

These words mean:

follow instructions.

instructions.

DANGER

WARNING

DRYER SAFETY

Содержание W10131619A

Страница 1: ...ELECTRIC DRYER USE CARE GUIDE INSTALLATION INSTRUCTIONS VISIT OUR WEBSITE AT WWW MAYTAG COM W10131619A ...

Страница 2: ... 21 ASSISTANCE OR SERVICE 23 ACCESSORIES 23 You can be killed or seriously injured if you don t immediately You can be killed or seriously injured if you don t follow All safety messages will tell you what the potential hazard is tell you how to reduce the chance of injury and tell you what can happen if the instructions are not followed Your safety and the safety of others are very important We h...

Страница 3: ...ve the door to the drying compartment Do not reach into the dryer if the drum is moving Do not repair or replace any part of the dryer or attempt any servicing unless specifically recommended in this Use and Care Guide or in published user repair instructions that you understand and have the skills to carry out Do not use fabric softeners or products to eliminate static unless recommended by the m...

Страница 4: ...The wires that connect to the dryer must end in ring terminals or spade terminals with upturned ends A UL listed strain relief LocationRequirements You will need A location that allows for proper exhaust installation See Venting Requirements A separate 30 amp circuit If you are using a power supply cord a grounded electrical outlet located within 2 ft 61 cm of either side of the dryer See Electric...

Страница 5: ...ontact a qualified electrical installer To be sure that the electrical connection is adequate and in conformance with the National Electrical Code ANSI NFPA 70 latest edition and all local codes and ordinances The National Electric Code requires a 4 wire power supply connection for homes built after 1996 dryer circuits involved in remodeling after 1996 and all mobile home installations A copy of t...

Страница 6: ...4 30R Then choose a 4 wire power supply cord with ring or spade terminals and UL listed strain relief The 4 wire power supply cord at least 4 ft 1 22 m long must have four 10 gauge copper wires and match a 4 wire receptacle of NEMA Type 14 30R The ground wire ground conductor may be either green or bare The neutral conductor must be identified by a white cover If your outlet looks like this 3 wire...

Страница 7: ... to green ground connector Remaining 2 supply wires must be connected to remaining 2 gold terminals Securely tighten all electrical connections Failure to do so can result in death fire or electrical shock 1 Disconnect power 2 Remove the hold down screw and terminal block cover A B E F C D A Terminal block cover B External ground conductor screw C Center silver colored terminal block screw D Hold ...

Страница 8: ...train relief The strain relief should have a tight fit with the dryer cabinet and be in a horizontal position Tighten strain relief screw against the direct wire cable 4 Now complete installation following instructions for your type of electrical connection 4 wire recommended 3 wire if 4 wire is not available If your home has And you will be connecting to Go to Section 4 wire receptacle NEMA Type ...

Страница 9: ...ted line shows position of NEUTRAL ground wire before being moved to center silver colored terminal block screw B Center silver colored terminal block screw C Neutral wire white or center wire D 19 mm UL listed strain relief E Neutral ground wire 3 Connect ground wire green or bare of power supply cord to external ground conductor screw Tighten screw D A B C E F A External ground conductor screw B...

Страница 10: ...ral ground wire from external ground conductor screw Connect neutral ground wire and place the hooked end hook facing right of the neutral wire white or center wire of direct wire cable under the center screw of the terminal block Squeeze hooked ends together Tighten screw E D A B C A External ground conductor screw Dotted line shows position of NEUTRAL ground wire before being moved to center sil...

Страница 11: ... center wire of power supply cord to the center silver colored terminal screw of the terminal block Tighten screw A B C D E A Neutral ground wire B External ground conductor screw C Center silver colored terminal block screw D Neutral wire white or center wire E 19 mm UL listed strain relief 3 Connect the other wires to outer terminal block screws Tighten screws 4 Tighten strain relief screws 5 In...

Страница 12: ...Tighten screws 4 Tighten strain relief screw 5 Insert tab of terminal block cover into slot of dryer rear panel Secure cover with hold down screw 6 You have completed your electrical connections Now go to Venting Requirements Optional 3 wire connection Use for direct wire or power supply cord where local codes do not permit connecting cabinet ground conductor to neutral wire 1 Remove center silver...

Страница 13: ...nt system Vent material Use a heavy metal vent Do not use plastic or metal foil vent 4 102 mm heavy metal exhaust vent and clamps must be used 4 102 mm heavy metal exhaust vent 4 102 mm Vent products can be purchased from your dealer or by calling Maytag Services For more information see the Assistance or Service section Rigid metal vent For best drying performance rigid metal vents are recommende...

Страница 14: ...ust hood with a magnetic latch Improper venting can cause moisture and lint to collect indoors which may result in Moisture damage to woodwork furniture paint wallpaper carpets etc Housecleaning problems and health problems PlanVentSystem Choose your exhaust installation type Recommended exhaust installations Typical installations vent the dryer from the rear of the dryer Other installations are p...

Страница 15: ...needed for best drying performance Use the Vent system chart below to determine type of vent material and hood combinations acceptable to use NOTE Do not use vent runs longer than those specified in the Vent system chart Exhaust systems longer than those specified will Shorten the life of the dryer Reduce performance resulting in longer drying times and increased energy usage The Vent system chart...

Страница 16: ...ation Do not crush or kink vent 3 On gas models Check that there are no kinks in the flexible gas line 4 Once the exhaust vent connection is made remove the corner posts and cardboard LevelDryer Check the levelness of the dryer Check levelness first side to side then front to back If the dryer is not level prop up the dryer using a wood block Use a wrench to adjust the legs up or down and check ag...

Страница 17: ...al location Be sure the vent is not crushed or kinked 5 Check that the dryer is level See Level Dryer 6 For power supply cord installation plug into an outlet For direct wire installation turn on power 7 Remove any protective film on the console and any tape remaining on the dryer 8 Read Dryer Use 9 Wipe the dryer drum interior thoroughly with a damp cloth to remove any dust 10 Set the dryer on a ...

Страница 18: ...uded in the cycle selections 5 OPTIONAL Your dryer may have a WRINKLE PREVENT feature selector When you are unable to remove a load from the dryer as soon as it stops wrinkles can form This feature periodically tumbles rearranges and fluffs the load without heat to help smooth out wrinkles 6 OPTIONAL Your dryer may have an END OF CYCLE SIGNAL The signal is helpful when drying items that should be ...

Страница 19: ...door 3 Select a timed drying cycle and temperature or an air cycle Items containing foam rubber or plastic must be dried on a clothesline or by using an air cycle Refer to the following table 4 Start the dryer Reset cycle to complete drying if needed Rack Dry Cycle Temp Time Washable wool items block to shape lay flat on drying rack Timed Drying Low 60 min Stuffed toys pillows cotton or polyester ...

Страница 20: ...e Dryer Cabinet Lint should be removed every 2 years or more often depending on dryer usage Cleaning should be done by a qualified person From the Exhaust Vent Lint should be removed every 2 years or more often depending on dryer usage VacationandMovingCare Vacation care Operate your dryer only when you are at home If you will be on vacation or not using your dryer for an extended period of time y...

Страница 21: ...ockets before laundering Are the four legs installed and is the dryer level front to back and side to side The dryer may vibrate if not properly installed See the Installation Instructions Is the clothing knotted or balled up When balled up the load will bounce causing the dryer to vibrate Separate the load items and restart the dryer Timer does not noticeably advance Is the dryer set to Timed or ...

Страница 22: ...contacting the sensor strips Level the dryer Change the dryness level setting on Automatic Cycles Increasing or decreasing the dryness level will change the amount of drying time in a cycle Lint on load Is the lint screen clogged Lint screen should be cleaned before each load Stains on load or drum Was dryer fabric softener properly used Add dryer fabric softener sheets at the beginning of the cyc...

Страница 23: ..._________________________________________________________________________ Phone number ____________________________________________________________________________ Model number ____________________________________________________________________________ Purchase date_____________________________________________________________________________ ACCESSORIES Enhance your dryer with these premium acces...

Страница 24: ...W10131619A 2008 All rights reserved Registered trademark Trademark of Maytag Corporation or its related companies 7 08 Printed in U S A ...

Отзывы: