7
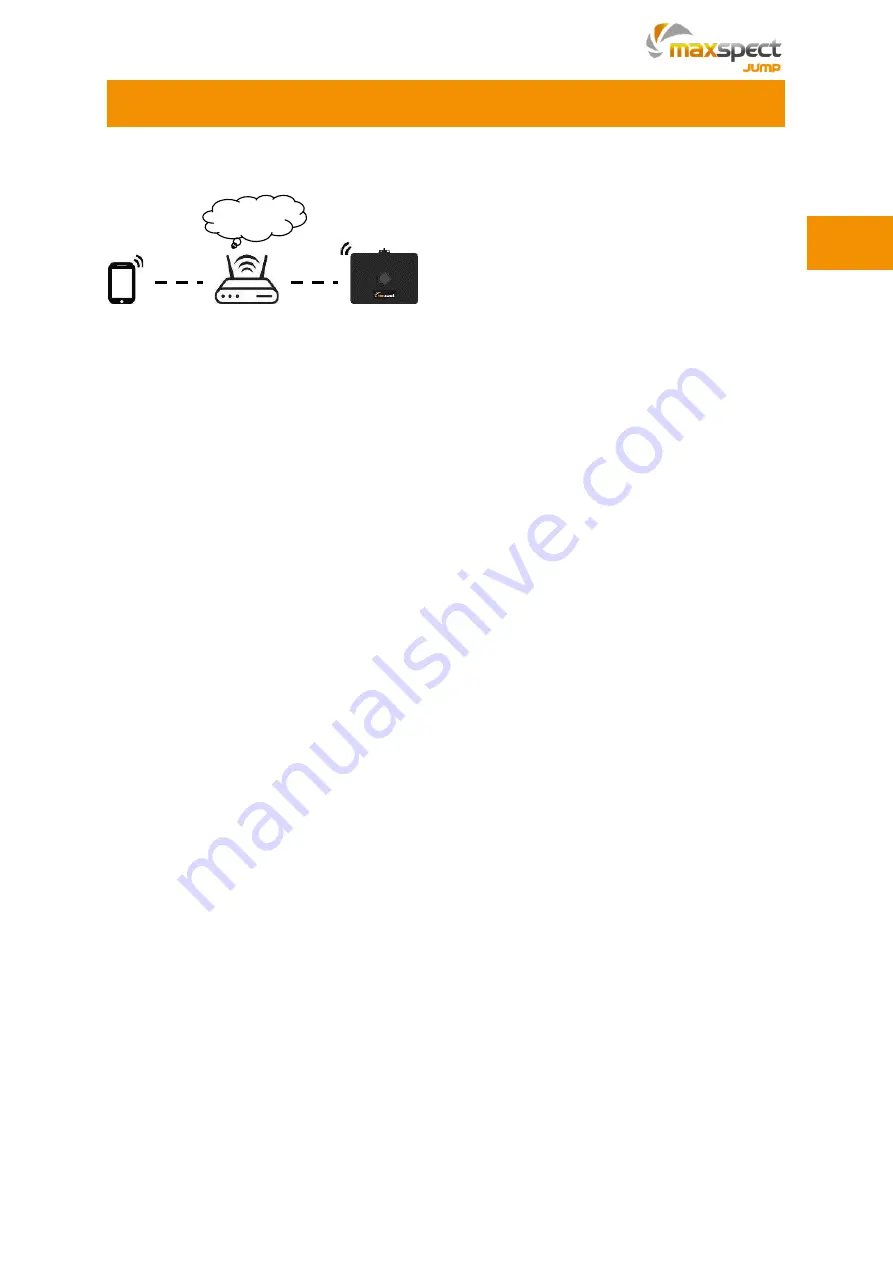
Router Mode Connection
Operating Instructions
Internet
1. Press button B to check if the indicator is strobing in
blue
. If not, press and hold
button B for 6s to change to the Router Mode.
2. Open the APP to connect the fixture
by following the hints
*
.
3. Create an account and log in
**
.
4. For Android platform, choose the WiFi connection to which your mobile device has
already connected.
5. Input password of the WiFi connection.
6. Waiting for the connection, the indicator will strobe once if connect successfully.
7. While a fixture with ID number starts
with “MJ
-L1B0
”is shown on the list of
“
Discovery of New Devices
”
, it means that the fixture is connected to your
mobile device successfully
***
.
*
Make sure your mobile device is connected to 2.4GHz frequency network.
**1. When creating account, you will need to choose a server among Asia, Europe
and USA, which means the network service is divided in three regions. Please
choose the server which is nearest to you, otherwise you may get slower server
response. If you want to change to the other server when you think the current one
is not response fast enough, you will need to register a new account on a new
server. For example, I registered an account on Europe server with the email
address [email protected], if I change the server to USA, I can use the same
email address to register a new account on USA server. In this circumstance, you
will need to connect again all LED units to the account.
2.
Skip this step if the router is not connected to the Internet.
***
The fixture is now bonded to the account, other account login the same network - no
matter whether it is on the same mobile device or not - cannot access to the fixture
though it is shown on the list of the APP.
It is worth noting that one fixture can only
be bonded to one account, while one account can bond multiple fixtures
. If you
have multiple fixtures to connect, you need to connect them one by one.
EN
Содержание Jump Series
Страница 1: ...Owner s Manual Bedienungsanleitung Mode d emploi Manual do Propriet rio Instrukcja Obs ugi...
Страница 2: ......
Страница 4: ...2 Package Content Please check the content in the package EN...
Страница 18: ...16 Packungsinhalt Bitte berpr fen Sie den Lieferumfang auf Vollst ndigkeit DE...
Страница 32: ...30 Contenu de l emballage Merci de v rifier le contenu de votre emballage FR...
Страница 46: ...44 Conte do da Embalagem Por favor analise o conte do da embalagem PT...
Страница 60: ...58 Contenuto Scatola Per favore verifica il contenuto della scatola IT...
Страница 74: ...72 Zawarto opakowania Prosz sprawdzi zawarto opakowania PL...
Страница 87: ...85...
Страница 88: ...86...
Страница 89: ...87 Maxspect LED 1 2 1 2 3 1 2 3 4 5 6...
Страница 90: ...88 3...
Страница 91: ...89 SYNA G CLOUD Maxspect LED SYNA G CLOUD SYNA G CLOUD 1 2 3 WiFi...
Страница 92: ...90 10 x x x x x x x x x x x...
Страница 94: ...92 WiFi 100 A B 3 A B 6 100 24 A A 1 2 3 1 SYNA G CLOUD 2 3 4 1 SYNA G CLOUD 2 3 4 5...
Страница 95: ...93 Maxspect LED 1 SYNA G CLOUD 2 3 4 5 6 7 1 SYNA G CLOUD 2 3 4 5 1 SYNA G CLOUD 2 3 4...
Страница 96: ...94 SYNA G CLOUD 1 SYNA G CLOUD 2 3 4 5 6 7 7 1 2 3 4 16...
Страница 97: ...95 24 36 Maxspect www maxspect com...
Страница 98: ...96 Maxspect LED 24 Maxspect Maxspect Maxspect Maxspect Maxspect Maxspect...
Страница 99: ...97...
Страница 100: ...98...
Страница 101: ...99 Maxspect LED 1 2 1 2 3 1 2 3 4 5 6...
Страница 102: ...100 3...
Страница 103: ...101 SYNA G CLOUD Maxspect LED SYNA G CLOUD SYNA G CLOUD 1 2 3 WiFi...
Страница 104: ...102 10 x x x x x x x x x x x...
Страница 106: ...104 WiFi 100 A B 3 A B 6 100 24 A A 1 2 3 1 SYNA G CLOUD 2 3 4 1 SYNA G CLOUD 2 3 4 5...
Страница 107: ...105 Maxspect LED 1 SYNA G CLOUD 2 3 4 5 6 7 1 SYNA G CLOUD 2 3 4 5 1 SYNA G CLOUD 2 3 4...
Страница 108: ...106 SYNA G CLOUD 1 SYNA G CLOUD 2 3 4 5 6 7 7 1 2 3 4 16...
Страница 109: ...107 24 36 Maxspect www maxspect com...
Страница 110: ...108 Maxspect LED 12 Maxspect Maxspect Maxspect Maxspect Maxspect Maxspect...
Страница 111: ......


