Addendum: Using the Camera Module with Apple MacOS
You will need to reference the main manual for other non-apple specific operations.
The instructions in this addendum depict the steps to take when using an Apple computer running
MacOS.
If you are using a computer with Windows, please refer to the main instructions included with
the product.
SETTING THE DATE AND TIME ON THE CAMERA MODULE
This section covers the steps you need to take to ensure your camera module has the correct date and
time for your time zone; however it is not required and the video camera floodlight will still function and
record videos if this section is skipped.
1. To set the time and date, the camera module must be removed from the floodlight and connected
to a computer via the USB port.
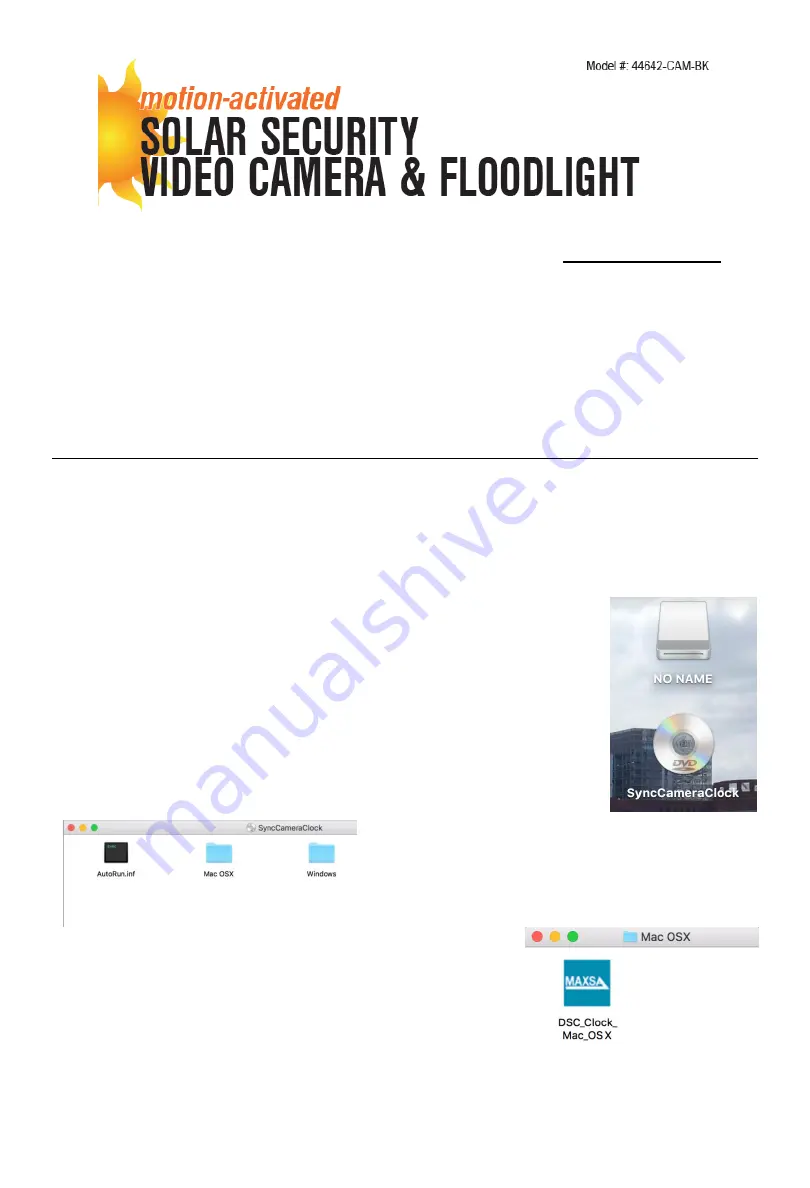
2. Plug the camera module into a USB port on your computer. Two new drives
should appear in the upper right-hand corner of your desktop. The Sync
Program drive will appear as a DVD called “SyncCameraClock” and the
storage card will appear as a removable drive called “NO NAME”.
3.
Open the “
Sync Camera Clock
” drive. You will see
two folders: “Mac OSX” and “Windows”.
4. Open the “MacOSX” folder and you will see the Sync program.
The camera does not automatically sync when you plug the
camera into a USB port. You must run this program to sync the
camera.


