
- 11 -
or – button to set the DST ON or OFF(this function is only available for WWVB version, while for
DCF version, this feature is not activated).
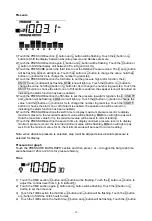
5)Touch the TIME section the fifth time to set the hour, the + and – button will be flashing. Touch the+
button or – button to change the value.
6)Touch the TIME section the sixth time to set the Minute, the + and – button will be flashing. Touch
the+ button or – button to change the value.
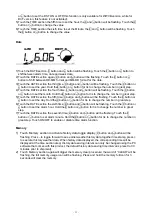
Date
1)
Touch the DATE section, + button and – button will be flashing. Touch the + button or – button to
shift between alarm time, date and week date.
2)Touch the DATE section again, + button and – button will be flashing. Touch the + button or –
button to Shift between DD-MM format and MM-DD format for the date.
3)Touch the DATE section the third time, + button and – button will be flashing. Touch the + button or
– button to set the year. Hold the+ button or – button for 3s to change the number in great step.
4)Touch the DATE section the fourth time, + button and – button will be flashing. Touch the + button
or – button to set the month. Hold the+ button or – button for 3s to change the number in great step.
5)Touch the DATE section the fifth time, + button and – button will be flashing. Touch the + button or
– button to set the day. Hold the+ button or – button for 3s to change the number in great step.
6)Touch the DATE section the sixth time, + button and – button will be flashing. Touch the + button or
– button to set the alarm hour. Hold the+ button or – button for 3s to change the number in great
step.
7)Touch the DATE section the seventh time, + button and – button will be flashing. Touch the +
button or – button to set alarm minute. Hold the+ button or – button for 3s to change the number in
great step. Touch ON/OFF to enable or disable time alarm function.
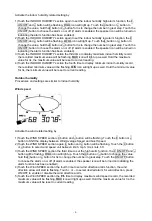
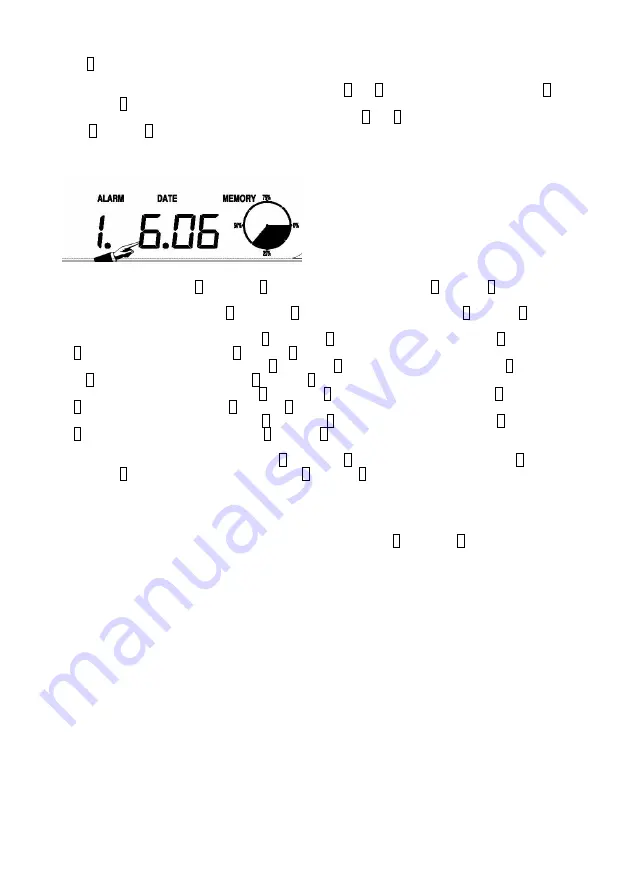
Memory
1) Touch Memory section to activate history data toggle display,
+ button and – button will be
flashing. Press – to toggle forward to see earlier weather history data together time stamp, press +
to see later history weather data. When history data displayed, the corresponding time will be
displayed at the time section area( History data saving interval can only be changed using the PC
software that comes with this product, the default history data saving time interval is preset to 30
minutes prior to shipment).
2)
Touch Memory section again will trigger the memory clear procedure: the word of “CLEAR” will be
flashing, the full memory usage icon will be flashing. Press and hold the memory full icon for 3
seconds will clear the memory.
Содержание WS-1081PC
Страница 3: ...3...


