OPERATION
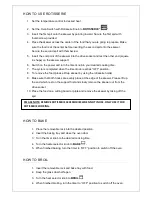
1. Place the wire rack on the unit support guide.
2. Place food on the wire rack.
3. Brush food with sauces or oil, as desired.
4. Food should be placed as close as possible to the top heating element without
touching it.
5. Turn timer knob to the appreciate min.
6. Turn food over midway through the prescribed cooking time.
7.
When broiling is complete, turn the time control to “OFF”.
USING YOUR APPLIANCE
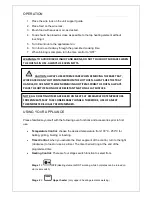
Please familiarize yourself with the following oven functions and accessories prior to first
use.
Temperature Control
: choose the desired temperature from 100°C - 250°C for
baking, grilling, broiling or toasting.
Timer Control
:
when you activate the timer segment of the control, turn to the right
(clockwise) to toast or use as a timer. The timer bell will ring at the end of the
programmed time.
Heating Control:
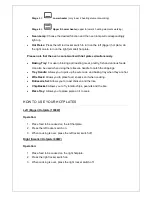
There are four stages switch function to select from.
Stage 1 =
OFF
(Heating elements NOT working, while hot plates can be turned on
via rocker switch)
Stage 2 =
Upper heater
(only upper 2 heating elements working)
WARNING: TO AVOID RISK OF INJURY AND BURNS, DO NOT TOUCH HOT SURFACES WHEN
THE OVEN IS IN USE. ALWAYS USE OVEN MITTS.
CAUTION: ALWAYS USE EXTREME CARE WHEN REMOVING THE BAKE TRAY,
WIRE RACK OR ANY HOT CONTAINER FROM THE HOT OVEN. ALWAYS USE THE TRAY
HANDLE, OR OVEN MITTS WHEN REMOVING HOT ITEMS FROM THE OVEN. ALWAYS
PLACE THE HOT ITEM ON A HEAT RESISTANT MAT ON A FLAT SURFACE.
NOTE: ALL ROASTING TIMES ARE BASED ON MEATS AT REFRIGERATOR TEMPERATURE.
FROZEN MEATS MAY TAKE CONSIDERABLY LONGER. THEREFORE, USE OF A MEAT
THERMOMETER IS HIGHLY RECOMMENDED.


