


c) Include Folder
iomaxq766x.h
Copy the MAXQ7665 EV Kit folder from the
src
directory on the EV kit's Quick Start CD either to
C:\Program Files\IAR
Systems\Embedded Workbench 4.0 Evaluation Version\MAXQ\src
in the default directory, or to the path where the
IAR tools were installed.
Hardware Installation
Connect the MAXQ7665 EV kit to the AC-power adapter. Connect the RS-232 serial-port cable from the PC to the EV kit's
DB-9 connector labeled PC RS232 JTAG.
IAR Workspace
The IAR structure for file organization requires a Workspace for projects. This space can then include C and assembly
source files for specific tasks. Each project can be compiled, debugged, and run independently.
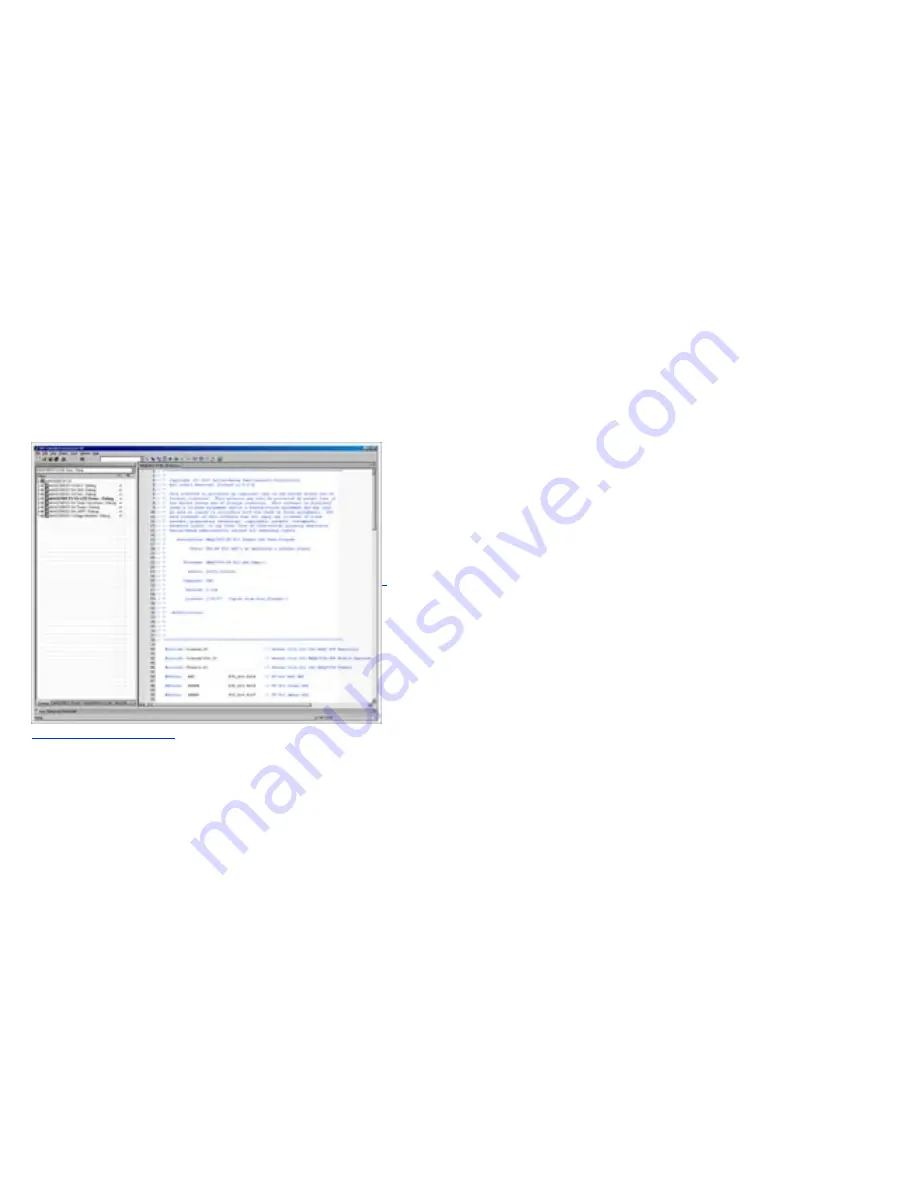
Figure 1
below shows
the MAXQ7665 EV Kit workspace and the projects contained there. Please see the
IAR Embedded Workbench User's
Guide
under the Help menu in the IAR Embedded Workbench application for additional details.
Figure 1. This workspace for the MAXQ7665 lists the projects contained in the software.
Setting IAR Project Options
The project options must be set for each project in the workspace. If a new project is added, its options must be
configured. The sample projects included with the EV kit already have their options configured. To view or change the
project options, make the project "active" by either right clicking on the highlighted project in the Overview screen or by
clicking the project tab at the bottom of the screen. The project name will appear in bold as in Figure 1. Next, go to the
Project menu and select Options so the following screenshot will appear. The option for each category can be set, as
shown in
Figure 2
.
Page 2 of 12


