
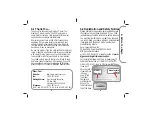


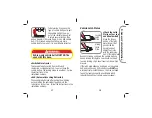

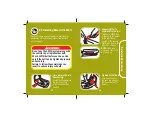

This base should be securely belted
in the vehicle even when not in use. In a
crash or sudden stop, an unsecured base
could injure occupants.
Do not use a base that has been in a
crash. You must get a new base.
7
8
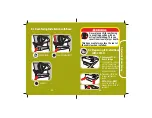
C. Basic Use
C-1
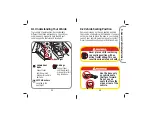
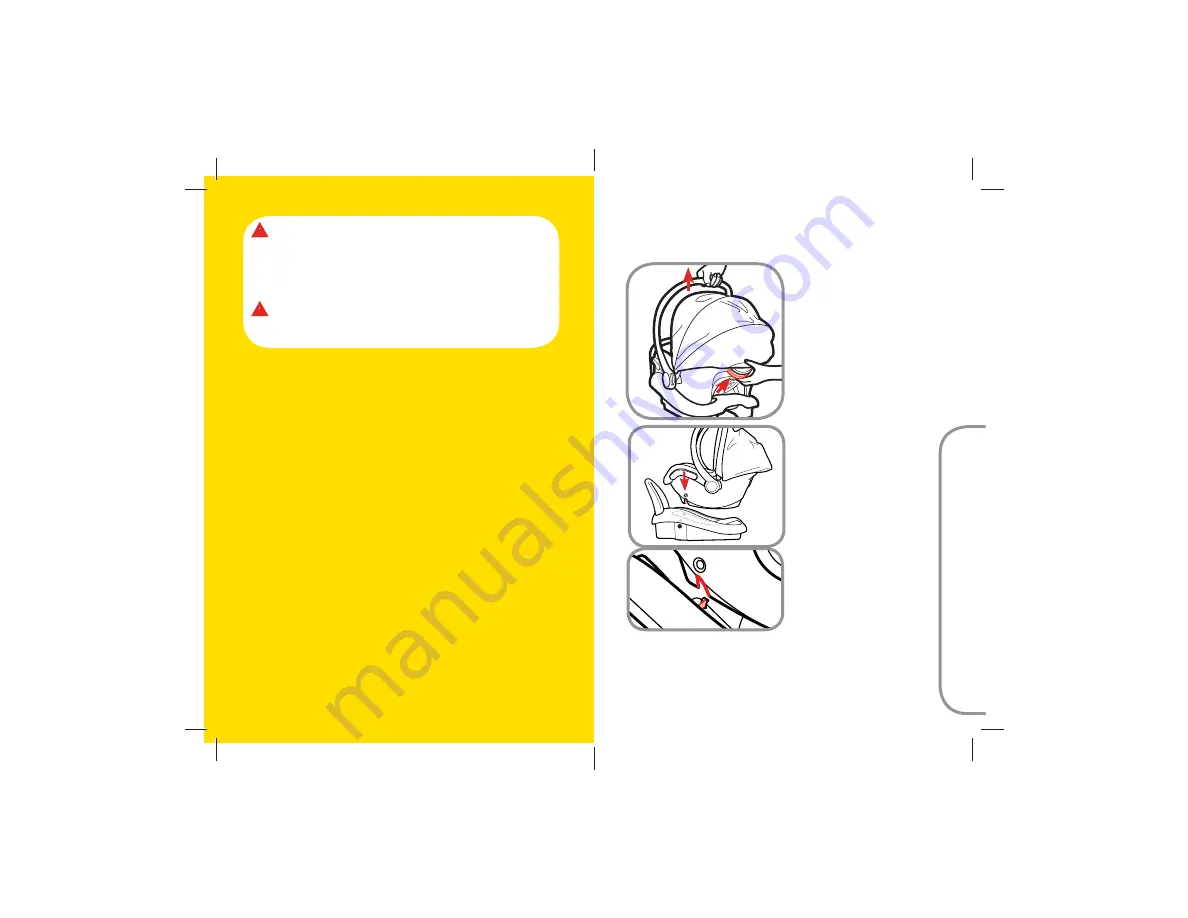
Remove and Install the Child
Restraint to Base
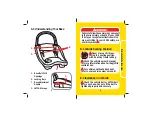
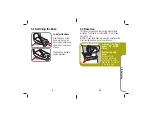
To Remove Child
Restraint from Base
From the back of the
child restraint, slide
the base release
handle up the back of
the child restraint and
lift the restraint out of
the base.
To Attach Child
Restraint to Base
Align the slots on the
side of child restraint
with the locking bars
in the base. Push
down firmly on the
carrying handle and
the front of the child
restraint to lock child
restraint to base. You
will hear a “click”
when it is locked.
Pull up on child restraint’s front two corners to make
sure the front of the child restraint is locked to the
base.


