
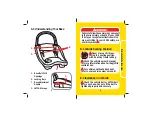

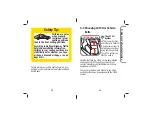


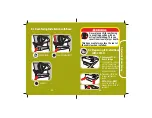


handle and the front of the child restraint to lock child
restraint to base. You will hear a “click” when it is
locked. Pull up on child restraint’s front two corners to
make sure the front of the child restraint is locked to
the base.
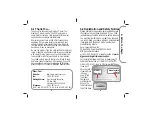
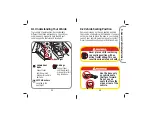
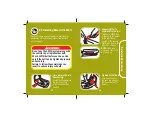
Check LATCH Belt
Tightness
Grasp the base at the
belt path
with one hand.
Push and pull the base
from side to side, forward
and back. The base
should not move more
than 1 inch.
NOTE:
If base moves more
than 1 inch, try reinstalling
the base or try another
seating location.
4.
5.
Attach Child Restraint
to Base
With child secured in
child restraint, attach to
base. Align the slots on
the side of child restraint
with the locking bars in
the base. Push down
firmly on the carrying
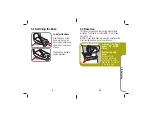
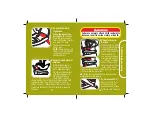
Check for Proper
Recline
Make sure level line on
side of child restraint is
level with the ground.
Adjust base if needed.
(see section C-2).
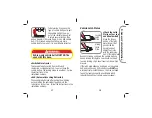
You may need to place
a large rolled towel(s)
or foam pool noodle(s)
under the front of the
base to achieve correct
recline angle. Check
6.
E. Installing Rear-Facing
Failure to securely attach child restraint to
base can result in serious injury or death.
often to be sure padding is still in place, the level line
is still level and the belt is tight.
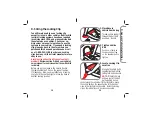
NOTE:
The carrying handle can be in any position
when installed in the vehicle.
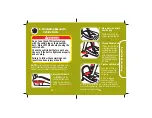
To Release LATCH
Remove LATCH from
vehicle anchors by
pressing the red release
button on each connector.
7.
27
28


