


5. Press the Center button to start recording. A video time counter will
appear on the screen showing the length of time of this recording.
6. Press the Center button to stop recording when you’re done.
When you are recording a video the red LED light on the front of Vidster‘
will come on.
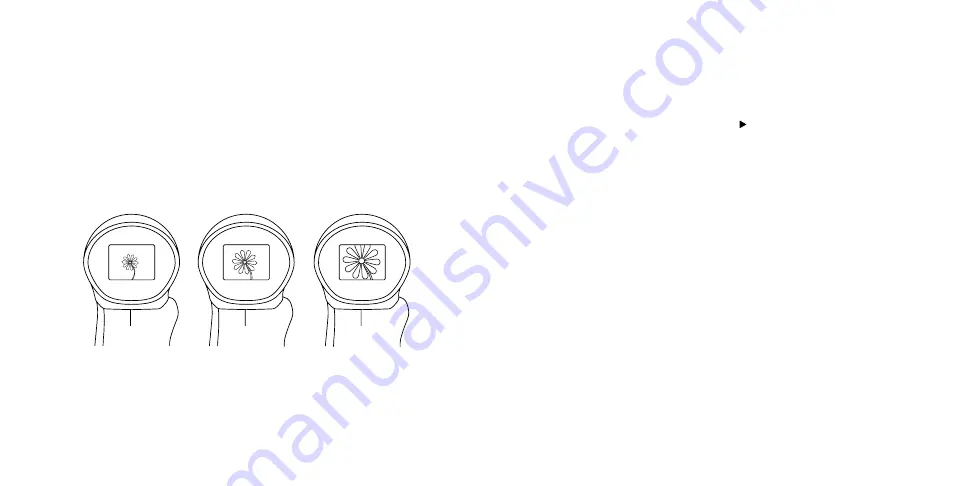
Zoom In / Zoom Out
If you want your view to move in closer or out farther, press the Up
button or Down button to zoom. The zoom has three settings 1x, 1.5x
and 2x.
* The Zoom level cannot be changed while video is being recorded.
Adjust Volume
During playback mode, you can set the speaker volume in order to
listen to recorded videos. To do so, press the Right button on the D-Pad
to get to the volume control. Press the Up button (Volume Up) on your
D-Pad or the Down button (Volume Down). The volume level will be
immediately displayed on your LCD. You may increase or decrease the
volume in increments of 1; there are 7 volume levels total.
Camera Playback
Switch the Mode button to playback. It will default to the last
mode- video if you just shot a video, photo if you just shot a photo- and
press the Down button if you want to view a Photo. Press the Center
button to confirm your choice. Scroll forward using the Top button or
backwards by using the Bottom button. At any time you may choose to
delete a photo by pressing the Delete (left) button on the D-Pad. This
brings up the Delete menu. Select YES or NO and press the Center
button to confirm your choice.
At either end of your archived photos, you will return to the playback
mode menu. In this menu, you can use the Up button to navigate to the
Video mode or it will default to the Photo playback. Pressing the Center
button will confirm your selection. While viewing your photos you may
press the Center button to see a full screen image of the picture.
Camera Slideshow Playback
To start the slideshow, select any photo by pressing the Center button
(photo enlarge to fill the full screen). Then select it a second time. Each
photo will be shown for about three seconds until moving to the next
10
11
Содержание Vidster
Страница 13: ......


