46
9.8 DRIVE AXLE SET REPLACEMENT - CONTINUED
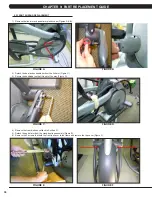
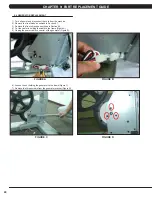
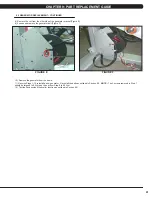
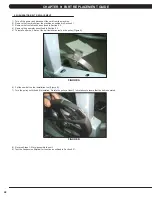
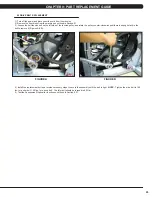
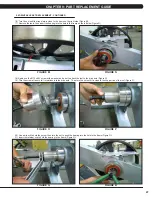
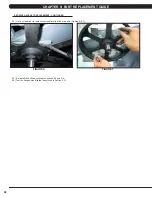
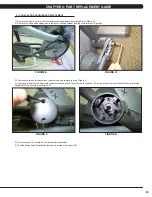
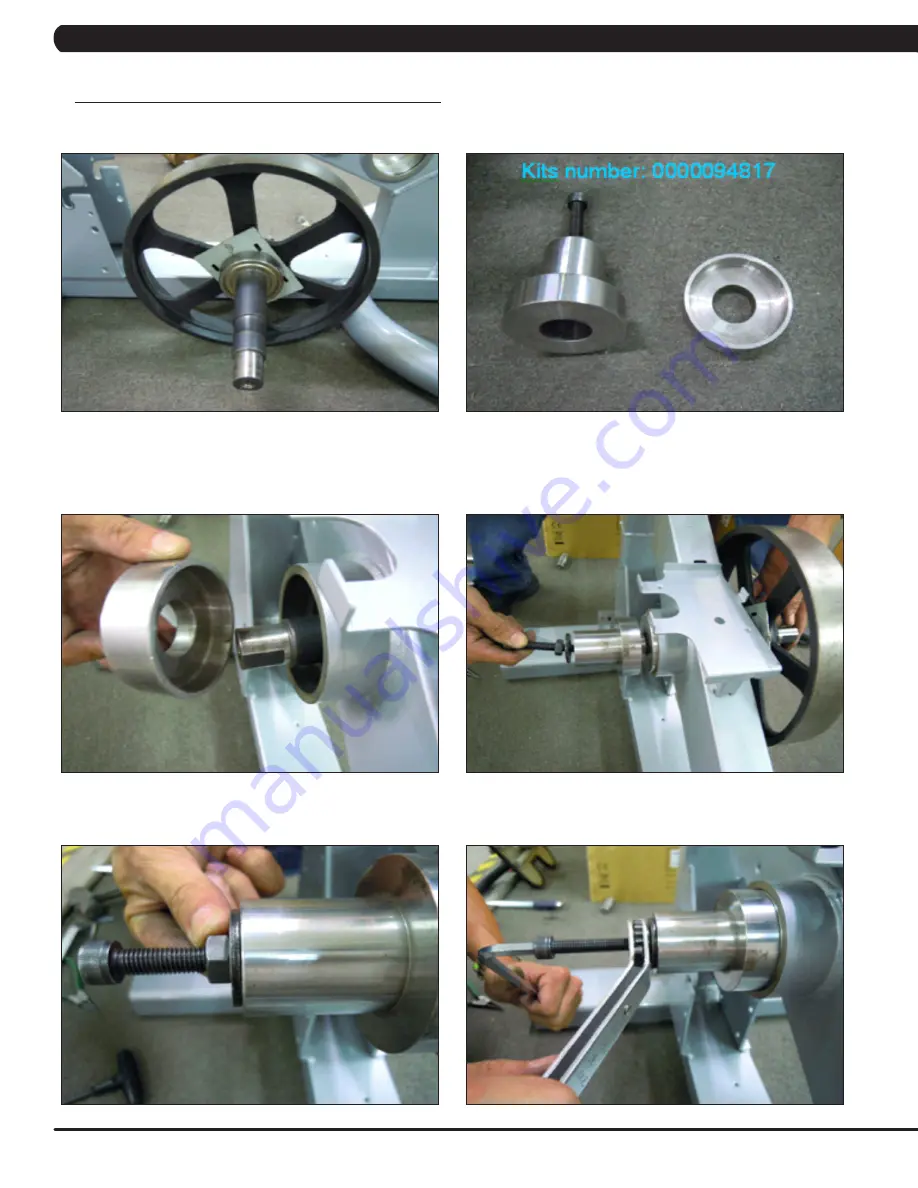
10) The drive axle should have come with an iron plate installed (Figure G).
11) Assemble the Matrix tool as shown in Figure H.
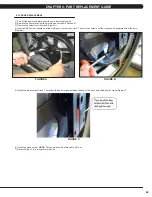
12) Slide the drive axle assembly into the frame from the right side. Install the bearing cap portion of the tool into the left side of the frame
(Figure I).
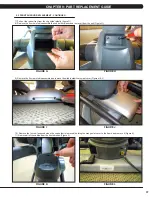
13) Mount the other tool from Figure H behind the bearing cap portion of the tool. Use the M10 x 65L screw with a washer and a nut to attach the
tool to the drive axle (Figure J).
14) Turn the screw at least 4 full revolutions into the drive axle. Then turn the nut until it is close to the cup portion of the tool (Figure K).
15) Use a wrench to hold the screw, then turn the nut to pull the drive axle into the frame (Figure L).
FIGURE H
FIGURE G
FIGURE I
FIGURE J
FIGURE L
FIGURE K
CHAPTER 9: PART REPLACEMENT GUIDE
Содержание E3XE - 01
Страница 1: ...E 3 X E 0 1 S U S P E N S I O N E L L I P T I C A L S E R V I C E M A N U A L...
Страница 4: ...1 1 1 SERIAL NUMBER LOCATION CHAPTER 1 SERIAL NUMBER LOCATION SERIAL NUMBER LOCATION...
Страница 26: ...23 8 1 ELECTRICAL DIAGRAMS CHAPTER 8 TROUBLESHOOTING...
Страница 27: ...24 CHAPTER 8 TROUBLESHOOTING 8 1 ELECTRICAL DIAGRAMS CONTINUED P21 DIGITAL COMMUNICATION WIRE...
Страница 28: ...25 8 1 ELECTRICAL DIAGRAMS CONTINUED CHAPTER 8 TROUBLESHOOTING G14 HAND PULSE CONNECTING WIRE...
Страница 90: ...87 NOTES...

