


Digital Video Recorder
55
Pressing and holding the
CLIP COPY
button for more than three seconds while in the Search mode or Live Monitoring
mode initiates the One-Touch Clip Copy function. The last recorded image will be the ending point of video to be
clip copied, and the system will automatically begin to calculate the possible video data size that the selected storage
media can handle.
Select
Clip-Copy
in the Search – Export menu or press the
CLIP COPY
button while in the Search mode or Live
Monitoring mode, and the
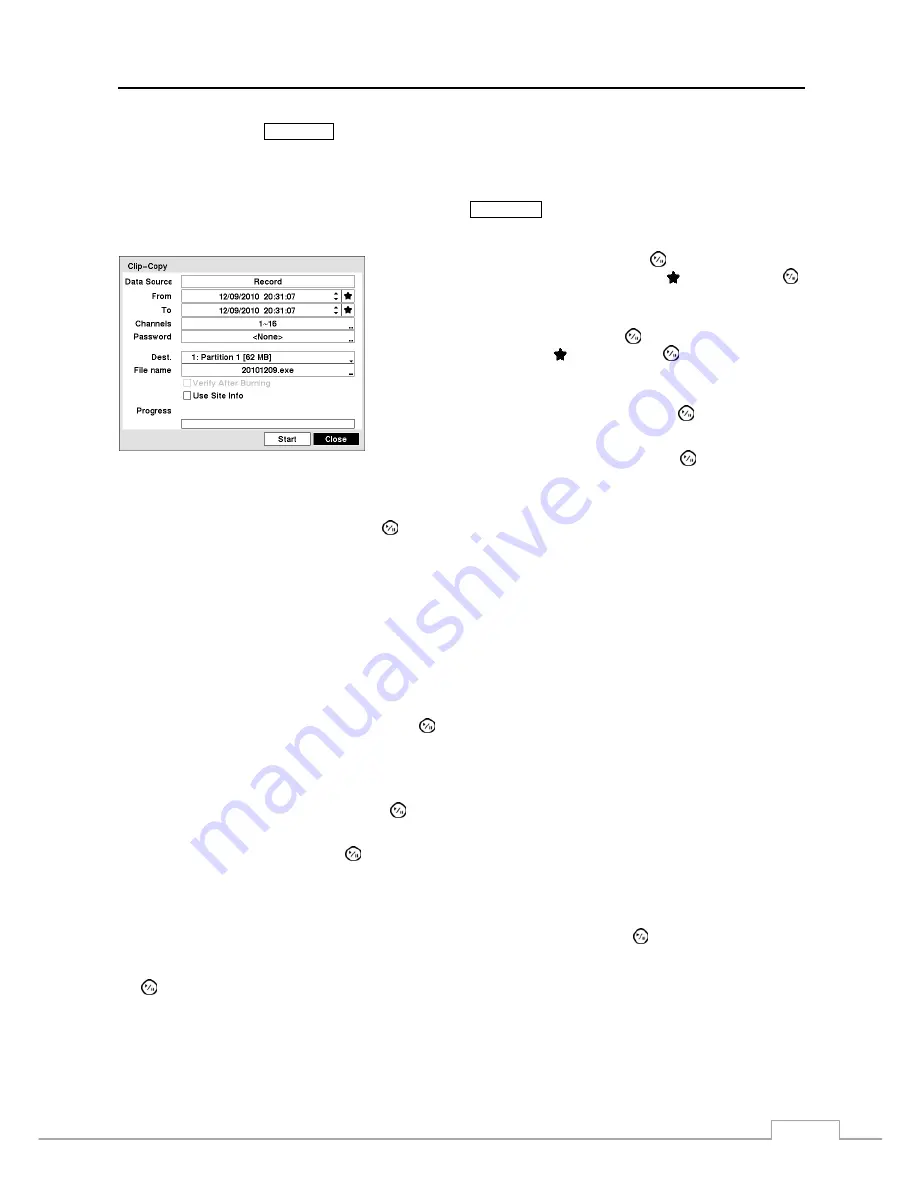
Clip-Copy
screen appears to allow clip copy setup.
Figure 70 — Clip-Copy screen.
Highlight the box beside
From
and press the
(Play/Pause) button to
set a starting date and time. When highlighting
and pressing the
button the bookmark list displays and the bookmark point you selected
will be the starting date and time.
Highlight the box beside
To
and press the
button to set an ending date
and time. When highlighting and pressing the
button the bookmark
list displays and the bookmark point you selected will be the ending date
and time.
Highlight the box beside
Channels
and press the
button. You can
select the cameras that you would like to include in your video clip.
Highlight the box beside
Password
and press the
button. A virtual
keyboard appears allowing you to enter the password for reviewing the
video clips.
Highlight the box beside
Dest.
and press the
button. You can select the storage device on which you would like to
record the video clip. You can choose from
Internal DVD RW
and
USB Storage
.
CAUTION: The USB device for clip copy must be FAT 16 or FAT32 format.
NOTE: While copying video clips on the DVD RW, the recording speed might decrease.
While copying video clips on the DVD RW, the DVR will stop archiving video data until clip copy is finished.
When the error message “Firmware update of the optical drive is required” displays, update the firmware
of the installed DVD RW drive. Please follow the instructions described in Chapter 3 – Configuration –
System Information section.
The DVR automatically assigns a file name to the video clip. However, you can give the video clip file a different name.
Highlight the box beside
File Name
and press the
button. A virtual keyboard appears. Enter a file name for the
video you are backing up and select
Close
. The DVR will automatically add the camera number (for example “01”)
and “.exe” to the file name.
NOTE: When naming a file, you cannot use the following characters: \, /, :, *, ?, “, <, >, |.
Highlight
Verify After Burning
and press the
button. This will toggle between On and Off. When this feature is
On, you can verify that the data is written on the DVD RW properly.
Highlight
Use Site Info
and press the
button. This will toggle between On and Off. When this feature is On, you
can add the site information to the file name for the video you are backing up.
NOTE: When the site information is added to the file name, some special characters (\, /, :, *, ?, “, <, >, |) in the
site information will be converted to “_”.
Once you have given the video clip a file name, highlight the
Start
button and press the
button. The confirmation
screen displaying data size will appear. When the storage device does not have enough space, the DVR will ask if you
want to copy as much of the video clip as possible in the available space. Highlight the
Continue
button and press
the
button to continue clip copy.
Once the clip copy starts, you can cancel it by selecting
Cancel
or hide the screen by selecting
Close
. When selecting
Close
, Clip Copy continues and a confirmation screen will display when complete.


