


10
11
GENERAL SANDING
WARNING:
Finish sanding can produce clouds of fine sanding dust that
could ignite in the presence of sparks or an open flame. To avoid injury, always
use your sander in a well-ventilated area.
WARNING:
For your safety, and in order to avoid damage, only turn the
sander ON and OFF when the sander is contacting a surface.
1. Place the sander on the workpiece BEFORE turning the switch to
the ON position. If the sander is started before making contact with the
workpiece, the free-floating workpad may cause scratches.
2. Sand using a circular or elliptical motion while applying slight pressure.
3. Random orbit sanders can be moved across the workpiece in any
direction. If you are sanding wood, you can sand in any direction,
regardless of the grain of the wood.
4. The amount of downward pressure will affect the rotation speed and the
sanding results:
a. Light pressure: recommended for fine work
b. Moderate pressure: recommended for rough work.
c. Heavy pressure: does not allow the disc to rotate properly.
5. Keep the sanding disc flat on the workpiece. Using the edges of the pad or
tipping the sander may cause an uneven finish, and may reduce the life of
the sanding pad.
6. Keep the sander moving in broad, even strokes across the workpiece.
Sanding in one spot for too long may cause gouging and uneven results.
7. Random orbit sanders work more aggressively than simple orbital
sanders.
Check your workpiece frequently.
8. Begin sanding with a coarser grit sandpaper, and gradually use finer and
finer grits, until the desired finish is achieved. Do not switch from a coarse
grit to a very fine grit in one step.
SANDING OPERATION
WARNING:
To avoid injury, always unplug the sander before attaching or
removing sanding discs or the dust bag.
1. Attach the sanding disc and the dust bag.
2. Place the sander on the workpiece, and turn the sander ON.
3. Keep the sanding disc flat on the workpiece and constantly moving across
the workpiece. Use long, sweeping circular or elliptical strokes.
4. When you are finished sanding, switch the tool OFF and wait until
the sander has come to a complete stop before removing it from the
workpiece.
REMOVING PAINT OR VARNISH
1. When removing several layers of paint or varnish, remove as much as
possible with a paint or varnish remover.
2. Scrape the residue off with a putty knife or scraping tool, and allow the
surface to cool and dry before sanding.
3. Select and install a coarse grit sandpaper.
4. Keep the sander moving over new areas in order to avoid heating and
softening the old coating.
5. Work in wide, overlapping strokes in order to achieve a uniform finish.
6. As the workpiece begins to show through the old coating, switch to a
medium grit sandpaper in order to avoid scratching the surface. Gradually
switch to a finer grit until you achieve the desired finish.
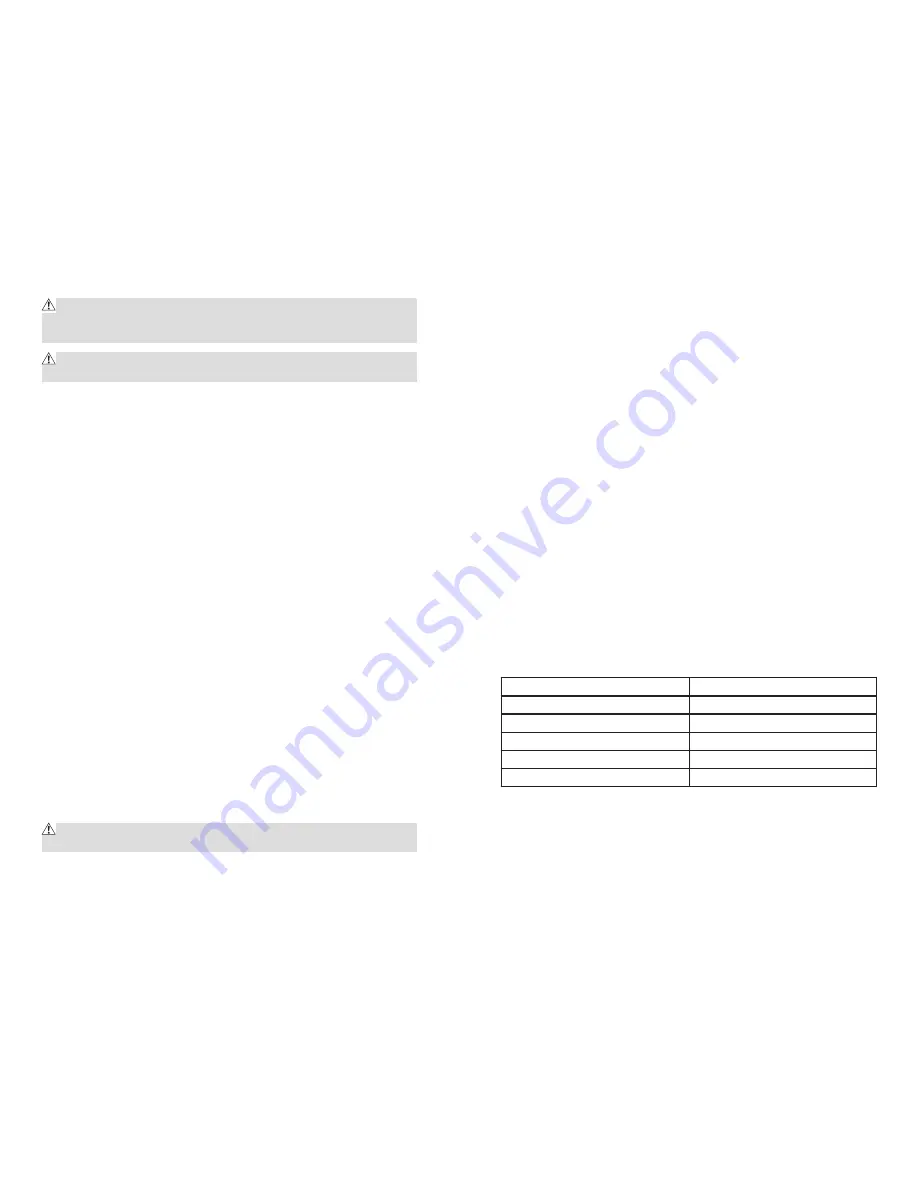
SANDPAPER SELECTION (PURCHASE SEPARATELY)
Sandpaper can be made from various grit materials. The grit material
and coarseness of the sandpaper should be selected according to the type
of workpiece.
Workpiece material
Grit material
Fine woodwork
Gamet or aluminium oxide
Rough woodwork
Aluminium zirconia or ceramic
Manufactured wood products
Silicon carbide or aluminium oxide
Solid surfacing material
Silicon carbide or aluminium oxide
Metals
Emery or aluminium oxide
Sandpaper is also graded according to coarseness. Start your work with
an abrasive grit that is just coarse enough to remove the high spots and
excessive roughness. Follow with a second sanding, using a grit that is one
or two grades finer. Continue with successively finer grits until you achieve
the desired finish.
Do not switch from a coarse grit to a very fine grit in one step. It may be
difficult to remove the marks made by the coarse grit. Use the coarsest grits