Getting Started with the gplugD
Remote Access with VNC
Copyright © 2010 Marvell
Doc. No. MV-S400320-00 Rev. -
December 2010
Page 21
1
2
3
4
5
6
7
8
9
10
11
12
13
14
15
16
17
18
19
20
21
22
23
24
25
26
27
28
29
30
31
32
33
34
35
36
37
38
39
40
41
42
43
44
45
46
47
48
49
50
51
52
53
54
55
56
57
58
3.4
Remote Access with VNC
If there is no convenient way to connect a display to the gplugD, use the following procedure to
remotely access the desktop with VNC:
1.
Visit
http://www.tightvnc.com/
and download the Windows installer for TightVNC. Run the
installer, and at the “Choose Components” screen, uncheck “TightVNC Server” before continuing.
2.
With the gplugD powered up and connected to a wired Ethernet network with Internet access,
get to the shell command prompt using the console serial port or SSH. Install TightVNC Server
by entering “apt-get install tightvncserver” at the command prompt, and approve the installation
of the “xbase-clients” and “tightvncserver packages” (see Figure 11).
3.
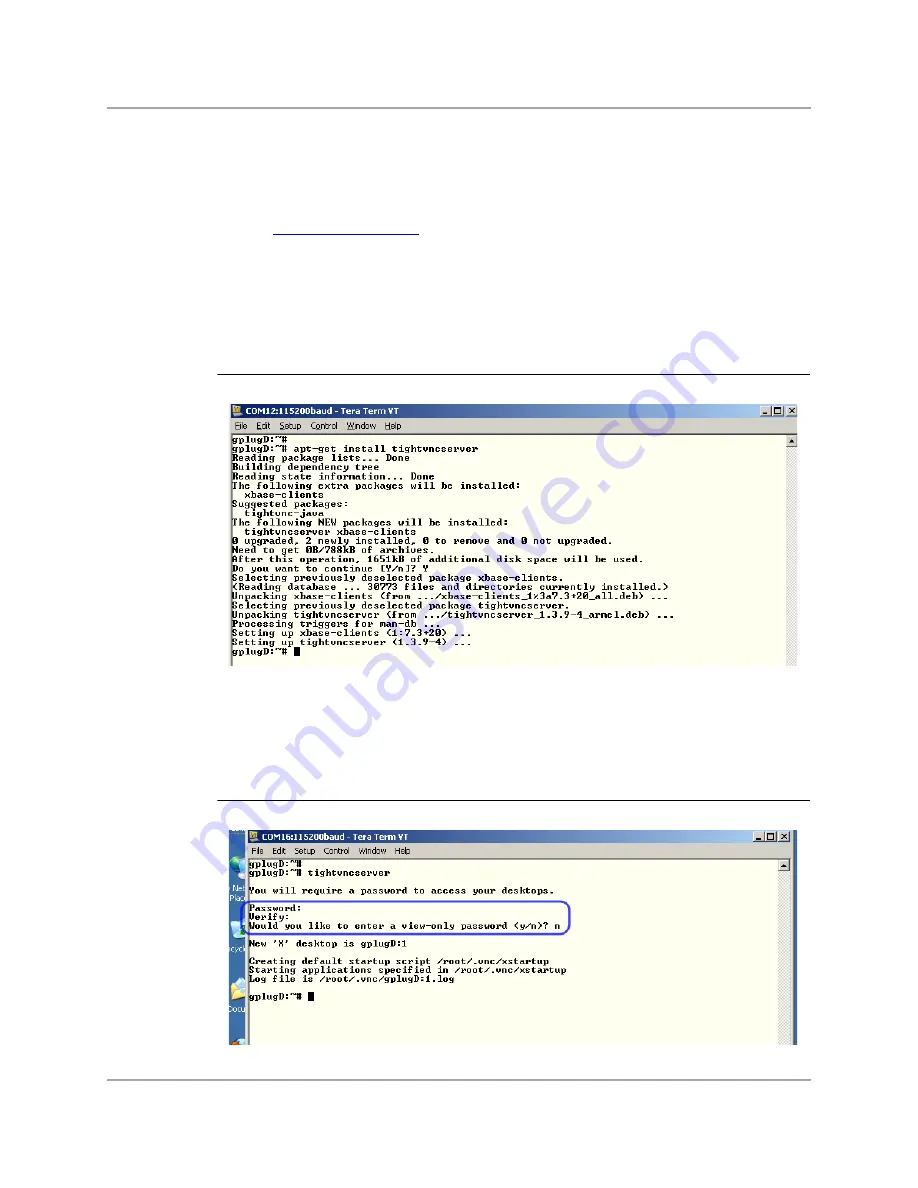
Launch TightVNC Server by issuing the command “tightvncserver.” Passwords are limited in
length to 8 characters by the VNC protocol, so use the gplugD root password “nosoup4u” when
prompted (see Figure 12). Also, do not create a view-only password. Take note of the X desktop
name, which should be “gplugD:1” the first time TightVNC Server is run.
Figure 11: TightVNC Server Installation
Figure 12: TightVNC Server Password Setup


