Martin Audio DX1.5 Скачать руководство пользователя страница 6

All material © 2009. Martin Audio Ltd. Subject to change without notice. 


7) 

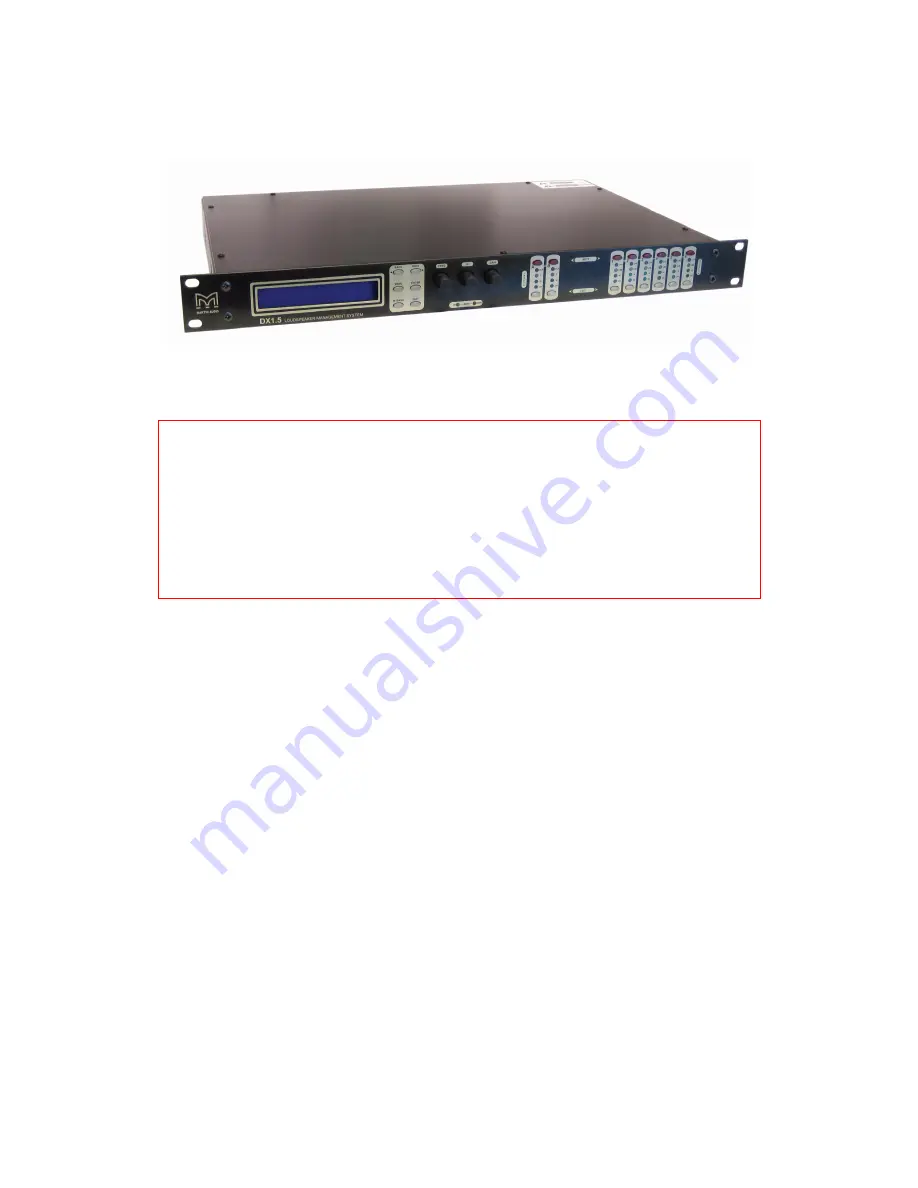
Loading factory presets into your Martin Audio 2in/6out 
DX1.5 Loudspeaker Management System 


A zip folder containing loader software and current DX1.5 binary files is available from the 
accompanying User Guides CD and from www.martin-audio.com. Extract the contents to your 
hard disk. Do not run the programme from the zip folder. 


Warnings 

Loading presets will overwrite previously loaded factory presets - and any changes to them 
(e.g. channel gain, delay, primary limiter and ClipLim settings). 


To make a permanent record of changes to the user-editable parts of a preset, you must save 
the preset in one of the lower number memory locations. 


Make sure you have a full set of .bin files before proceeding so that you can reload your 
original presets if you need to. 


If you are not familiar with the Martin Audio DX1.5, please read the DX1.5 User Guide. 

 
You should have extracted the following files to a suitable folder on your hard drive: 


MartinFlashLoader.exe

 – The binary preset loader software 


General presets 

MARTN15RLib5.bin

 – The general family of binary presets for most regular Martin Audio 

loudspeakers and stage monitors. Line array systems have separate preset families - see 
below… 


Line array presets 

Note that we recommend the 4in/8out remote controllable DX2 for more complex systems 
(e.g. band-zoned L W8LD + W8LS). 

MARTN15RLB02.bin

 – Binary presets for W8L Longbow 


MARTN15RLCDLC3.bin

 – Binary presets for W8LC + W8LCD 


MARTN15RLM21802.bin


– Binary preset for W8LM/LMD + WS218X/W8LS  


MARTN15RLMLX01.bin

 – Binary preset for W8LM/LMD + WLX 


MARTN15RLMMX03.bin

 – Binary presets for W8LM/LMD+WMX 

 
(Note that preset libraries may have been updated since this user guide was published.    
 Updated presets may show slight title variations) 


Содержание DX1.5

Страница 1: ......

Страница 2: ...oudspeaker Management System 8 Selecting a specific preset 9 Amplifier power amplifier gain DX1 5 primary limiter and ClipLim settings 10 Front Panel functions l r 11 Rear Panel functions l r 12 Opera...

Страница 3: ...d VW 1 and have a current carrying capacity not less than the marked rating of the apparatus 2 Electrical compliance An example of this equipment has been tested and found to comply with the following...

Страница 4: ...available for all controls The DX1 5 is also equipped with AES EBU digital inputs and includes a sample rate converter capable of accepting anything from 32kHz up to 192kHz 5 Features Superb audio qua...

Страница 5: ...unications interface setup SYSTEM Sub menu Used to view unit s status and select various global options such as PEQ Q or bandwidth units delay units and output metering point pre post mute SECURITY Su...

Страница 6: ...your original presets if you need to If you are not familiar with the Martin Audio DX1 5 please read the DX1 5 User Guide You should have extracted the following files to a suitable folder on your ha...

Страница 7: ...puter to the external socket on the rear of the unit 2 On the DX1 5 use the blue Menu Back Next and Enter keys to go into the Interface Sub menu and then into External Interface 3 Once entered setup a...

Страница 8: ...y adjusting the Com Serial Port number and clicking the Connect button again It is usually quicker to do this by trial and error as Com port numbering can be a mystery to the average PC user 6 Click o...

Страница 9: ...will communicate with the DX1 5 and ask for confirmation Click OK You ll see the green block writing progress bar proceeding from left to right and on the DX1 5 front panel you ll see graphics shuffli...

Страница 10: ...ns See section 14 Editing Audio Parameters Input Channels for operating details 9 Amplifier power amplifier gain DX1 5 primary limiter and ClipLim settings Amplifier power We suggest you specify an am...

Страница 11: ...power amplifier s and loudspeaker s peak capability set the ClipLims as follows Subwoofers Slow 6dB Above Low mid LF Medium 6dB Above High mid HF Fast 6dB Above If you have specified an amplifier smal...

Страница 12: ...item In this way three presses on MENU from the default screen will jump back to the last parameter adjusted Different menus are selected using the BACK and NEXT keys or with the FREQ encoder ENTER k...

Страница 13: ...put All are fully balanced pin 2 hot 3 cold 1 screen Recessed AES input switch to select AES digital inputs Red LED will illuminate in the hole when AES inputs are selected along with the correspondin...

Страница 14: ...power has permitted the inclusion of more processing blocks even considering the extra inputs and outputs and the doubling of sample rate To reduce set up time and aid usability several standard confi...

Страница 15: ...the display shows Design a Crossover Routing Free Assign And then press ENTER The EDIT key will illuminate for output 1 as will any relevant input EDIT keys showing which inputs are feeding output 1 T...

Страница 16: ...set to 500mS the maximum available output delay for any output fed from input A will be 150mS x 1mS x 0 01mS The display will show for instance InA Input A Delay Base Delay 0 00mS Input Parametric EQ...

Страница 17: ...en any input and output is 650 00mS For example if the input delay on channel A is set to 500mS the maximum available output delay for any output fed from input A will be 150mS x 1mS x 10uS x0 3uS The...

Страница 18: ...filters parametric bands 8 9 need to be bypassed or set to 0dB If they are not the message Bypass PEQ s 8 9 To Access 48dB Slopes will be displayed Freq Slope The display will show for instance OP1 Ou...

Страница 19: ...ack Release Threshold The display will show for instance OP1 Output 1 Limiter Atk 2 0mS Rel x16 22dB Output D Max ClipLim The clip limiter is designed to sit at a threshold just above the standard lim...

Страница 20: ...ing 1 3 2 4 Selecting Free Assign and then pressing ENTER will begin the process of ganging outputs together using the following simple rules All outputs are ganged to the lowest number so to gang 3 5...

Страница 21: ...ear in the GLOBAL MEMORY Sub Menu and its operation warrants a little more explanation Selecting to Store or Recall using the Global Memory option offers the possibility of storing various combination...

Страница 22: ...a time using the pc loader software Your Martin Audio distributor or dealer will let you know if updates are necessary 19 AES Inputs DX1 5 units have AES input facilities via input XLR A built in as s...

Страница 23: ...the two input streams to be at different rates if necessary 20 Warranty Martin Audio DX1 5 Loudspeaker Management Systems are warranted against manufacturing defects in materials or craftsmanship ove...

Отзывы: