HX Nitro Start up
Quick Reference Guide Series
o
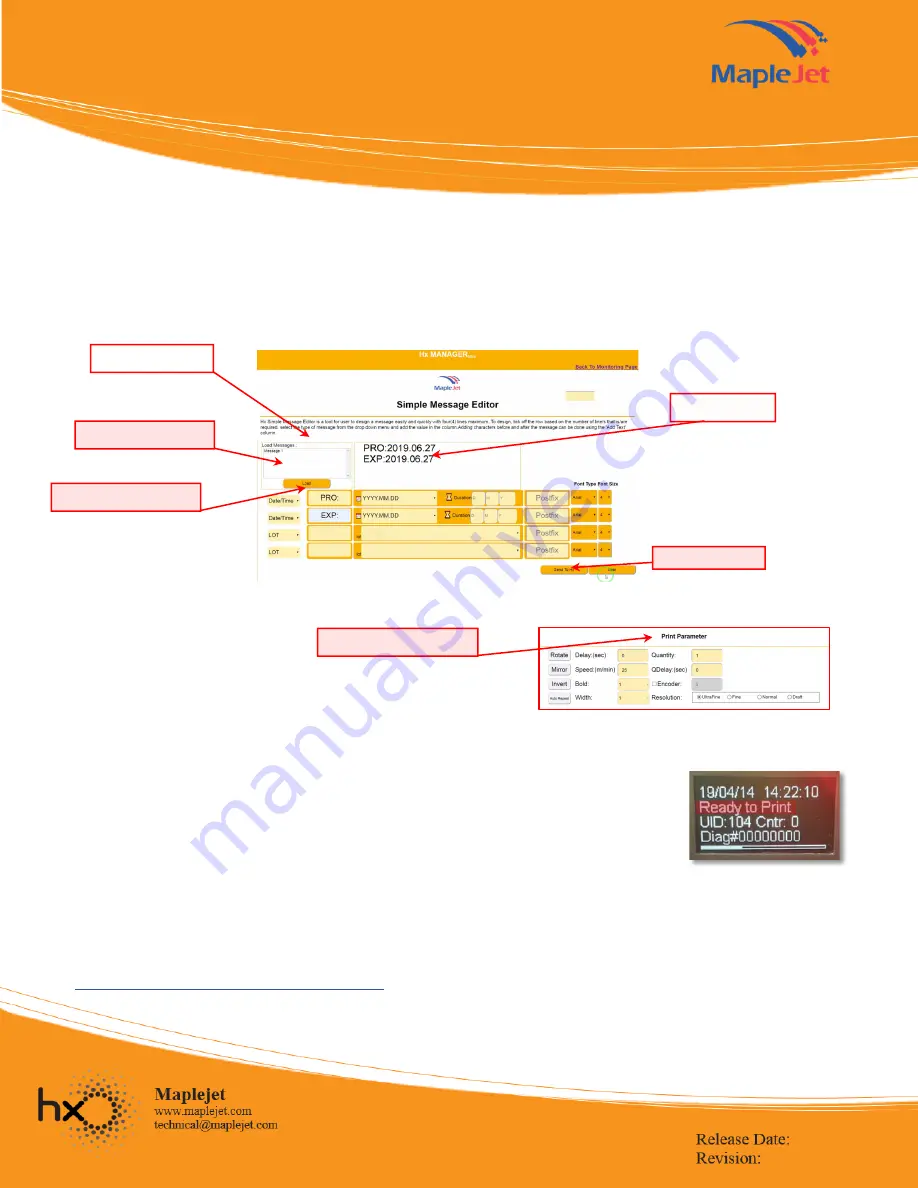
Select Date/Time (you will notice first row will change accordingly)
o
Add ‘PRO:’ & ‘EXP:’ as prefix
o
On the second row (for EXP), select the expiration duration
o
Use Arial and font size 4
o
Set print parameters as recommended in Figure 13
o
Send the message to Hx Nitro with the submit button
NOTE: To get the best quality of the print, keep the paper as closely as possible to the printer.
For training videos please check below link
https://www.maplejet.com/hx-training-videos/
Figure 14. OLED display in Hx Nitro
showing “Ready to Print”
Load saved messages
1.Select Message Type
2.Enter Text before message
Message Preview
Figure 12. Simple Message Editor
3.Send to Hx Nitro
4.Configure print parameters
Figure 13. Print Parameter
Load saved messages
10
ü
Printing
•
Connect the DB9 sensor.
•
Press the “Print On” button and a “Ready to Print” message as shown in Figure 14 should
appear on the device’s display. “
•
Move the paper by hand in front of nozzles (see Figure 9) and trigger the sensor to print.


