8
FUNCTIONAL DESCRIPTION
CAUTION:
•
Always lock the trigger and disconnect the hose
before adjusting or checking function on the tool.
Checking before operation
WARNING:
•
Never use the nailer when the safety elements are
not in working order. Using it in that condition may
cause a personal injuries and damage.
This nailer does not fire nails without activating both the
trigger and the safety elements. Before nailing, check
the nailer that the safety systems is in working order by
following the procedure shown below.
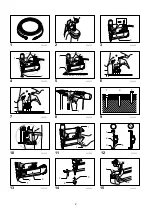
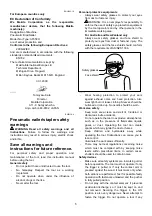
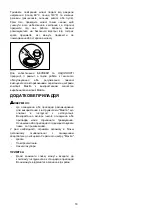
Fig.3
1.
Make sure that nails are not loaded on the tool
before operation..
2.
Connect the air hose to the tool.
3.
Set the lock lever in the released position.
4. Pull the slide door of the magazine toward
yourself.
5.
Pull only the trigger.
6. Release the finger from trigger and place the
safety element against the workpiece.
7. Bring the safety element off the workpiece, pull
the trigger and then place the safety element
against the workpiece.
8. If the nailer works between 5 - 7, the safety
elements are not in working order.
Fig.4
Fig.5
Using the trigger lock
The tool has trigger lock to avoid accidents by an
unintentional start. The trigger lock makes the trigger
unmovable and let the tool cause no firing.
To lock the trigger, set the lock lever in the “ LOCK
”
position.
Before nailing, set the lock lever in the “ FREE
”
position. When not in use, always set it in the “ LOCK
“ position and disconnect the hose from the tool.
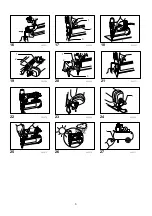
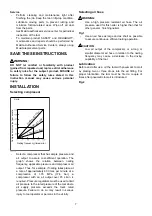
Fig.6
Fig.7
Adjusting depth of nailing
CAUTION:
•
Always lock the trigger and disconnect the hose
before adjusting the depth of nailing.
Fig.8
Fig.9
To adjust the depth of nailing, turn the adjuster. The
depth of nailing is the deepest when the adjuster is
turned fully in the A direction shown in the figure. It will
become shallower as the adjuster is turned in the B
direction.
Hook
Fig.10
CAUTION:
•
Always lock the trigger and disconnect the hose
before changing the hook installation position and
using the hook.
•
Never hook the tool at high location, on waist belt
or potentially unstable surface.
The hook is convenient for hanging the tool temporarily.
The hook can be installed on either side of the tool.
When changing the installation position, remove the
screw from the hook. Place the hook on the desired
position and secure it with screw.
ASSEMBLY
CAUTION:
•
Always lock the trigger and disconnect the hose
before carrying out any work on the tool.
•
Load the same kind, size and uniform length of
nails when loading nails in the magazine.
Loading nailer
CAUTION:
•
Always lock the trigger and disconnect the hose
before loading the nailer.
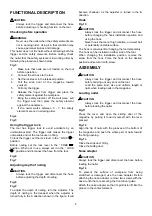
Fig.11
Press the lever and open the sliding door of the
magazine by pulling it toward yourself with the lever
pressed.
Fig.12
Align the tip of nails with the grooves at the bottom of
the magazine and push the whole part of nails toward
the firing opening.
Fig.13
Close the slide door firmly.
Close the sliding door.
Nose adapter
CAUTION:
Always lock the trigger and disconnect the hose before
loading the nailer.
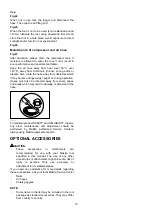
Fig.14
To prevent the surface of workpiece from being
scratched or damaged, use the nose adapter. Before
attaching the nose adapter, remove two screws with the
hex wrench that are securing the front driver guide.
Attach the nose adapter so that its protrusion fit into the
groove in the contact element,
Содержание AF550H
Страница 62: ...62 ...
Страница 63: ...63 ...
Страница 64: ...64 Makita Corporation Anjo Aichi Japan www makita com 884806C975 ...

