4.1
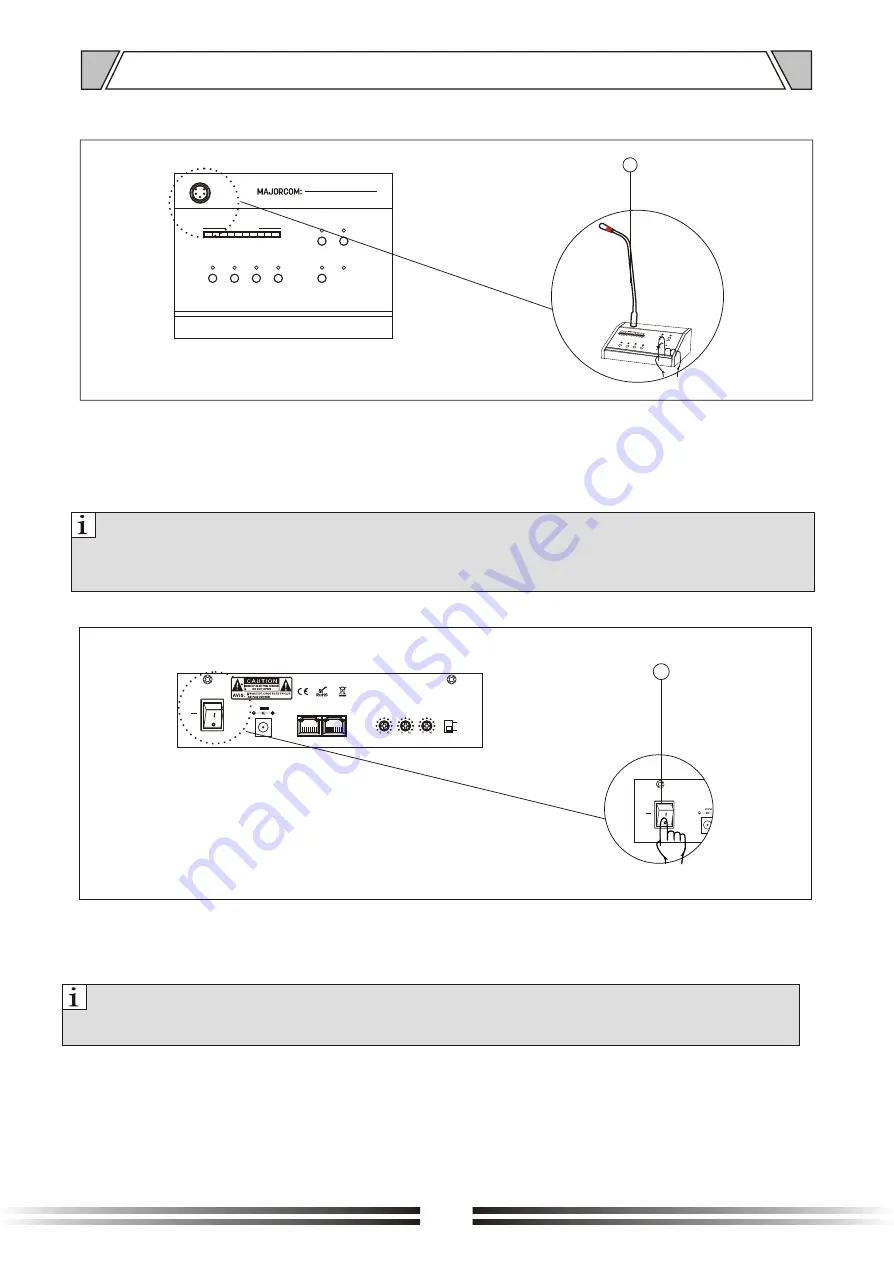
MIC input
Fig 4.1
When input
, turn on the power, then press the call confirmation button, you can page to each zone
independently or to all the zones. The volume could be adjusted by the volume control on the rear panel.
When the call confirmation button is turned off, the call confirmation indicator will be off and there is no
call signal output from the
.
MIC
MIC
4.2
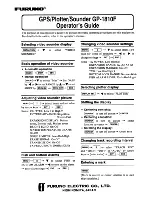
Power switching
Fig 4.2
When the power switch is turned ON, the power stars and the indicator is on
When the power switch is turned OFF, the power shuts off and the indicator is off
.
.
Note:
1.
MIC
MIC
MIC
MIC
2.
MIC
When the
is connected, make sure there is power supply to the
, and the
could be
turned on to work normally; or the
could not be paged.
Make sure the connection of the
is tightly to avoid any damage by falling off.
Note:
Make sure the unit is in the power-on state to make it used normally. Or if there is any fault on
the units, please contact with the supplier.
5
4.
OPERATION
1
ON
OFF
CHIME VOL.
MASTER VOL.
MIC VOL.
CHIME
2 TONE
4 TONE
LINK
24V
2A
POWER
8
ZONE 1
ZONE 2
ZONE 3
ZONE 4
ALL CALL
POWER
CHIME
TALK
OUTPUT LEVEL
MIC
-18 -15 -12
-9
-6
-3
0
+3
+6 +9
dB
MICROPHONE WITH ZONE CONTROL
RM-4012
ON
OFF
CHIME VOL.
MASTER VOL.
MIC VOL.
CHIME
2 TONE
4 TONE
LINK
24V
2A
POWER
Содержание RM-4012
Страница 11: ...9 6 BLOCK DIAGRAM...
Страница 13: ...Version V0 1 PUBLIC ADDRESS SYSTEM...


