


Pg 37 of 38
1-800-892-3986
IS9052
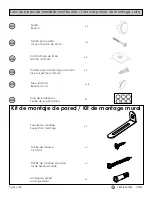
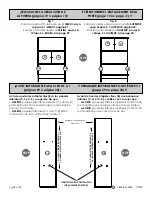
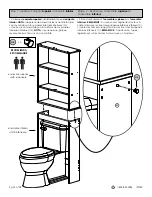
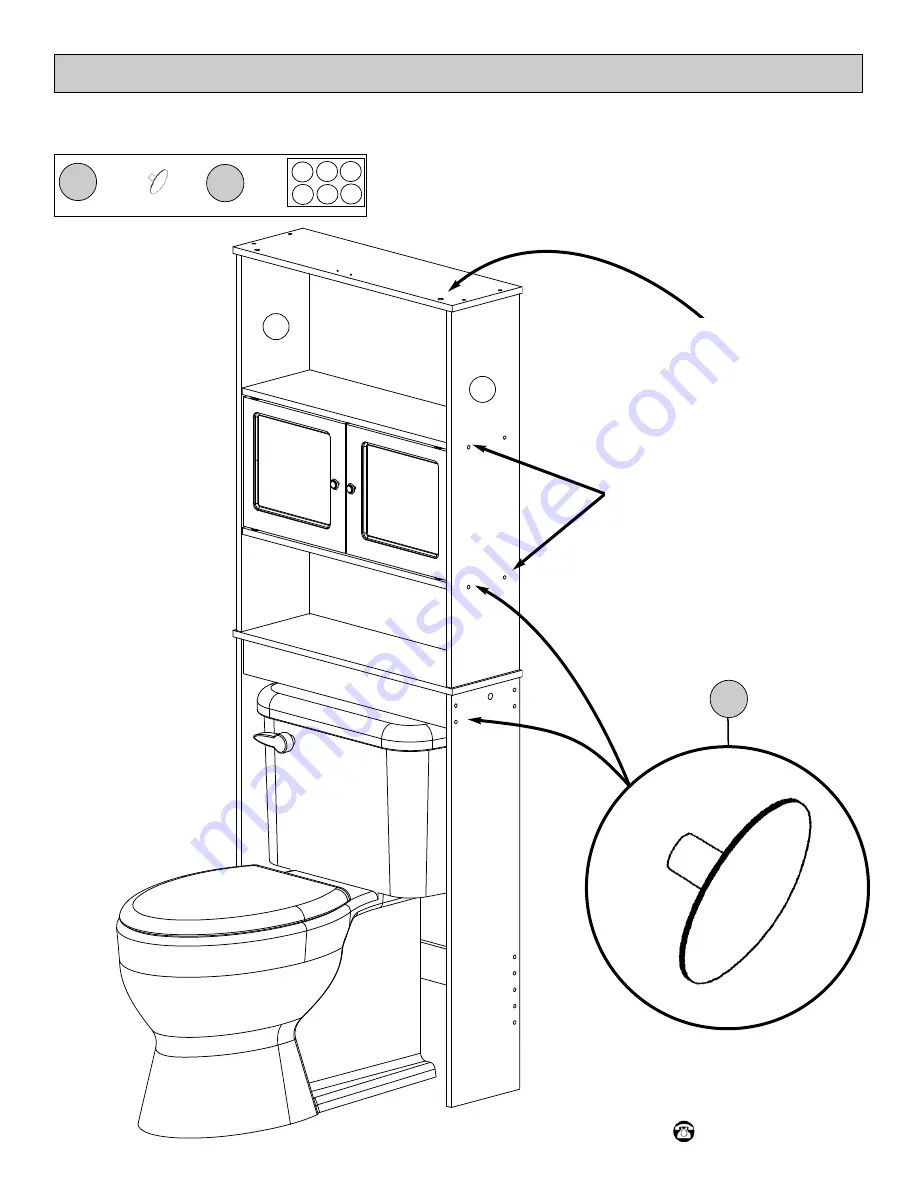
Aplique los adhesivos (H14)
a los orificios inutilizados.
Collez les autocollants (H14)
aux trous non utilisés.
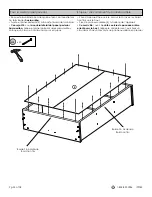
Paso 11 - Ajustar las tapas roscadas.
Étape 11 – Fixation des bouchons à vis.
x 3
x 16
H 13
H 14
H 13
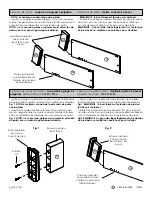
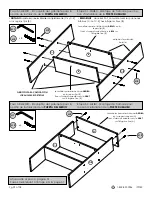
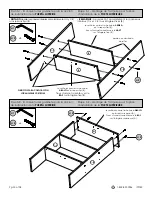
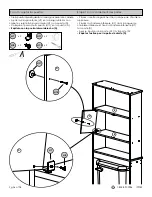
•
NOTA:
asegúrese de
APRETAR COMPLETAMENTE
los tornillos
largos (H-2) que conectan los paneles laterales (C-L y C-R)
a las repisas fijas (B).
•
REMARQUE :
Veillez à
BIEN SERRER
les grandes vis (H-2)
qui relient les panneaux latéraux (C-L et C-R) aux étagères
fixes (B).
APRIETE COMPLETAMENTE
los
tornillos largos (H2)
BIEN SERRER
les grandes vis (H-2)
C-L
C-R