36
Step 3 - Configuring the new print head
1.
Power up the printer and check that it is properly connected to a computer on which the printer’s print driver is installed.
2. Under the print driver’s Properties, click on the “Tools” tab.
3. In the “Printer dialogue” section, enter the following command: Pkn;x
where x = the print head kit code number that you noted in Step 2.
For example, if the print head kit number is 179-004-00048, the command to be entered is: Pkn;179-004-00048
If the print head kit number is not entered correctly, printer malfunctions may occur and the warranty may be voided.
Step 4 - Cleaning the printer
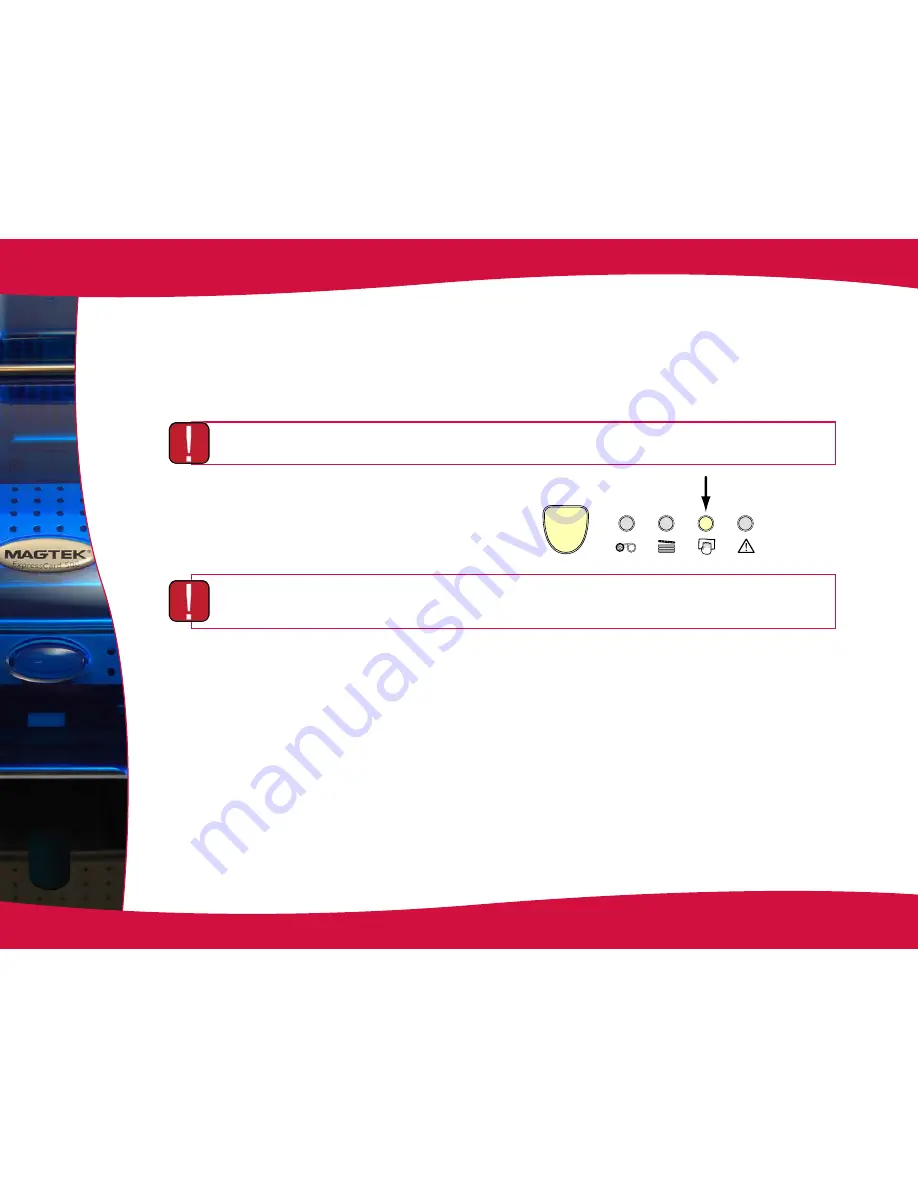
On your printer’s control panel, the “CLEANING” light is lit:
Cleaning is absolutely necessary after changing the print head. No print jobs can be run until the cleaning operation has
finished
Refer to section 3 – Maintenance to carry out cleaning.
Also service the cleaning roller and then replace the cards and ribbon.
Once cleaning has been carried out, your printer is once again ready to customise your cards.


