6 - Operation
ExpressCard 2000| Instant Issuance Card Personalization System | User Installation and Operation Manual
Page 48
1)
Make sure the top access door is open and the EC2000 is showing the
Maintenance Menu
page, as
described in the previous steps.
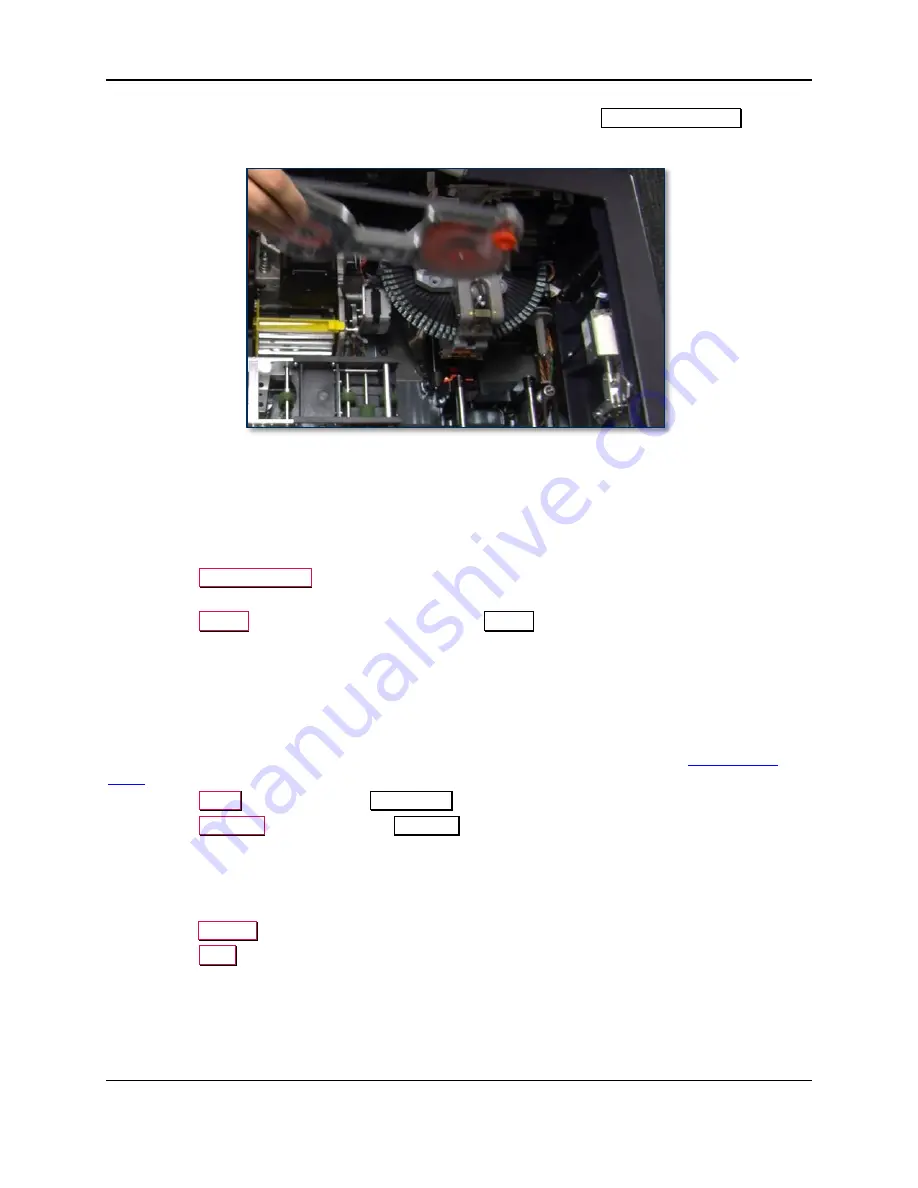
Figure 6-29 - Indent Ribbon Cartridge Orientation
2)
Orient the indent ribbon cartridge as shown in
3)
Insert the cartridge between the orange release button and the embosser, as shown in
4)
Press the cartridge firmly toward the floor until you feel a click.
5)
Pull up gently on the cartridge to make sure it is locked in place.
6)
Press the
Load Cartridge
button. The EC2000 will load the indent ribbon cartridge into the
embosser and lock it in place for use.
7)
Press the
Status
button to return the EC2000 to the
Status
page.
8)
Close the top access door (see section
6.11
Processing Cards
6.11.1
How to Create Sample Cards
The simplest way to test the EC2000 is to create sample cards, which does not require a network
connection or any additional software. To create a sample card, follow these steps (see
1)
Press the
Menu
button to open the
Main Menu
page.
2)
Press the
Samples
button to open the
Samples
page, which presents four sample card options.
3)
Select the sample you wish to create. Options 1 and 2 are designed to use preprinted card stock, and
will not include full-color images on the front of the card.
4)
The EC2000 will use a default card stock hopper for each sample. If you want to use stock from a
different hopper,
select the hopper number
from the dropdown list at the bottom of the screen, then
press the
Change
button.
5)
Press the
button. The EC2000 will create the selected sample card.
6.11.2
About Card Personalization Software
Users process transactions for the EC2000 using
card personalization software
. This can be a secure
online service such as QwickCards.com, or a local custom application. Users also have the option to
create sample cards from the front panel of the device for test purposes.


