background image

   !

Since solvents such as ether, alcohol are highly 
flammable,  they  must  be  handled carefully. Be 
sure  to  keep  these  chemicals  away  from  open 
flames or potential sources of electrical sparks - 
for example, electrical equipment that is being 
switched  off.  Also  remember  to  always  use 
these chemicals only in a well-ventilated room.

  2.

When cleaning parts other than the lenses, do not 
use the above chemicals. If they are seriously dirty, 
wipe with gauze moistened slightly with a solution of 
neutral detergent.

  3.

Never  attempt  to  remove  parts  other  than  those 
specified from the microscope for cleaning.

  4.

When the microscope is not used, ensure that the 
light source lamp is cool, cover the microscope with 
a dust cover or put it in a wood case, and store in a 
dry place.

  5.

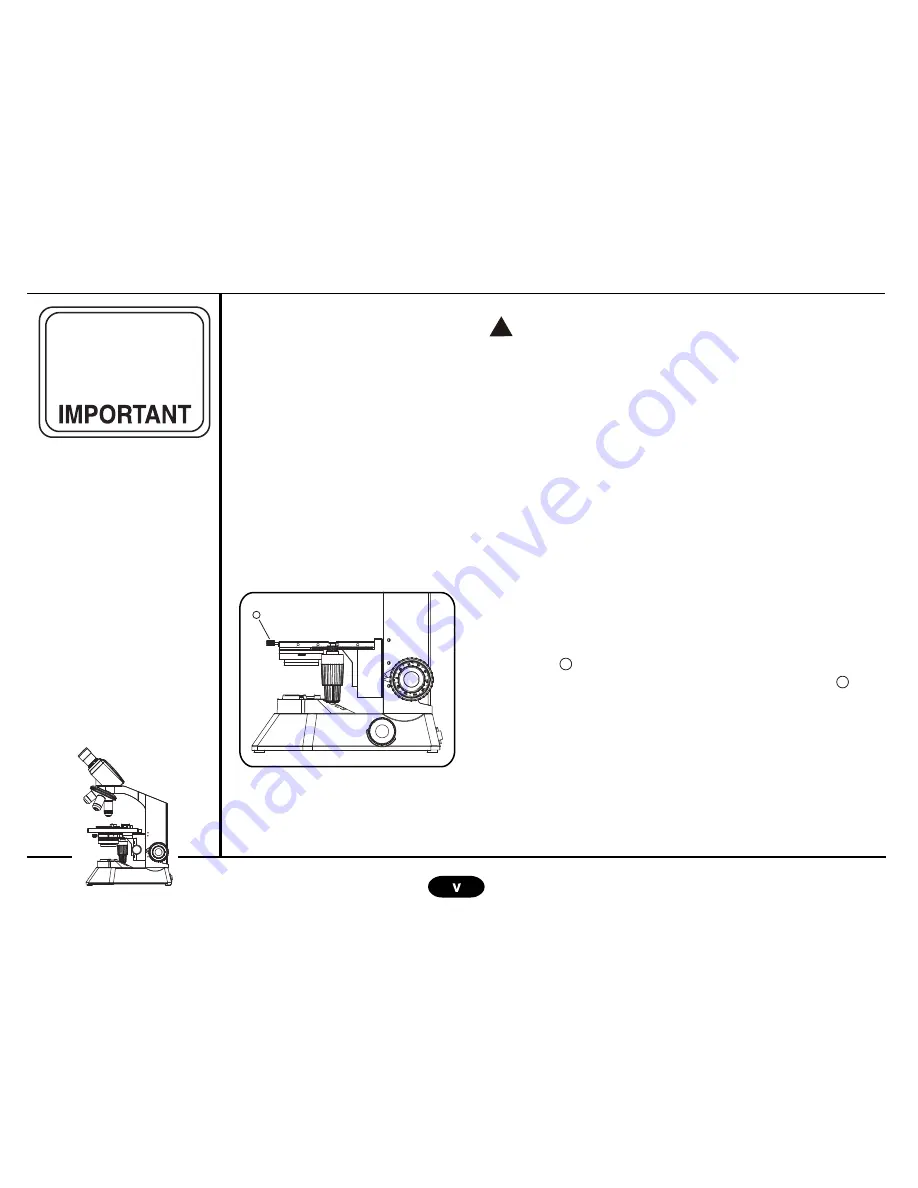
To  clean  the  condenser,  fully  loosen  the  securing 
knob     , then remove the condenser by lowering it 
with the condenser up-down movement knob    , and 
clean the upper lens of the condenser.
The lens can be cleaned using the same method as 
described  in  Fig.3.  Wipe  it  as  lightly  as  possible. 
Reverse the removal procedure to attach the con-
denser.

Fig.3

1

2

1

Содержание Theia fi

Страница 1: ...n optimum performance and familiarize yourself fully with the use of this microscope we recommend you study this manual thoroughly before operating the microscope Retain this instruction manual in an...

Страница 2: ...dings have cooled down fully Fig 2 2 Before replacing fuse F 250V 2A be sure that the 1 main switch is OFF Unscrew the holder cap to replace the fuse Figs 1 2 Applicable lamp bulb 6V20WHAL Fig 2 Fig 1...

Страница 3: ...ch on and off 4 Be sure to use the power cord provided with the microscope We cannot warrant the safety and performance of the microscope unless the provided power cord is used 5 Be sure to earth the...

Страница 4: ...ement or other inquiry Safety Symbols The following symbols are found on the microscope Study the meaning of the symbols and always use the equipment in the safest possible manner O Indicates that the...

Страница 5: ...e is direct sunlight high temperature high humidity dust or vibration For the operating environment condition see SPECI FICATIONS on page 17 3 Be sure to use the tension adjustment ring when adjusting...

Страница 6: ...slightly with a solution of neutral detergent 3 Never attempt to remove parts other than those specified from the microscope for cleaning 4 When the microscope is not used ensure that the light sourc...

Страница 7: ...fied by this manual the safety of the user may be imperiled and the equipment may be damaged Always operate the microscope as outlined in this instruction manual The warning caution and other notes in...

Страница 8: ...Specimen on the Stage 10 Focusing 12 Adjusting the Interpupillar Distance 13 Adjusting the Diopter 14 Adjusting the Condenser Position and Iris Diaphragm 14 Varying the Magnification 15 Adjusting the...

Страница 9: ...Microscope frame C o a x i a l l o w d r i v e mechanical stage 125mm x145mm 5mm with traverse area of 50mm x 75mm 5mm isprovided M i c r o s c o p e f r a m e ergonomic compact d e s i g n f o r u s...

Страница 10: ...ical direction Horizontal feed knob Rotate to move the specimen glass plate in the horizontal direction The description on this page uses the binocular tube composition using the Theia Fi as an exampl...

Страница 11: ...Daylight filter Microscope Option 1 6V20W halogen light source coupled with an efficient aspheric lens system koehler Optional to provide optimum brightness along the optical path Option 2 LED LED lig...

Страница 12: ...Power Cord Socket...

Страница 13: ...Slide the Light case which is Front open for easy bulb change Power Cord Socket Switch Switch off the power supply and unplug the power cord See page 1...

Страница 14: ...ervation tube is binocular attach the other eyepiece lens in the same way as above Do not tilt the microscope while eyepiece lenses are attached Otherwise the eyepiece lenses may drop Do not insert an...

Страница 15: ...tom By attaching objectives in this way the objectives can be switched in ascending order of magnification Do not damage destroy process excessively bend pull twist bundle place a heavy object on or p...

Страница 16: ...f the wall outlet are properly connected If the equip ment is not earthed Magnus can no longer warrant the electrical safety and performance of the equip ment To prevent an electric shock set the main...

Страница 17: ...jective in the Light Path Page 12 Focusing Page 12 Adjusting the Condenser Position Page 14 Adjusting the Diopter Page 14 With a binocular tube Adjusting the Interpupillar Distance Page 13 With a bino...

Страница 18: ...ightness Fig 15 Fig 16 1 2 3 4 5 2 1 2 Set the specimen s glass plate carefully Be careful not to damage the glass slide edges by returning the bow shaped lever violently or releasing the bow shaped l...

Страница 19: ...ertical feed knob moves the specimen glass plate in the front rear direction rotating the lower knob which is the horizontal feed knob moves it in the lateral direc tion While watching the specimen mo...

Страница 20: ...imen until it is as close as possible to the objective 3 While observing the specimen through the eyepiece lenses lower the stage by slowly rotating the coarse focus adjusment knob and when coarse foc...

Страница 21: ...on 1 While looking through the eyepiece lenses adjust the interpupillar distance by sliding the interpupillar distance adjustment seat left and right Fig 19 The interpupillar distance adjustment seat...

Страница 22: ...s with your left eye and rotate the diopter adjustment ring alone to focus on the specimen Now vision for both eyes has been compensated for Note The left right diopter adjustment 5 to 5 Fig 20 Fig 21...

Страница 23: ...iris dia phragm Lever A good image may be obtained by adjusting the iris diaphragm to about 80 as shown in Fig 22 This adjustment is required every time after the objective is changed 1 Hold the revo...

Страница 24: ...the tension of the coarse focus adjustment knob may be too loose Increase the tension by rotating the adjustment ring in the direc tion of the arrow Fig 23 Fig 23 2 1 2 The pre focusing knob controls...

Страница 25: ...e fine knob stroke 22 mm Coarse knob tension adjustable Fine knob scale 2 0 m scale Fine knob 0 2 mm per turn 3 Revolving nosepiece 4 hole revolving nosepiece with fixed arm Front oriented 4 Observati...

Страница 26: ...l horizontal feed scale indicators V scale 0 50 mm H scale 100 170 mm Minimum readout 1mm on main scale Specimen Specimen holder lever fixation 6 Condenser N A 1 25 when immersed in oil Aperture iris...

Страница 27: ...7 Eye Piece Magnification 10 Field No 18 5 8 Dimensions weight 355 L x 222 W x 402 H mm With a binocular observation Approx 5 420 kgs tube and mechanical stage 5...

Страница 28: ...dirty Dust or stains are visible The eyepiece condenser Clean them thoroughly in observation field window lens and or speci V men glasses are dirty Under certain conditions performance of the microsco...

Страница 29: ...condenser and or specimen V glass is dirty Immersion oil is not used Use immersion oil 24 with immersed objective Bubble is mixed in the imm Remove the bubble 25 ersion oil The specified immersion oi...

Страница 30: ...Tighten the ring to achieve weight or focusing is lost Knob tension adjustment proper tension due to slippage of coarse ring is set too loose 16 focus adjustment knob 9 Coarse focus adjustment The con...

Страница 31: ...too thick Use cover glass with thick 11 ness of 0 17 mm 12 Lamp bulb does not light Lamp bulb is not mounted Attach a bulb 4 Lamp bulb is blown Replace the bulb 4 Power cord is unplugged Plug it secu...

Страница 32: ...the objective 1 Attach the objective 100X oil to the revolving nosepiece refer to 4 Attaching the Objec tives on page 7 2 Use a high magnification objective other than the 100X objective and focus the...

Страница 33: ...m and looking into the observation tube sleeve s B To remove the bubble reciprocate the 100X objective a few times by rotating the revolving nosepiece When the immersed objective is used the condenser...

Страница 34: ...NOTES...

Страница 35: ...NOTES...

Страница 36: ......

Отзывы: