11
Main menu introduction
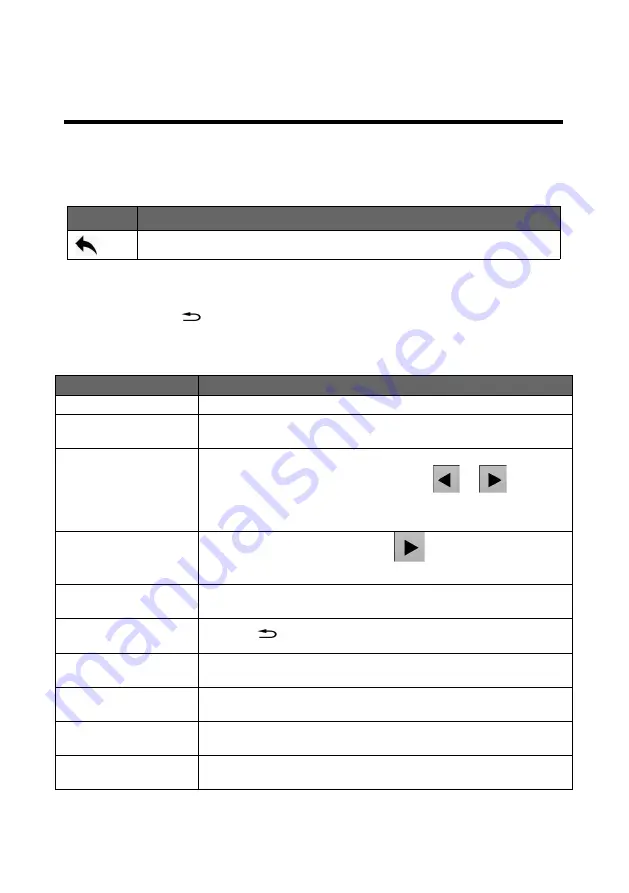
The symbols listed in the below table will appear in the main menu , the
specific meanings are as follows:
In the main menu, the user selects and adjusts each item by using the three
buttons “OK”, “
” and the knob or by touching the corresponding menu.
The operation mode is as follows:
Icon
Explanation
Return to the main menu or return to the previous menu
Operation
Button
Open the main menu
Press the "OK" button or press the“knob” by default
Selected each item
Rotate the knob to select each item or touch click on the corresponding
menu
Adjust parameters
When the right end of the item is a number or option parameter, press the
“knob” to select the parameter, or touch click
””
” to adjust
the parameter to be small or large, or touch the parameter and click in the
pop-up numeric key input area. Parameter adjustment
Enter the next menu
When the right end of the item is the “
” symbol, press the “OK”
button or press the knob or touch to click the menu.
Process some function
Use the knob to select the item to be executed, press the "OK" button or
touch to click the function.
Return to the previous
menu
Press the "
" button or touch the return icon
Confirm operation
In order to avoid wrong operation in reset operation, it is necessary to
confirm operation or touch click with "OK" key.
Menu button appear to
yellow box
Indicate knob selected,could move to next operation
Function menu word is
yellow
Indicate this function menu is occupied
Function menu word is
white
Indicate this function menu is not occupied
Содержание MIG-EC90
Страница 4: ...PRESET AREA TRANSITION AREA WARRANTY 49 MACHINE WARRANTY 49 NON WARRANTY 49...
Страница 19: ...15 Output setting PGM 1 PGM 2 AUX 1 AUX2 output resolution...
Страница 20: ...16...
Страница 22: ...18 Input Setting Input source...
Страница 23: ...19 Image crop HDMI DP RGB Range...
Страница 26: ...22 Layer setting Include MAIN layer and AUX layer Size Position Zoom...
Страница 27: ...23 Layer crop Keying setting...
Страница 28: ...24...
Страница 29: ...25 Boarder effect...
Страница 30: ...26 Layer template...
Страница 33: ...29 Save and load...
Страница 34: ...30 Save a preset Load a preset Background...
Страница 35: ...31...
Страница 37: ...33 Communication IP IP 192 168 1 222 192 168 1 1 E2 B2 E0 EC 45 17 1 2 3 4 5 6 7 8 9 0 C OK...
Страница 39: ...35 MISC Status Info...
Страница 40: ...36 Test Pattern...
Страница 41: ...37 T Bar Calibration Factory Reset...


