RoadMate 6230-LM User Manual
Page 4
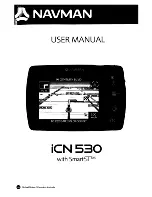
Brightness
Accessing the Brightness Control
1. Access the Main Menu.
2. Tap the Settings icon .
3. Tap Brightness.
4. Tap the ends of the brightness adjust
bar or drag the slider to set the desired
brightness.
Note:
On the Brightness Setting screen there
is a “Dim on Battery Power” option. When
checked, the Magellan RoadMate receiver
will reduce the brightness when operating
exclusively on battery power and you have
not used the touch screen for a few seconds.
This prolongs the battery life between
charges.
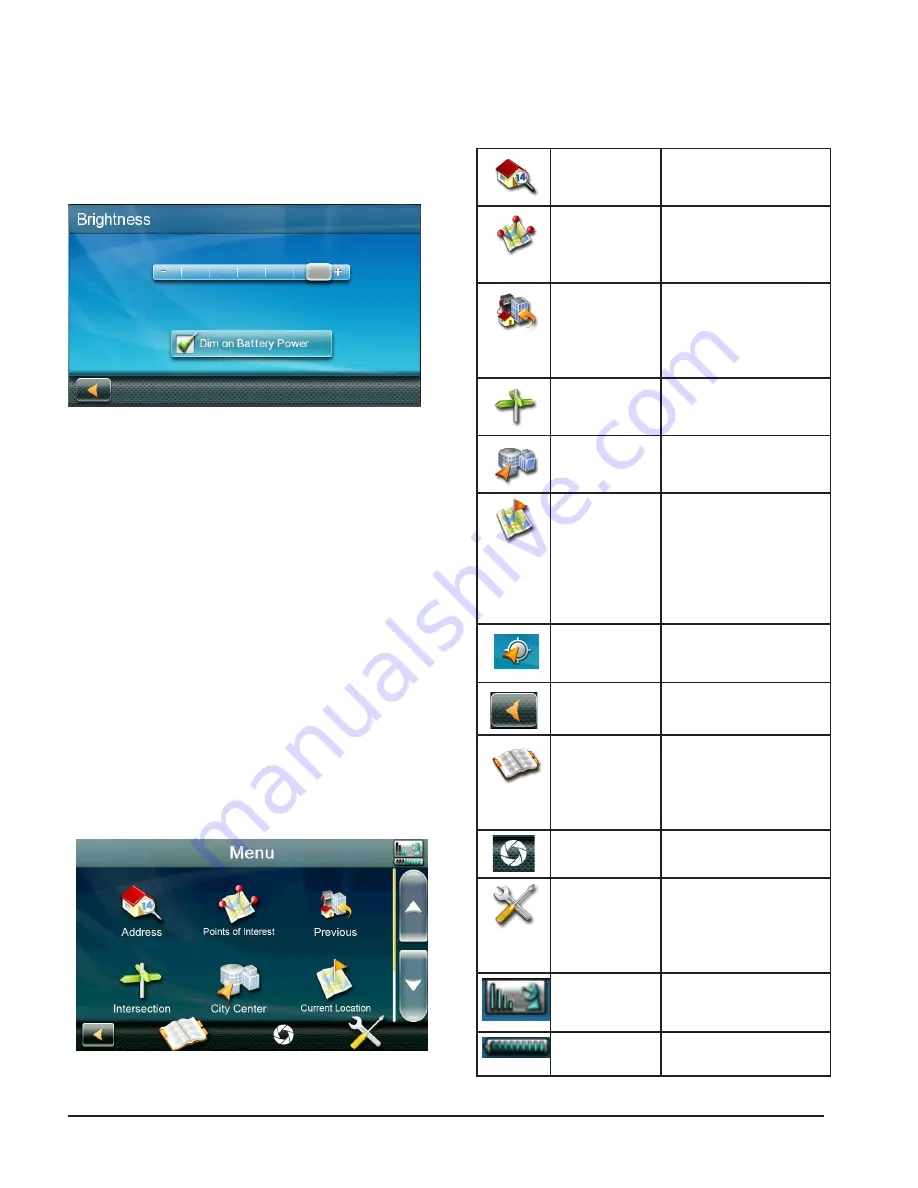
Main Menu
The Main Menu screen is the center for all
available functions of the Magellan RoadMate
receiver. The Main Menu contains large, easy
to access icons for all the major functions.
Accessing the Main Menu
1. From the Map screen tap Menu.
Functions Available from the Main Menu
Address
Enter an address as a des-
tination for you route.
Points of Inter-
est
Select a Point of Inter-
est (POI) from the list of
preloaded locations as a
destination.
Previous
List of the most recent
destinations that you have
gone to before allowing
you to quickly select one
to route to again.
Intersection
Create a route to the in-
tersection of two streets.
City Center
Create a route to the geo-
graphical center of a city.
Current Loca-
tion
Displays information
about your position
including the street name,
names of streets forward
and behind you as well as
the Lat/Long information
for your position.
Coordinates
Allows direct input of
Latitude and Longitude to
create a route.
Back
Access the Map screen.
Address Book
Access the Address Book
where you can save ad-
dresses and destinations
to have available when
needed.
DVR
Displays the DVR screen.
Settings
Displays the Settings
menu. Lets you customize
the Magellan RoadMate
receiver to your personal
needs.
Satellite Status
Graphic display of the
strength of satellite signals
being received.
Battery Level
Graphic display of the
current battery level.