4
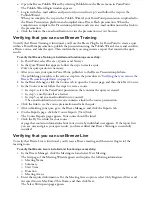
On the file server, share the Breeze folder, giving the Breeze user you created in step 2 full control
over the folder.
To share the Breeze folder:
a
Right-click the Breeze folder in the Windows Explorer Folders panel, and select Sharing
and Security.
The Properties window for the Breeze folder opens:
b
Click Share This Folder and enter a Share name, for example,
Breeze
.
c
Click Apply and then click the Permissions button.
The Permissions window opens.
d
Remove the Everyone group, if you want to, and then click Add.
The Select Users or Groups window opens.
e
Click the Locations button and select the domain in which you created the Breeze user.
f
In the Object Names text box, enter the name of the Breeze user, and then click Check Names
to verify that the name you entered is recognized, and click OK.
g
In the Permissions window, select the Breeze user and click Full Control, and then click OK.
h
In the Properties window, click OK.
5
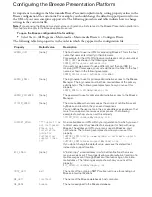
Set the
FCS_CONTENT_PATH
property in the Breeze Presentation platform custom.ini configuration
file to the location of the folder containing shared Breeze Live files.
For example, given \\fileserver1\breeze\content as the folder containing the shared files, you would
set the
FCS_CONTENT_PATH
property as shown in the following example:
FCS_CONTENT_PATH=\\fileserver1\breeze\content
For more information about the
FCS_CONTENT_PATH
configuration property, see
“Configuring the
Breeze Presentation Platform” on page 17.
The custom.ini configuration file on the Breeze Presentation platform computer resides in the
Breeze Presentation platform installation folder.
6
Copy the custom.ini file to the Breeze Live installation folder on each of the Breeze Live computers.
7
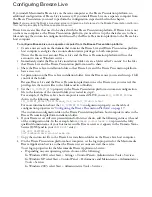
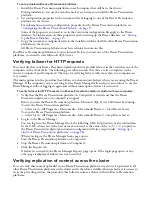
On the Breeze Presentation platform computer, set the login properties for the Macromedia Breeze
Application Service so that the Breeze user account can start the service.
a
Depending on your operating system, do one of the following:
For Windows XP, select Start > Control Panel > Administrative Tools > Services Shortcut.
For Windows 2000, select Start > Settings > Control Panel > Administrative Tools > Services.
For Windows 2003, select Start > Administrative Tools > Services.
b
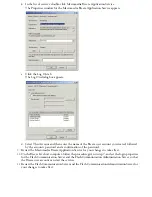
In the list of services, double-click Macromedia Breeze Application Service.
The Properties window for the Macromedia Breeze Application Service appears.
c
Click the Log On tab.
d
Select This Account and then enter the name of the Breeze user account you created, followed
by the account’s password and a confirmation of the password.
8
Restart the Macromedia Breeze Application Service so that your changes take effect.
9
On each Breeze Live computer, follow the procedure given in step 7, and set the login properties for
the Flash Communication Server and the Flash Communication Administration Server so that the
Breeze user account can start the services.
10
On each Breeze Live computer, restart the Flash Communication Server and the Flash
Communication Administration Server so that your changes take effect.
Verifying failover for Breeze Live
You can verify that your Breeze Live cluster provides failover if one of the computers in the cluster fails. If
failover is successful, you have configured the cluster correctly and can expect that load balancing also
functions successfully.
When a Breeze meeting is created, as soon as the first user enters the online meeting room in which the
meeting is held, the meeting and its meeting room are assigned to Breeze Live on a specific computer.
To verify that failover works, the basic strategy is to create a Breeze meeting, enter the online meeting
room for the meeting, and do something that changes the state of the meeting room, such as entering a
note in the meeting room’s Note pod. Then shut down the Breeze Live that is responsible for the meeting
and see if the meeting room is redisplayed in the same state as before.
Содержание BREEZE
Страница 1: ...Installation Guide...
Страница 32: ......


