REPAIR INSTRUCTIONS
Page 251
The isolating oil pan gasket contains 12 integral
locating/retaining cones which lock into holes
drilled through the oil pan rails, and two large
rectangular tabs located directly across from
each other on the inner perimeter of the gasket.
The cones keep the gasket properly located
during oil pan installation, and the rectangular
tabs serve as a starting point for locating the
gasket on the oil pan rail.
INSTALLATION PROCEDURE
1. Clean any oil from the cylinder block
mounting surface and the oil pan rail. The oil
pan must be installed dry.
Oil on the surface of the gasket or the rails of the
cylinder block and oil pan during the oil pan
installation can cause the gasket to bulge out
between any two bolts, particularly those at the
mid-section corners. This condition may not occur
immediately, but can do so at any time after
installation. To avoid this occurrence, wipe any oil
from the inner walls of the cylinder block
crankcase and then clean the rails of the cylinder
block and oil pan with a suitable non-flammable
solvent. Dry the cleaned surfaces completely.
2. Position the isolating oil pan gasket on the
oil pan rails with the ribbed side facing up.
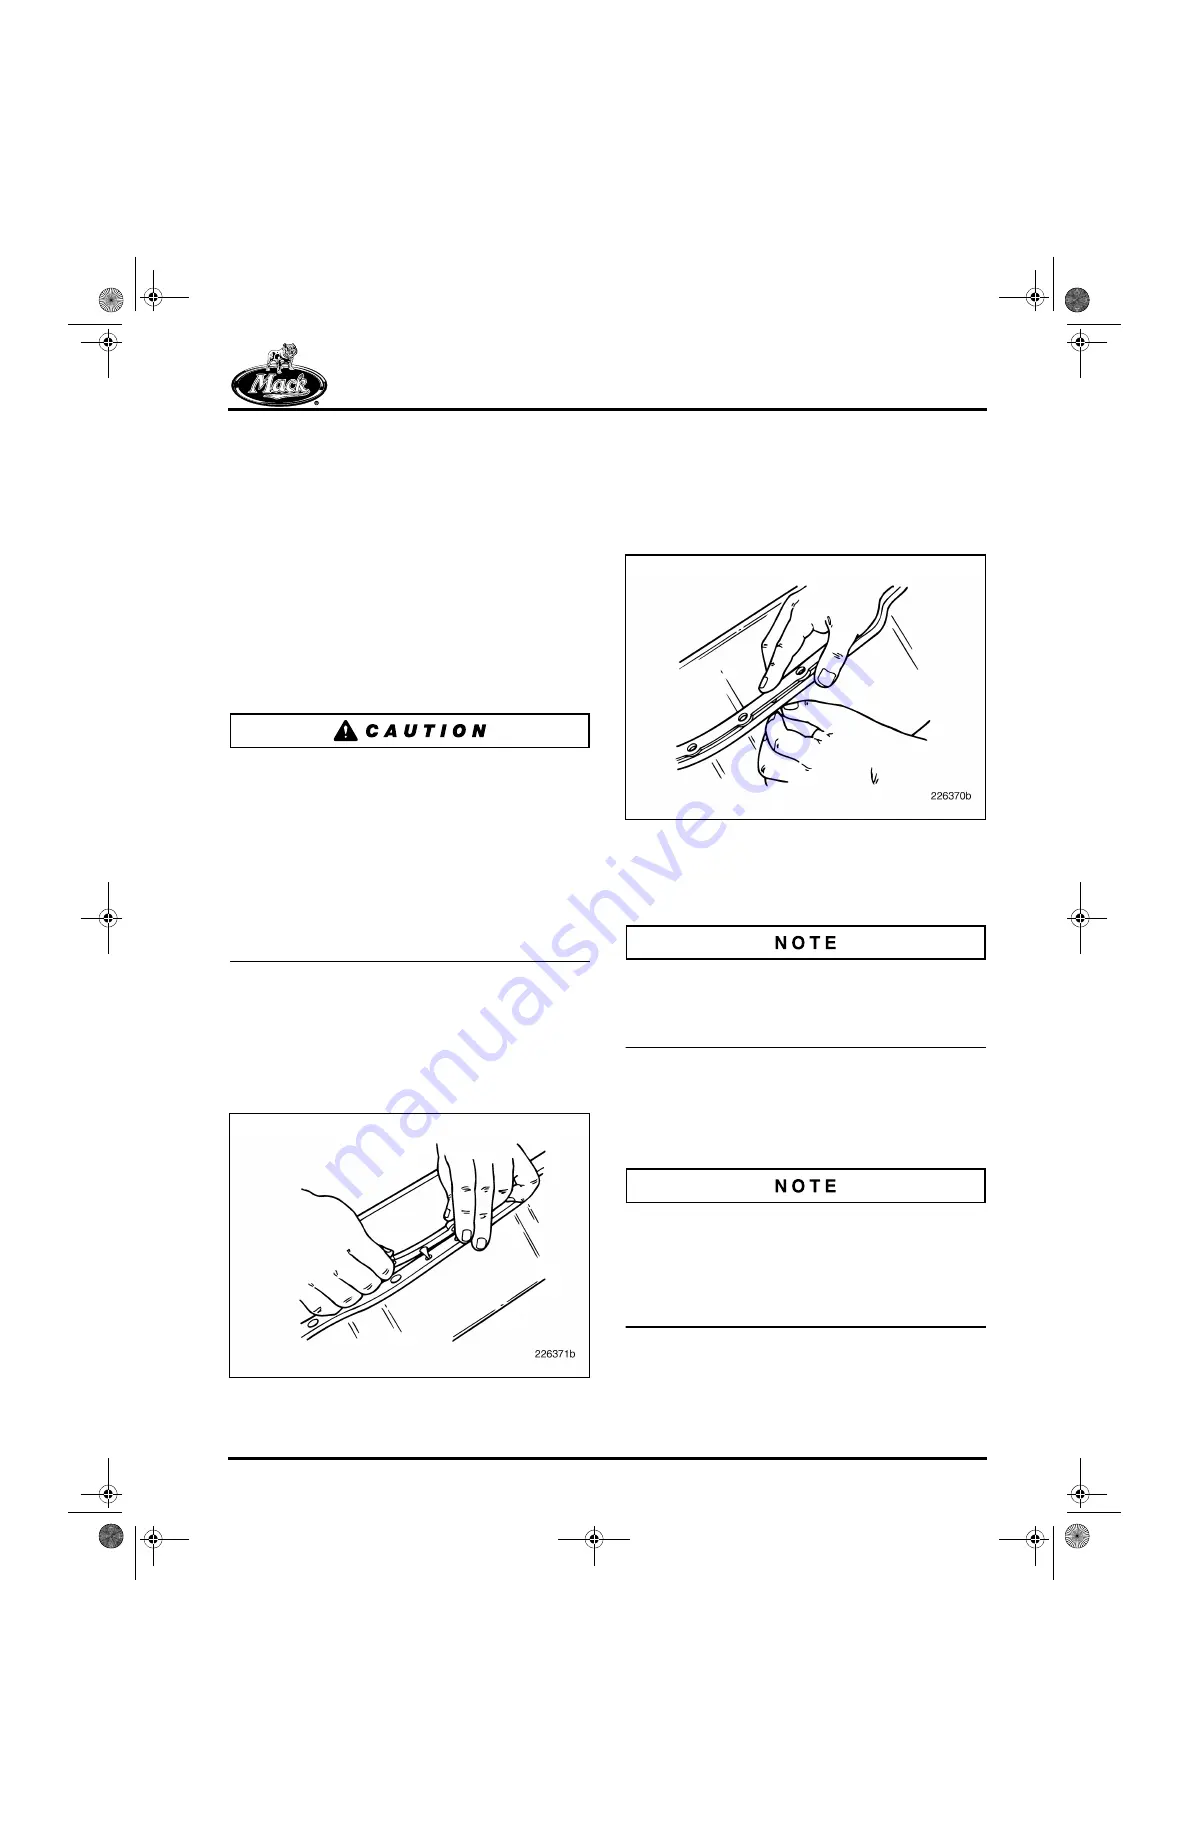
3. Beginning at the center of the pan at one of
the rectangular tabs, align the rubber
locating cones with corresponding holes in
the pan rails (Figure 272).
272
Figure 272 — Locating Cone Alignment
4. In one motion, firmly press down on the
gasket with one hand while carefully pulling
the rubber cone through the hole with the
other hand until seated (Figure 273).
Continue this procedure for the remaining
locating cones.
273
Figure 273 — Locating Cone Installation
5. Visually check the underside of the pan rail
to ensure that all locating cones are properly
seated.
During removal of the isolating oil pan from the
engine, the studs may have backed out while
loosening the stud nuts. Be sure they are fully
seated prior to installing the oil pan.
6. When installing the oil pan on the engine,
center the pan before tightening the
fasteners so that the edges of the metal
isolator washers do not touch the pan. Refer
to Figure 274.
On engines manufactured prior to fourth quarter
1999 (having a separate nut), install the flat
washer (part No. 37AX68) with the shoulder
studs. These flat washers are not necessary, and
should not be used with the one-piece integral
hex-head shoulder studs.
5_106_00.bk Page 251 Friday, August 4, 2000 11:17 AM
BDC for engine manuals and specs


