background image

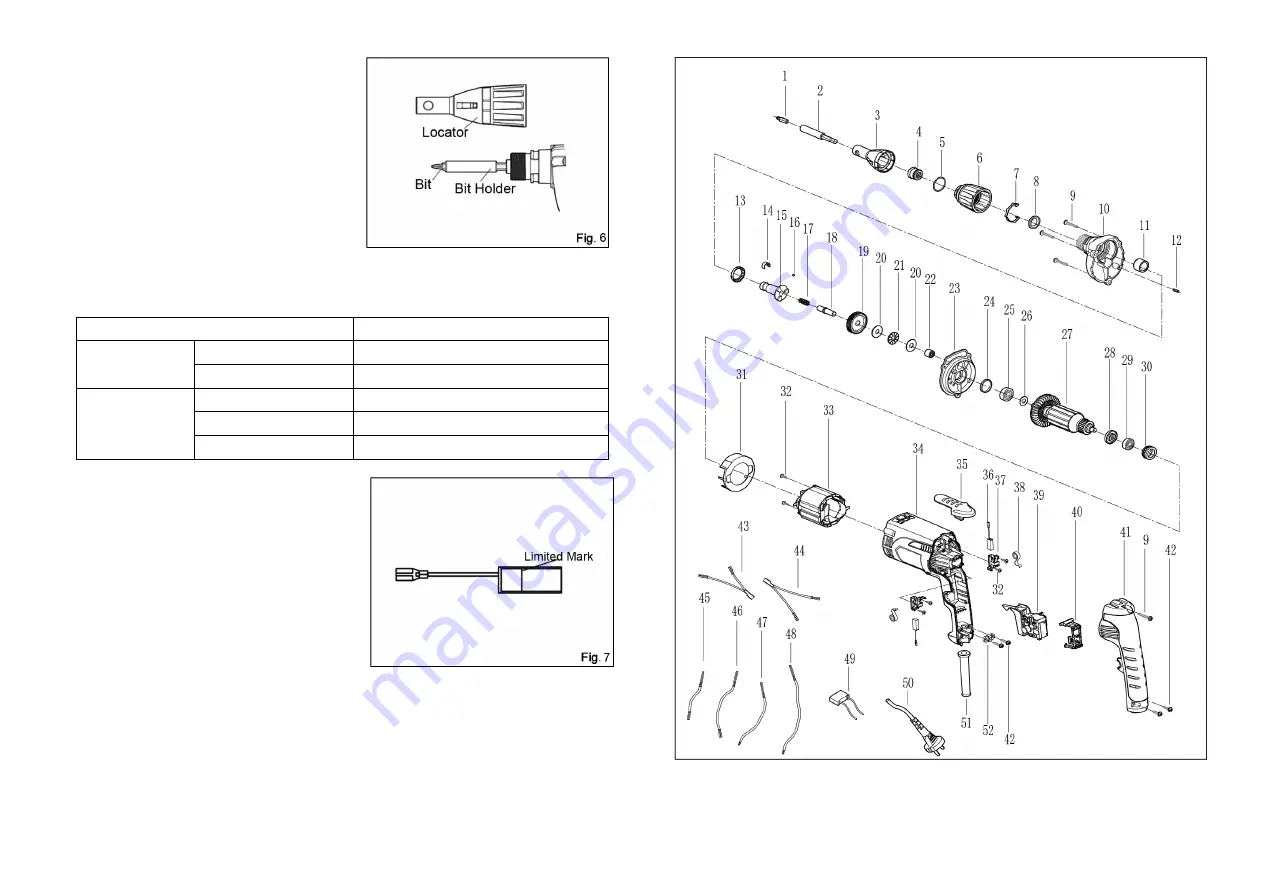
Grasp the bit with a pair of pliers and pull the bit 
out of the magnetic bit holder. Then install the 
locator by pushing it firmly back onto the gear 
housing. (Fig. 6) 


Matching of the Bit and Screw 

Only the bit matches the groove of the Philips head can you tighten the screw properly. Please see 
the following chart :       

Bit No. 

Standard Diameter (mm) 

PH1 

Wood Screw 

2.1-2.7 

Metal Screw 

M2-M2.6 

PH2 

Wood Screw 

3.2-4.8 

Metal Screw 

M3-M5.5 

Wallboard Screw 

NO. 6 

MAINTENANCE 

CAUTION: 
Always be sure that the tool is switched off and 
unplugged before attempting to perform inspection 
or maintenance. 

Replacing carbon brushes 

Remove and check the carbon brushes regularly. 
Replace when they wear down to the limit mark. 
Keep the carbon brushes clean and free to slip in the


holders. Both carbon brushes should be 

replaced at the same time. Use only identical carbon brushes. (Fig. 7) 

Maintenance of the Motor 

The motor unit winding is the very “heart” of the power tool. Exercise due care to ensure the 
winding does not become damaged and /or wet with oil or water. 


Содержание SSCREW-001

Страница 1: ......

Страница 2: ...ble for outdoor use reduces the risk of electric shock 9 If operating a power in a damp location is unavoidable use a residual current device RCD protected supply Use of an RCD reduces the risk of electric shock NOTE The term residual current device RCD may be replaced by the term ground fault circuit interrupter GFCI or earth leakage circuit breaker ELCB Personal Safety 10 Stay alert watch what y...

Страница 3: ...the voltage supplied is the same as that specified on the nameplate of the machine A power source with voltage greater than that specified for the machine can result in SERIOUS INJURY to the user as well as damage to the machine If in doubt DO NOT PLUG IN THE MACHINE Using a power source with voltage less than nameplate rating is harmful to the motor SPECIFICATIONS Rated Power Input 710 W No load ...

Страница 4: ... For continuous operation pull the switch trigger and then push in the lock button Fig 1 This tool has a reversing switch to change the direction of rotation Move the switch lever to the position for clockwise rotation or the position for counterclockwise rotation CAUTION Always check the direction of rotation before operation Changing the direction of rotation only after the tool comes to a compl...

Страница 5: ...w M3 M5 5 Wallboard Screw NO 6 MAINTENANCE CAUTION Always be sure that the tool is switched off and unplugged before attempting to perform inspection or maintenance Replacing carbon brushes Remove and check the carbon brushes regularly Replace when they wear down to the limit mark Keep the carbon brushes clean and free to slip in the holders Both carbon brushes should be replaced at the same time ...

Страница 6: ...ad Tapping Screw 7 Steel Band 33 Stator 8 Dust Seal 34 Motor Housing with Handle 9 PanHeadTappingScrew 35 Hook 10 Gear Housing 36 Carbon Brush 11 Bearing 37 Carbon Brush Holder 12 Pin 38 Belleville Spring 13 Washer 39 Switch 14 Steel Band 40 Fixed Part of Switch 15 Drive Spindle 41 Handle Cover 16 Steel Ball 42 Pan Head Tapping Screw 17 Spring 43 Inductance 18 Connecting Rod 44 Inductance 19 Gear ...

Отзывы: