ProjectMix I/O User Guide
23
Zoom Button (ZOOM)
When the ZOOM button is lit, the keys are used to change the view of the edit screen. The left arrow decreases the horizontal view, the right
arrow increases the horizontal view, the up arrow increases vertical zoom and the down arrow decreases vertical zoom.
Scrub Button (SCRUB)
Pressing the SCRUB button will allow the jog wheel to scrub the currently selected audio part. If the button is off, the wheel is used to quickly
move the cursor to different points in the timeline.
Logic Mode
To enter Logic mode
: Hold down the AUX 3 button while powering on the unit. The mode will be confirmed in the LCD display when the
ProjectMix I/O has initialized.
NOTE
: If you have not yet already done so, launch Logic and select the Audio Hardware and Drivers in the Audio Menu. Select ProjectMix
Multichannel as your primary driver. You will need to re-launch Logic after this has completed.
Setup
: Once Logic is launched, the program will automatically detect the ProjectMix I/O, seeing it as a Mackie Control. Go to Preferences >
Control Surface > Setup. Double click on the image of the Mackie Control. In the left column set both OUT PORT and INPUT to CONTROL. The
LCD display will indicate the tracks 1 through 8 as they appear in the arrange window of your currently loaded song.
Please note that this section does not cover the functions that are obvious and covered elsewhere in this manual, such as channel faders,
MUTE, SOLO, SEL, REC and transport buttons.
How the ProjectMix I/O Control Surface Works with Logic
Aux 1 Button (AUX 1): Track Functions
Track Assignment Modes
The AUX 1 button selects Assignment modes, which allow the editing of a number of global track parameters. Pressing the AUX button
again toggles between all displayed channels and the individual parameters of the selected channel (Track Multi Channel view or Track
Channel Strip view).
The parameters in Track Multi Channel view include: Volume, Pan, Track Mode, Track Input, Track Output and Automation. In Track
Channel Strip view, you get an overview of the most important track parameters: Volume, Pan, Instrument, Insert 1, Insert 2, Send 1
Level, Send 2 Level and Send 3 Level.
Multi Channel View
Track Multi Channel view allows you to edit a single global track parameter for all tracks: Volume, Pan, Track Mode, Input, Output or
Automation. The parameter being edited will be displayed briefly when switching to this mode.
<
The 2-digit display shows "tr" (track).
<
The upper row of the LCD shows track names.
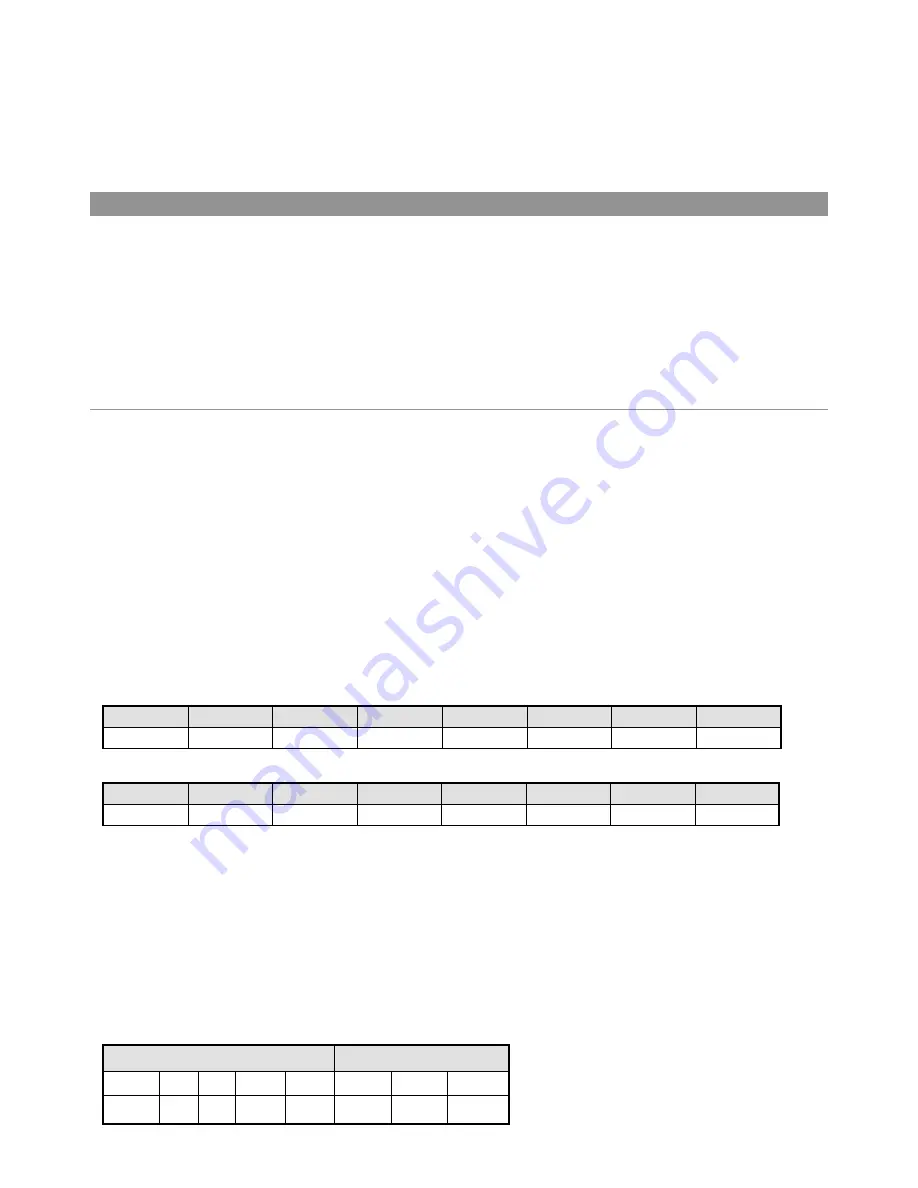
Audio1
Audio2
Audio3
Audio4
Audio5
Audio6
Audio7
Audio8
Volume
Volume
Volume
Volume
Volume
Volume
Volume
Volume
By pressing the CHAN INFO button, you can toggle the display mode and instead see the parameter values in the lower row:
Audio1
Audio2
Audio3
Audio4
Audio5
Audio6
Audio7
Audio8
+0.1dB
-1.8dB
+01.dB
-30.0
+0.0dB
-50.2
-24.7
-1.2dB
The display variants for different modes toggle the same way in all Multi Channel Strip views. The following exemplifies how they toggle
in Value mode. However, their behavior will be virtually the same in other modes as well.
<
Turning the encoder knobs change the associated track parameter.
<
Pressing the SHIFT + SEL button combination for one second sets the parameter value to its default value.
<
Arrow left and right buttons (
t
,
u
) switch to the next or previous track parameter. The selected parameter will be displayed
briefly in the upper LCD row.
Channel Strip View
Track Channel Strip view allows you to edit the parameters listed above, for the selected individual track.
<
The 2-digit LED display shows "tr" (track channel strip).
<
The upper row of the LCD shows the name of the track and the track parameters.
Track 1 "Audio 1"
Track parameters
Volume
Pan
Inst
Ins.1
Ins.2 Send 1
Send 2 Send 3
+0.5dB
0
ES2
Dstrtn
AutFlt
-54.0
-27.0
-oo dB.
Logic Mode


