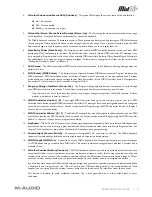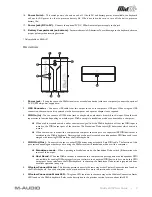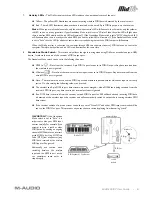
MidAir 25/37 User Guide » 9
8 Hardware Connections
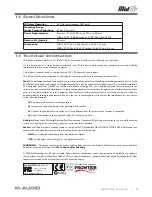
MidAir can be used in three basic configurations. Please take a look at the scenarios outlined below to find the one that best
works for you.
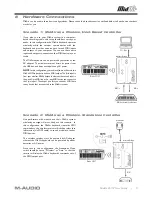
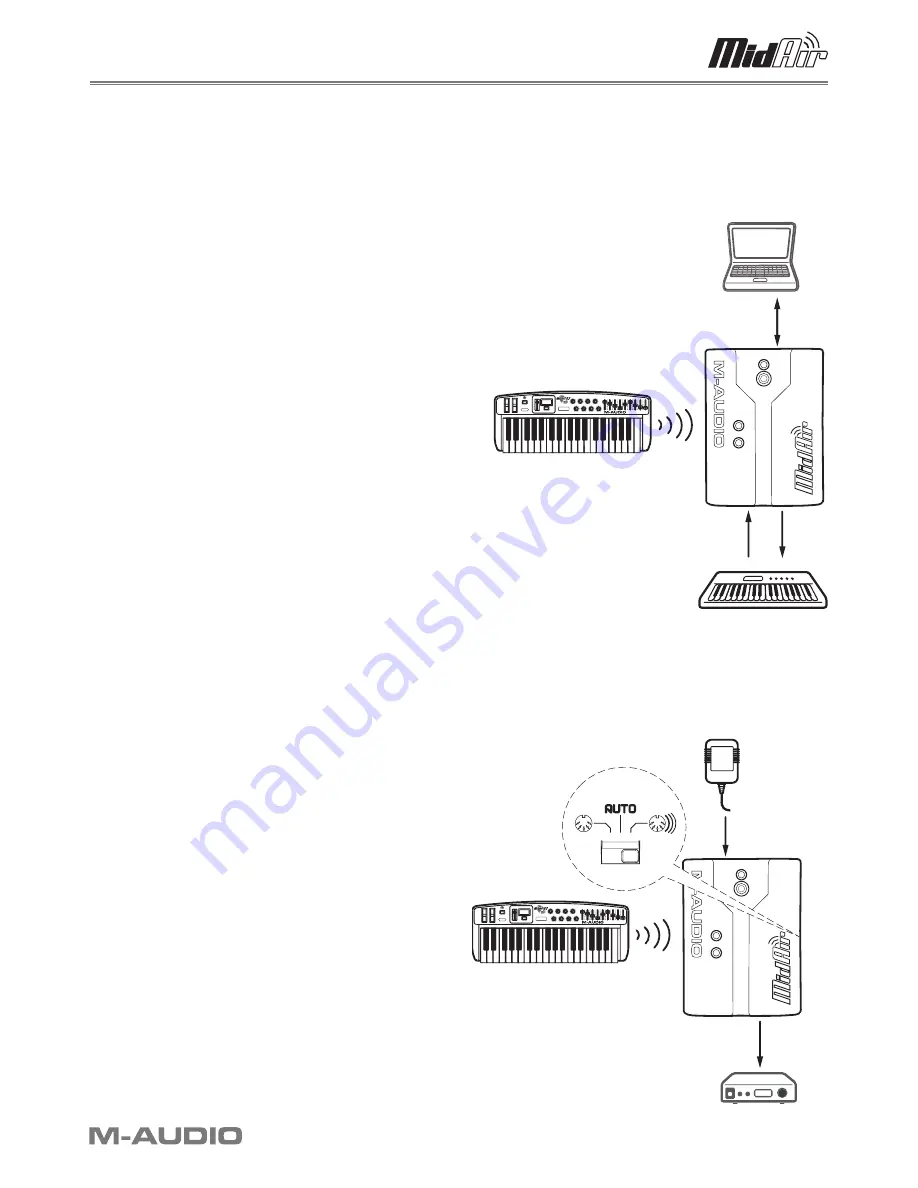
Scenario 1: MidAir as a Wireless, Host-Based Controller
If you plan to use your MidAir system in a computer-
based recording studio, this setup should best serve your
needs. In this configuration, the MidAir keyboard operates
wirelessly while the receiver communicates with the
keyboard and provides an extra set of wired MIDI inputs
and outputs to your computer. You can use these extra
inputs and outputs to connect another MIDI device in your
studio.
The MidAir keyboard can be powered by batteries or the
AC adapter. The wireless receiver draws its power from
the USB bus and does not require any AC power.
NOTE
: In this configuration, your audio software will detect two
MidAir MIDI input ports and one MIDI output. The first input is
from your wireless MidAir keyboard whereas the second input is
the wired 5-pin MIDI input (i.e., any MIDI device you connect to
the 5-pin input). The output port lets you send out MIDI data
to any device that is connected to the MidAir receiver.
Scenario 2: MidAir as a Wireless, Standalone Controller
Live performers who want to use their MidAir system
wirelessly on stage will most likely use this scenario. In
this configuration, the MidAir keyboard transmits MIDI
commands to the wireless receiver which then relays that
information (via MIDI cable) to sound modules or other
MIDI devices.
The wireless receiver must be powered by AC adapter
whereas the MidAir keyboard can be powered by either
batteries or AC power.
Note that in this configuration, the Standalone Mode
switch should be set to “Wireless” or “Auto” so that the
receiver will relay the MidAir keyboard’s commands out of
the MIDI output port.
PC
/
Mac
MIDI
In
MIDI
Out
Wireless
Bridge
MIDI
Keyboard/Synthesizer
IN
OUT
MidAir
25/37
AC
Adapter
MIDI
Wireless
Bridge
Sound
Module
IN
OUT
MidAir
25/37


