background image

either powered speakers or headphones. It will work also with un powered speakers but don't expect -10dBV 
to blow the doors off. We use headphones on this output with no problem. Windows sounds will play through 
this output if you have the Delta 44 set as the default sound card in the Windows Control Panel. You will need 
either a stereo coupler (barrel) or "Y" connector for this connection (provided in our Hosa Cable Set). 
 

Out 3 & 4:

 -10dBV I and Q modulated audio going to the transmitter, which must be connected to the jack on 

the radio marked, "To Line Out." Failure to seat this connector properly will cause transmission of double 
sideband signals. Note that the speaker jack on the back of the radio is in parallel with the transmitter I & Q 
signals through a mute relay. This "SPKR" jack on the radio is ONLY to be used for consumer audio cards 
that do not have the number of outputs supplied by the Delta 44. It should NOT be used with the Delta 44. 
 

In 1 & 2:

 +4dBU level I and Q from the down converted baseband receiver audio. This cable must be 

connected to the jack marked, "To Line In." Failure to fully seat this connector will cause loss of image 
rejection on the receiver. 
 

In 3:

 -10dBV nominal microphone/digital mode input port.  For normal operation it should be connected to the 

jack on the back of the radio which is just ABOVE the words, "To Mic In."  The jack is a DIRECT connection to 
the front panel 4-pin microphone connector.  The wiring table can be seen in the Operating Manual in Chapter 
3: Pinouts.  We have used this with a Heil Pro series microphone with success.  If preferred, you can connect 
the microphone directly to Input 3, bypassing the front panel connector. 

In 4:

 This channel is not used. 


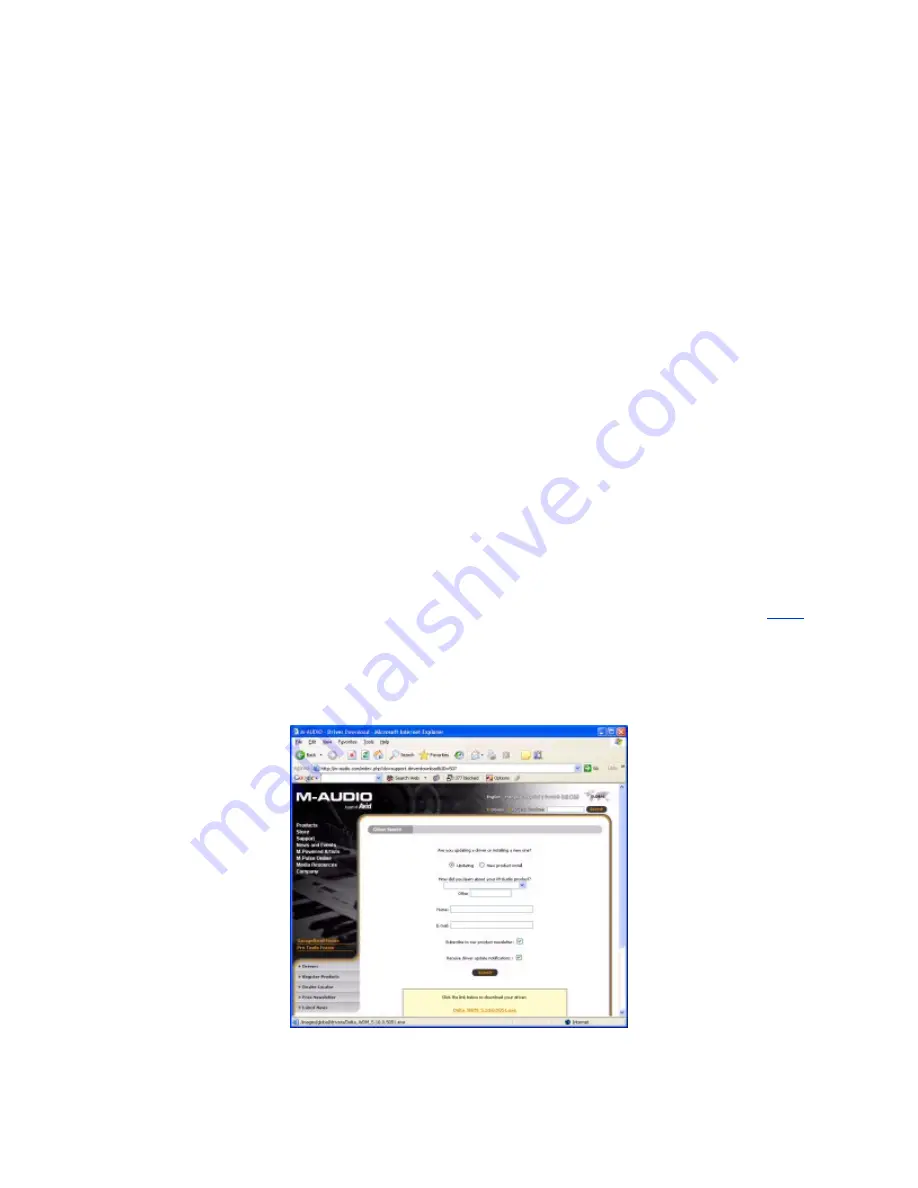
Step 4: Download the drivers


Now that you have the sound card hardware installed, it is time to help the operating system understand how 
to talk to it.  Use the following link to get to the driver download page on the M-Audio website: 

Link

 Optionally 

fill out the requested info (not necessary) and then click on the link in the yellow box to download the driver.  
Once downloaded, run the file to install the drivers.  It may be necessary to reboot after the installation is 
complete.  


Step 5: Setup the Delta 44 Control Panel


Once the driver has been installed, the Delta 44 Control Panel will show up in the taskbar (lower right hand 
side of the screen).  Click on the icon (shown below) to open the control panel and use the following 
screenshots to setup the controls.  


M-Audio Website 

Содержание Digital Recording Interface Delta 44

Страница 1: ...fast friendly support CAUTION It is extremely important to use the settings in the Delta Control Panel as described below in order not to damage the SDR 1000 hardware due to overdriving the audio Make sure the output is set to 10dBv as shown in the screenshots below The software will attempt to ensure this setting is in the right position on startup The OEM version of the Delta 44 that FlexRadio s...

Страница 2: ...e breakout box to the SDR 1000 and your speakers If making your own cables note that the 1 8 tip connects to the odd numbered plugs while the 1 8 ring connects to the even numbered plugs If using the Hosa Cable Set from FlexRadio the double 1 4 cables connect to Outputs 1 4 and Inputs 1 2 The orange cables go to the even numbered plugs The single 1 4 Mic cable connects to Input 3 Breakout Box ...

Страница 3: ...to Outputs 1 2 unless the speakers have a female 1 8 receptacle for the input The same is true for connecting a PC microphone rather than using the front panel connector When using the Delta 44 the plug marked SPKR on the back of the enclosure is not used For digital mode support see the VAC Setup and Use document on our Download page Here is a functional description of each input and output from ...

Страница 4: ...f image rejection on the receiver In 3 10dBV nominal microphone digital mode input port For normal operation it should be connected to the jack on the back of the radio which is just ABOVE the words To Mic In The jack is a DIRECT connection to the front panel 4 pin microphone connector The wiring table can be seen in the Operating Manual in Chapter 3 Pinouts We have used this with a Heil Pro serie...

Страница 5: ...Taskbar Icon Delta 44 Control Panel Monitor Mixer Tab Delta 44 Control Panel Patchbay Router Tab ...

Страница 6: ...lta 44 owners use PowerSDR v1 6 1 or later Click the Setup menu to pull up the Setup Form and click on the Audio Tab Select the M Audio Delta 44 PCI from the Sound Card Selection combobox see the figure below Once selected click the Apply button and then click OK to close the Setup Form Delta 44 Control Panel Hardware Settings Tab PowerSDR Setup Form Audio Tab ...

Страница 7: ...ol left middle until the voice peaks are right at 0dB on the multimeter figure below If you are unable to modulate to the 0dB point it may be necessary to use a hardware preamp to bring the input levels up for the Delta 44 This concludes the Delta 44 Quick Start Guide At this point you should be able to receive and transmit with the Delta 44 If you are still having problems please refer to the sup...

Отзывы: