Figure 5.
Step 6.
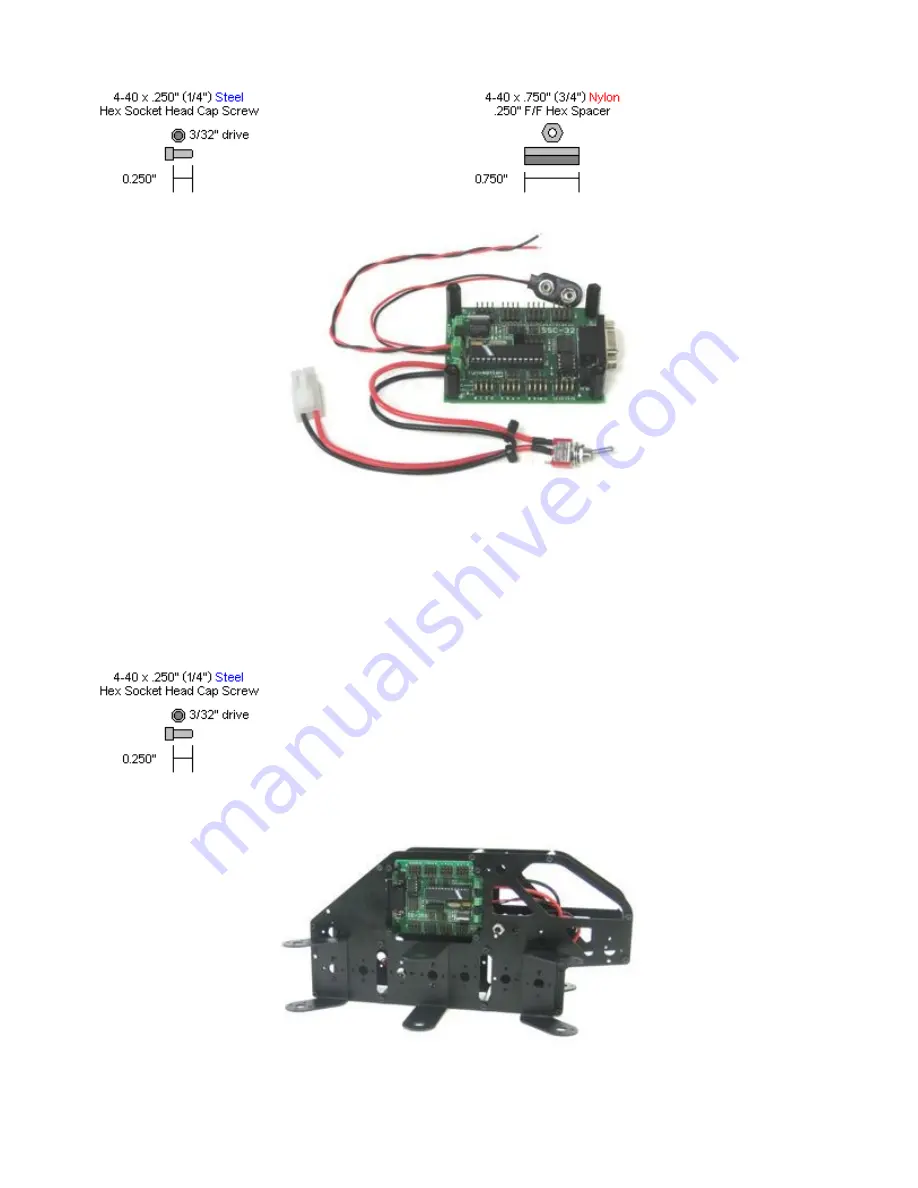
Slip the SSC-32 in through the hole in the side of the robot and use four 4-40 x 3/8" hex socket screws
to secure the board as shown. Make sure the DB9 port on the board is at the back of the robot, away
from the power switch hole! This will ensure you can easily plug in a DB9 cable. Install the power
switch in the power switch hole as shown.
4 x
Figure 6.


