6
OVERVIEW OF PARENT UNIT (MONITOR)
1.
Coloured LEDs
The green LED indicates that the monitor is switched on. The green/red
LEDs indicate the volume level of the camera (from low to high).
2.
Microphone
Recieves sound from the area around the parent unit and transmits it to the
baby unit. This will only happen when the Talk back button is pressed.
3.
Play/Stop button
Press this button to start or stop the baby unit playing a lullaby.
4.
Next button
Play the next lullaby. There are three different lullabies available.
5.
Zoom
The video can be set at normal or double size by pressing the zoom button. When
the video is in double size mode, the buttons can be used to view the parts
outside the parent unit screen. Press the zoom button again to return to normal size. In the
double size mode 2x is displayed at the top of the screen.
Note:
There is no sound in the zoom mode. Exit the zoom mode to restore the sound.
6.
Left (A) button
Press left (A) to automatically switch between multiple cameras. The
screen changes channel every 3 seconds. Use in a menu to move your selection to the left
7.
Down (-) button
Press down (-) to decrease the volume. Use in a menu to move your
selection down.
8.
OK button
To confirm your selection in a menu press OK.
9.
Up (+) button
Press up (+) to increase the volume. Use in a menu to move your selection
up.
10.
Right (M) button
Press right (M) to switch manually between multiple cameras. Use in a
menu to move your selection to the right.
11.
Menu button
Press this button to enter the main menu. Press menu again to exit the menu.
12.
LCD screen
Displays the video from the baby unit.
13.
Talk button
Press this button to speak through the baby unit. The
icon will then be
displayed on screen. When multiple baby units are used, you will speak through the unit
currently being displayed on the screen.
14.
Antenna
Recieves the video and sound from the baby unit.
15.
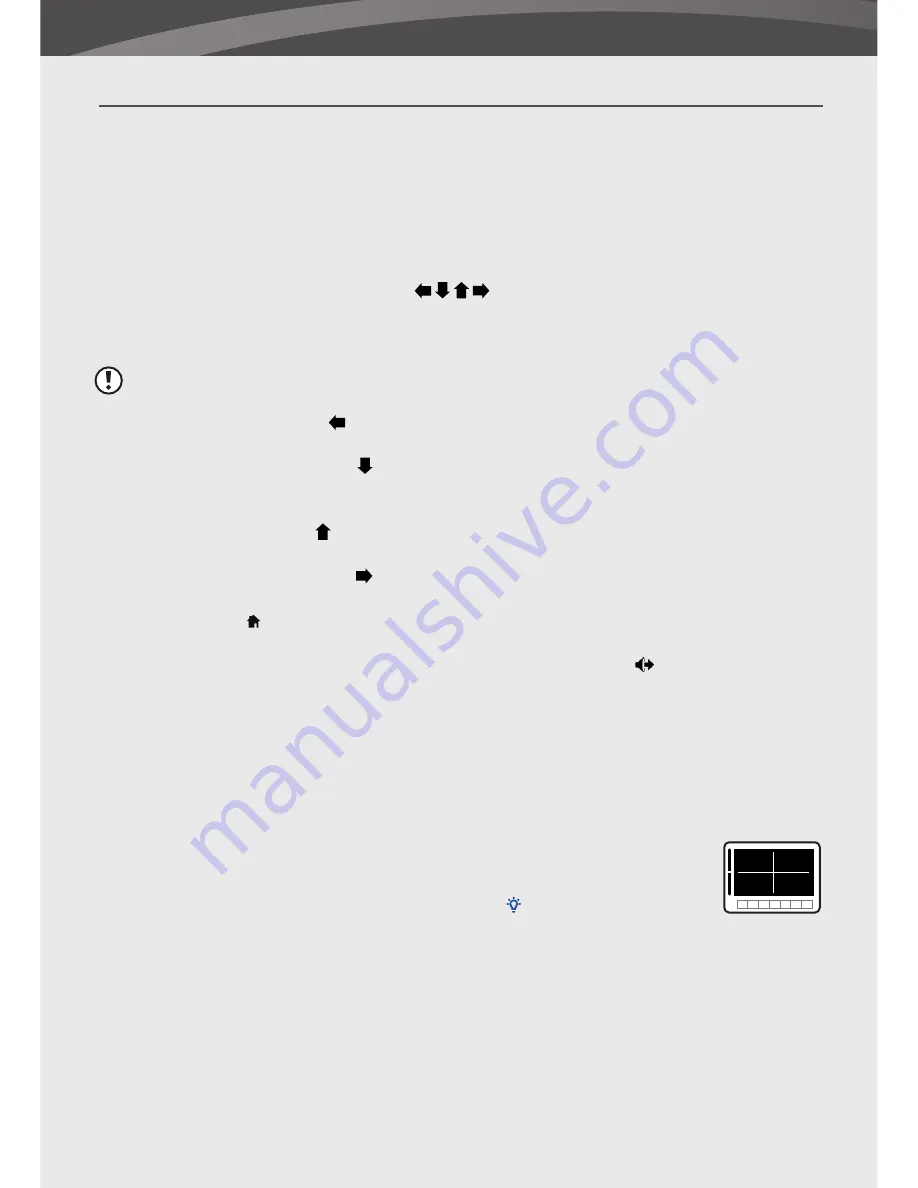
Quad button
Press this button to display the video of all 4 cameras simultaneously. Press
the button again to exit the Quad mode. In the Quad mode, the screen displays cam 1, cam
2, cam 3 and cam 4 for each channel. When there is no signal from the baby unit or the
signal is too weak the screen will display “out of range” on the corresponding channel.
16.
Nightlight button
Press this button to remotely turn on/off the night
light on the baby unit (when multiple baby units are used the nighlight
of the unit currentlly being displayed on the screen will be turned on/
off). When the nightlight is on, an indication icon will be displayed on
the screen.
17.
VID OFF button
Press the video button to switch to the sound only mode. In this mode
the screen is turned off. Press the button again to return from the sound only mode to the
sound and video mode.
18.
Scan button
When this button is pressed, the screen is turned off. During this time the
parent unit will continuously scan the baby unit (or multiple baby units). When a sound is
detected, the parent unit will become active. The screen is turned back on, now you can
see what happens in the baby room. You can adjust the sound sensitivity for this detection
with the rotary knob at the side of the camera. After the parent unit has detected sound
it will take about 5 seconds to switch back to the scan mode. Except when the sound is
1
3
2
4


